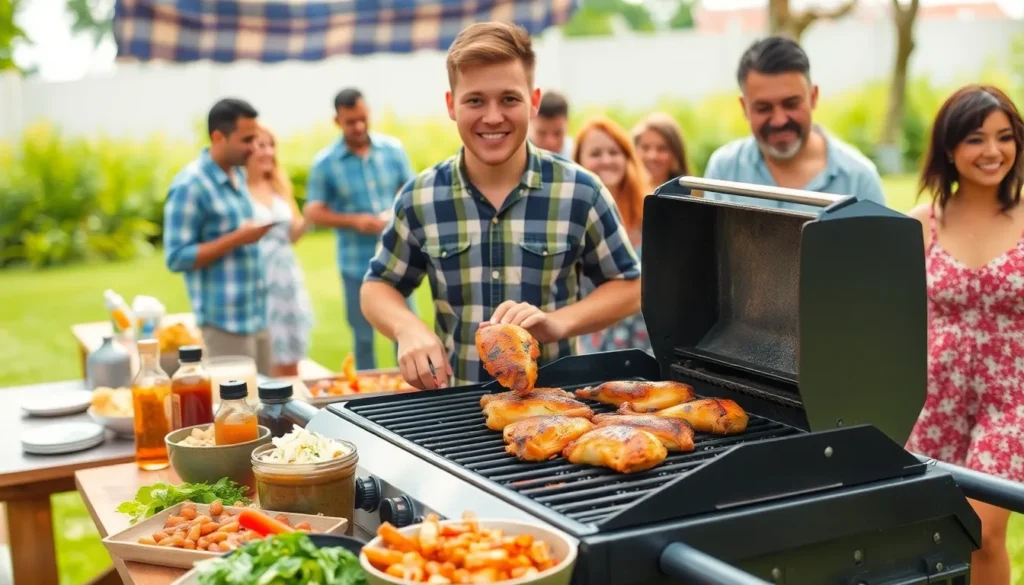
Nothing beats the smoky aroma and tender juiciness of perfectly grilled BBQ chicken that makes your mouth water from across the yard. We’ve all been there – standing over a hot grill wondering if we’re about to serve up restaurant-quality perfection or another disappointing dinner that’s charred on the outside and raw on the inside.
The secret to exceptional BBQ chicken isn’t just about throwing some sauce on a piece of meat and hoping for the best. It’s about mastering the right techniques that transform ordinary chicken into a flavor-packed masterpiece that’ll have your family and friends begging for your recipe.
We’re diving deep into everything you need to know about creating the best BBQ chicken you’ve ever tasted. From selecting the perfect cuts to achieving that ideal balance of crispy skin and juicy meat, we’ll share the proven methods that guarantee mouthwatering results every single time.
Choose the Right Chicken Cuts for Maximum Flavor
Selecting quality chicken cuts sets the foundation for exceptional BBQ results. We’ll explore three critical decisions that’ll make or break your grilling success.
Thighs Versus Breasts: Why Dark Meat Wins
Thighs deliver superior flavor and moisture compared to lean breast meat. Dark meat contains 20% more fat than white meat, creating natural basting during the cooking process. We recommend thighs because they stay juicy even when slightly overcooked, making them forgiving for beginners.
Fat marbling throughout thigh meat prevents drying out during extended grilling sessions. Breast meat requires precise temperature control to avoid becoming tough and chewy. Thighs also absorb marinades and rubs more effectively due to their looser muscle structure.
Price points favor thighs at roughly $2-3 per pound versus $4-6 for premium breasts. Budget conscious grillers get better value without sacrificing taste or texture.
Bone-In Versus Boneless: The Moisture Factor
Bone-in cuts retain 15-20% more moisture during cooking compared to boneless alternatives. Bones act as heat conductors, creating even temperature distribution throughout the meat. We prefer bone-in pieces because they’re nearly impossible to overcook.
Cooking times increase by 25-30% for bone-in chicken, but the results justify the wait. Boneless cuts cook faster but require constant monitoring to prevent drying. Bones also add depth of flavor as marrow slowly renders during the grilling process.
Presentation benefits from bone-in cuts, creating that authentic BBQ appearance. Drumsticks and thighs look more impressive on the plate than their boneless counterparts.
Whole Chicken Versus Parts: Cost and Convenience
Whole chickens cost approximately 40% less per pound than individual parts. Breaking down a whole bird yourself saves money while providing various cuts for different preferences. We suggest buying whole chickens when feeding large groups or meal prepping.
Pre-cut parts offer convenience but come with premium pricing. Individual pieces eliminate prep work and allow for customized cooking times based on each cut’s requirements. Mixed packs containing thighs, drumsticks, and wings provide variety without whole chicken breakdown.
Storage considerations favor parts over whole birds for most home cooks. Whole chickens require larger refrigerator space and immediate use after breaking down to maintain freshness.
Master the Art of Brining and Marinating
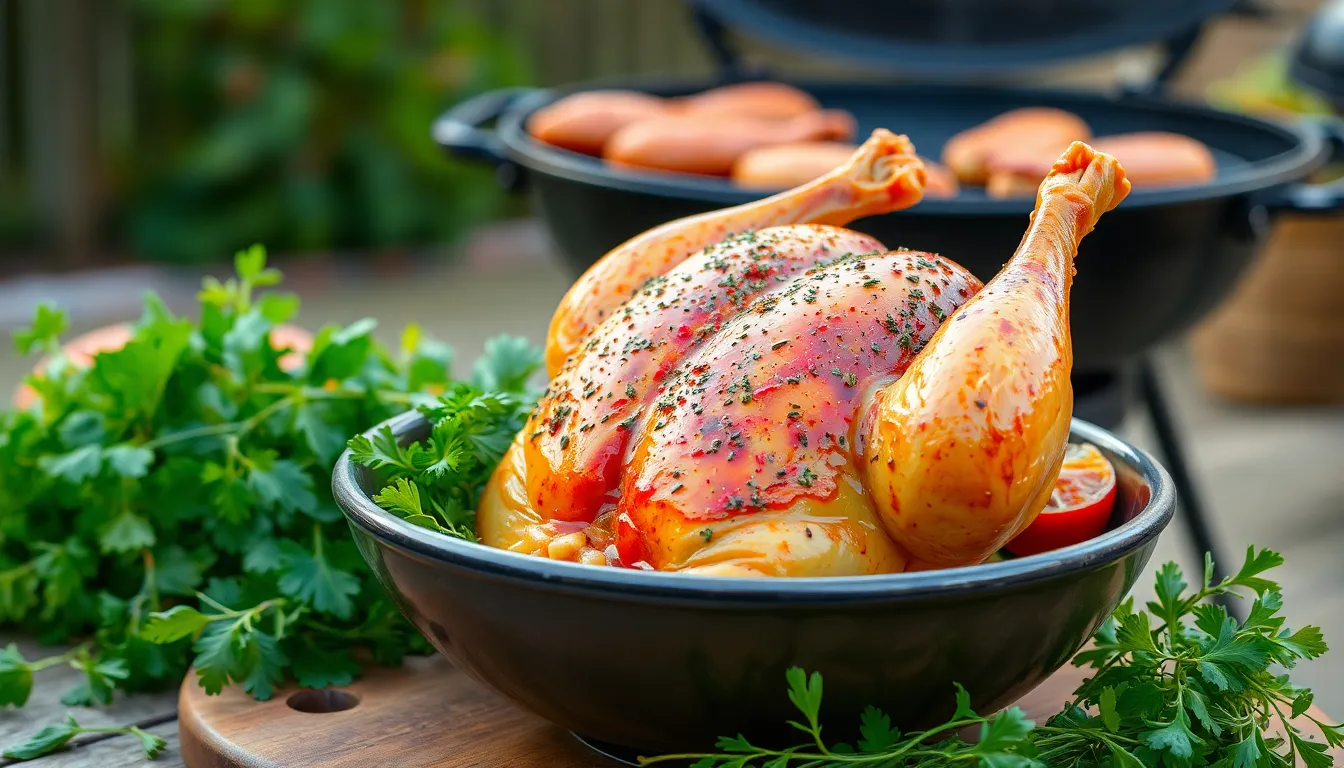
The secret to exceptional BBQ chicken lies in proper preparation before the meat ever touches the grill. We’ve discovered that strategic brining and marinating transforms ordinary chicken into restaurant-quality BBQ that’ll have your guests asking for the recipe.
Salt Brines for Juicy Results
Salt brines create the foundation for incredibly juicy BBQ chicken by helping the meat retain moisture during the high-heat grilling process. We recommend submerging chicken pieces in a salt solution for at least 30 minutes, though optimal results come from brining for up to 24 hours.
The science behind brining is straightforward: salt helps chicken absorb and retain water, preventing the dreaded dry texture that ruins so many BBQ attempts. After removing chicken from the brine, we always pat the pieces completely dry before applying any rubs or marinades.
Proper drying ensures the chicken develops that coveted crispy exterior while maintaining the juicy interior that brining provides. This extra step makes the difference between amateur and professional-level BBQ chicken results.
Buttermilk Marinades for Tenderness
Buttermilk marinades excel at breaking down tough muscle fibers through natural acidity and enzymes, creating incredibly tender chicken that practically falls off the bone. We soak our chicken pieces in buttermilk overnight to maximize both tenderness and flavor penetration.
The tangy acids in buttermilk work differently than salt brines, actually changing the protein structure to create that melt-in-your-mouth texture. Enhanced flavor absorption occurs because the acids open up the meat’s fibers, allowing spices and seasonings to penetrate deeper.
Combining buttermilk with herbs and spices in the marinade creates layers of flavor that standard dry rubs simply can’t achieve. This technique works especially well for tougher cuts like chicken thighs, transforming them into the star of your BBQ spread.
Overnight Marinating Techniques
Overnight marinating allows flavors to penetrate deeply into the meat, creating BBQ chicken with complex taste profiles that develop from the inside out. We always include acid components like vinegar, citrus juice, or buttermilk along with herbs, spices, and oils in our marinades.
Refrigeration keeps the chicken safe while the marinade works its magic, but we ensure every piece stays fully submerged for even coverage. Turning the chicken occasionally during the marinating process helps distribute flavors uniformly across all surfaces.
Room temperature chicken cooks more evenly than cold meat straight from the refrigerator, so we remove marinated pieces about 30 minutes before grilling begins. This simple timing adjustment prevents the outside from overcooking while the inside remains undercooked.
Proper marinating technique requires balancing acid, fat, and seasonings to achieve tender, flavorful results without turning the meat mushy from over-marination.
Create the Perfect Dry Rub Blend

Now that we’ve prepped our chicken through brining and marinating, it’s time to create the flavor foundation that’ll transform our BBQ into something extraordinary.
Essential Spice Combinations
Brown sugar forms the sweet backbone of our winning dry rub blend. We combine it with salt, chili powder, smoked paprika, garlic powder, onion powder, and dried oregano to create a balanced mix that adds complexity and depth to BBQ chicken.
Garlic powder and onion powder deliver savory depth that complements the chicken’s natural flavors. These aromatics work together to build a foundation that enhances rather than masks the meat’s taste.
Smoked paprika brings both color and flavor to our rub, adding that essential smoky warmth we crave in BBQ. We pair it with chili powder to create layers of heat that build gradually on the palate.
Salt enhances all the other flavors while helping keep the chicken juicy during cooking. It acts as a flavor amplifier, making each spice more pronounced and memorable.
Dried oregano adds a mild herbaceous note that rounds out our spice profile. This subtle addition prevents the rub from becoming too one-dimensional.
Brown Sugar for Caramelization
Brown sugar plays a critical role beyond sweetness in our BBQ chicken rubs. During grilling or smoking, its sugars caramelize on the chicken’s surface, creating a desirable crust and rich color.
Caramelization helps lock in moisture and adds a slightly crispy texture to the skin. We rely on this natural process to develop that perfect contrast between crispy exterior and juicy interior.
The sugars create visual appeal as they transform into deep, mahogany tones that signal perfectly cooked BBQ chicken. This browning effect is what separates amateur grilling from professional-level results.
Balancing Heat and Sweet Elements
Brown sugar tempers the spicy heat from chili powder and smoked paprika, preventing the rub from overwhelming the chicken. We’ve found this balance crucial for creating approachable flavors that please diverse palates.
Careful calibration between sweet and heat elements achieves a flavorful but not overly spicy profile. The goal is creating complexity without burning tongues or masking the chicken’s natural taste.
Sweet elements allow heat to build gradually rather than hitting immediately with intense fire. This approach lets diners appreciate the full spectrum of flavors we’ve carefully layered into our rub blend.
Select the Best Wood for Smoking
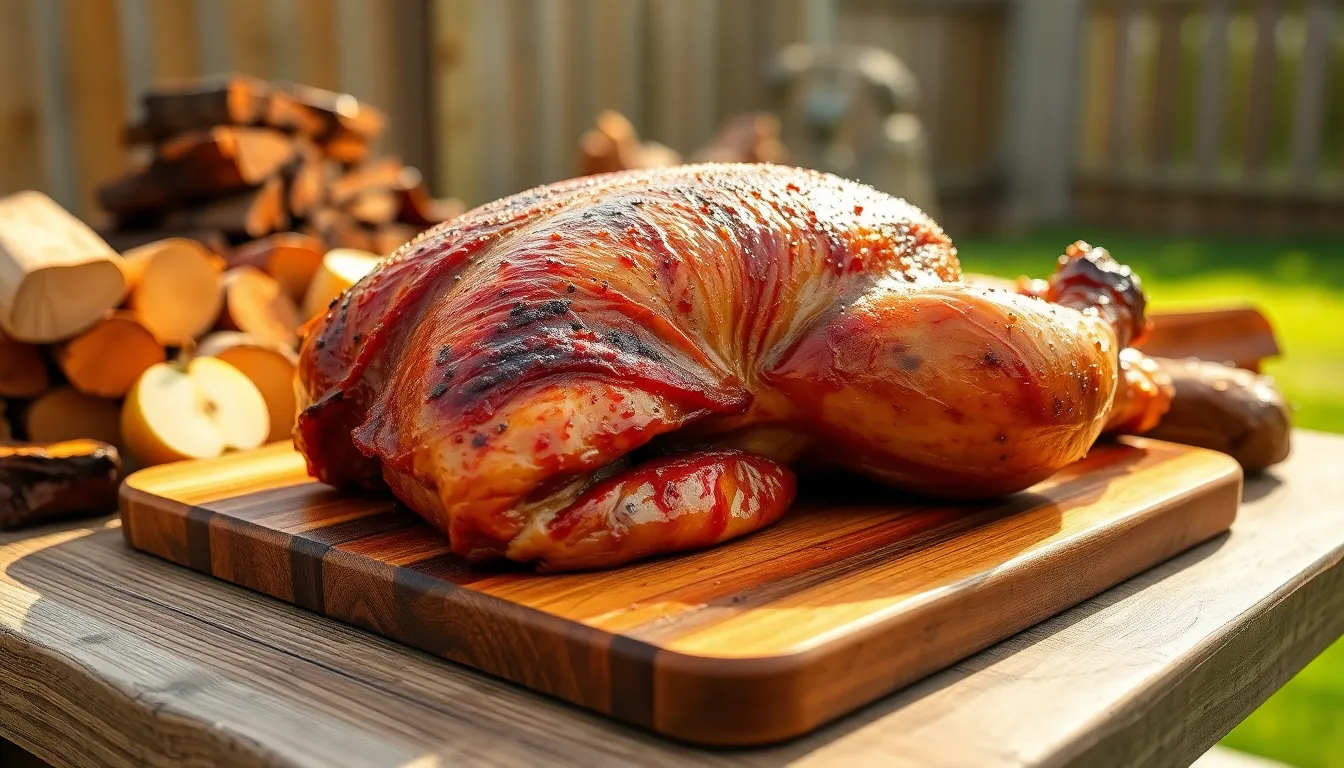
We’re elevating our BBQ chicken game by choosing the right wood, as it dramatically influences the final flavor profile and transforms ordinary chicken into something extraordinary.
Hickory for Classic BBQ Flavor
Hickory delivers that robust, bold smoke flavor we crave when thinking of traditional BBQ. We recommend this wood for pitmasters who want an intense smoky taste that stands up beautifully to rich BBQ sauces and heavy spice rubs. The strong, hearty flavor penetrates deep into the meat, creating that classic barbecue experience that’s perfect for leg quarters and whole birds. Hickory works exceptionally well when we’re serving guests who appreciate a more pronounced smoke presence in their chicken.
Apple and Cherry for Mild Sweetness
Apple wood offers a sweet, fruity smoke that gently enhances our chicken without overwhelming its natural flavors. We find this mild option particularly effective with brined or marinated chicken pieces, as the subtle sweetness complements the meat’s enhanced moisture and tenderness. The delicate flavor profile makes apple wood ideal for those who prefer a lighter smoke touch.
Cherry wood provides a similarly sweet and fruity character but with a more refined sophistication. We’ve discovered it pairs beautifully with dry-rubbed chicken, lending a slightly sweet aroma while creating that rich, appetizing color on the skin. Cherry adds wonderful depth to our BBQ chicken without masking the carefully balanced spice blend we’ve crafted.
Oak for Consistent Heat and Taste
Oak delivers a perfectly balanced smoke flavor that sits between the intensity of hickory and the mildness of fruit woods. We appreciate oak’s versatility, as it provides a clean, classic smoky taste with reliable, consistent heat output throughout the cooking process. This dependable wood choice works excellently for smoking whole birds and leg quarters, offering moderate intensity that complements our dry rub without competing with it. Oak serves as our go-to option when we want that traditional barbecue flavor with professional-level consistency.
Control Temperature and Timing Like a Pro
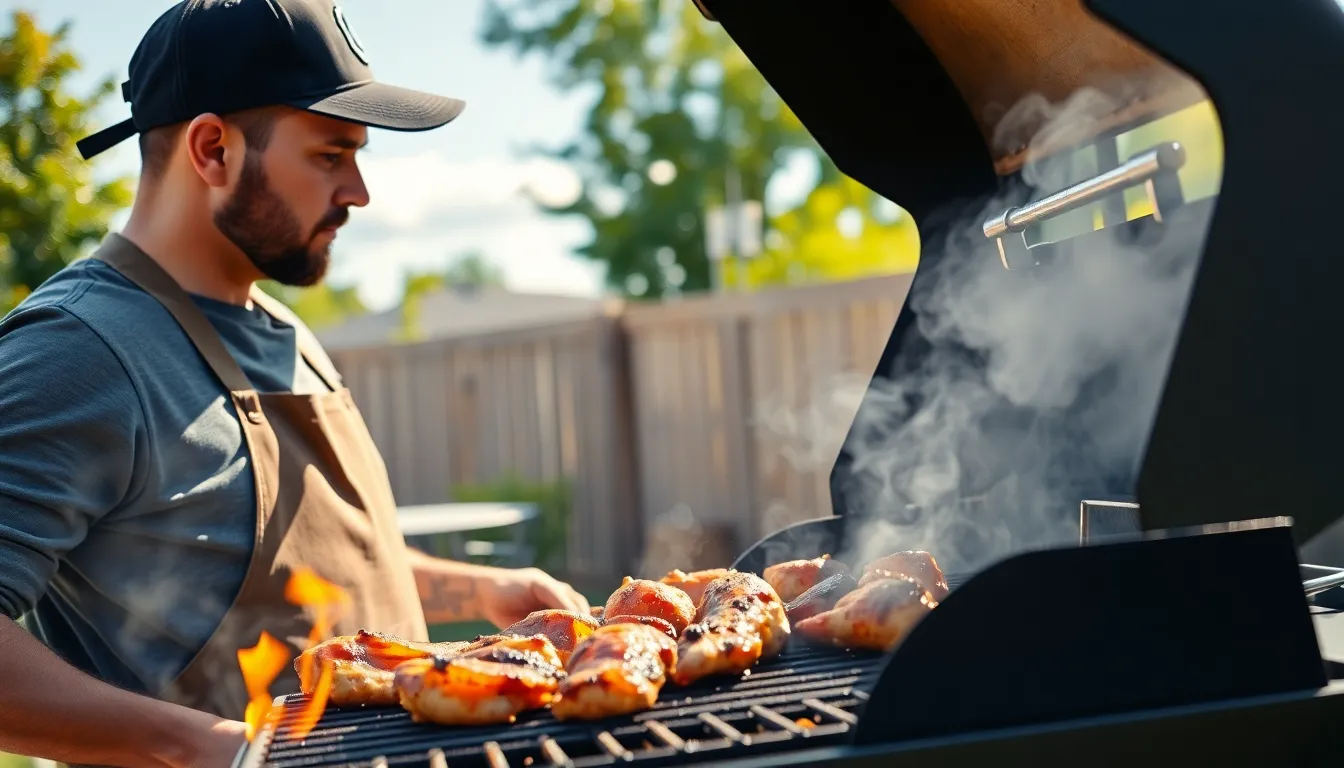
Perfect temperature control separates exceptional BBQ chicken from mediocre results. We’ll master the essential techniques that transform your grilling from guesswork into precision cooking.
Creating a two-zone fire becomes our foundation for temperature mastery. Gas grill users can achieve this by turning on two burners while leaving one off, establishing distinct hot and cool cooking zones. Charcoal enthusiasts should arrange coals on just one side of the grill to create the same temperature gradient.
Starting our chicken on the indirect heat side ensures even cooking throughout. We cover the grill and flip the chicken every 10 minutes, maintaining consistent heat distribution. This initial cooking phase typically lasts 30 to 35 minutes until the internal temperature reaches 160°F to 165°F.
Low and Slow Cooking Methods
Low and slow cooking preserves moisture while developing deep flavors in our BBQ chicken. We begin by searing the skin side over direct high heat to create crispy textures and attractive grill marks. Moving the chicken to indirect heat allows thorough cooking without burning the exterior.
Maintaining grill temperatures around 360°F initially gives us optimal cooking conditions. We gradually increase heat toward 425°F near the end to achieve that perfect crisp exterior finish. This gentle approach keeps the meat tender while building complex flavors throughout the cooking process.
Using Meat Thermometers for Safety
Instant-read meat thermometers eliminate guesswork and ensure food safety in our BBQ chicken preparation. We check the internal temperature periodically during cooking, especially before removing chicken from the grill. The minimum safe internal temperature of 165°F guarantees both safety and quality in our finished product.
Proper thermometer placement matters for accurate readings. We insert the probe into the thickest part of the meat, avoiding bones that can give false temperature readings. Multiple temperature checks throughout cooking help us track progress and prevent overcooking.
Resting Time for Optimal Juiciness
Resting our BBQ chicken for 5 minutes after cooking allows juices to redistribute throughout the meat. We remove chicken from the grill once it reaches 165°F, then let it rest before serving. This critical step results in noticeably juicier and more flavorful chicken.
During the resting period, residual heat continues cooking the meat slightly while juices settle back into the fibers. We resist the temptation to cut immediately, knowing that patience during this final step delivers the best possible texture and flavor in every bite.
Apply BBQ Sauce at the Right Moment
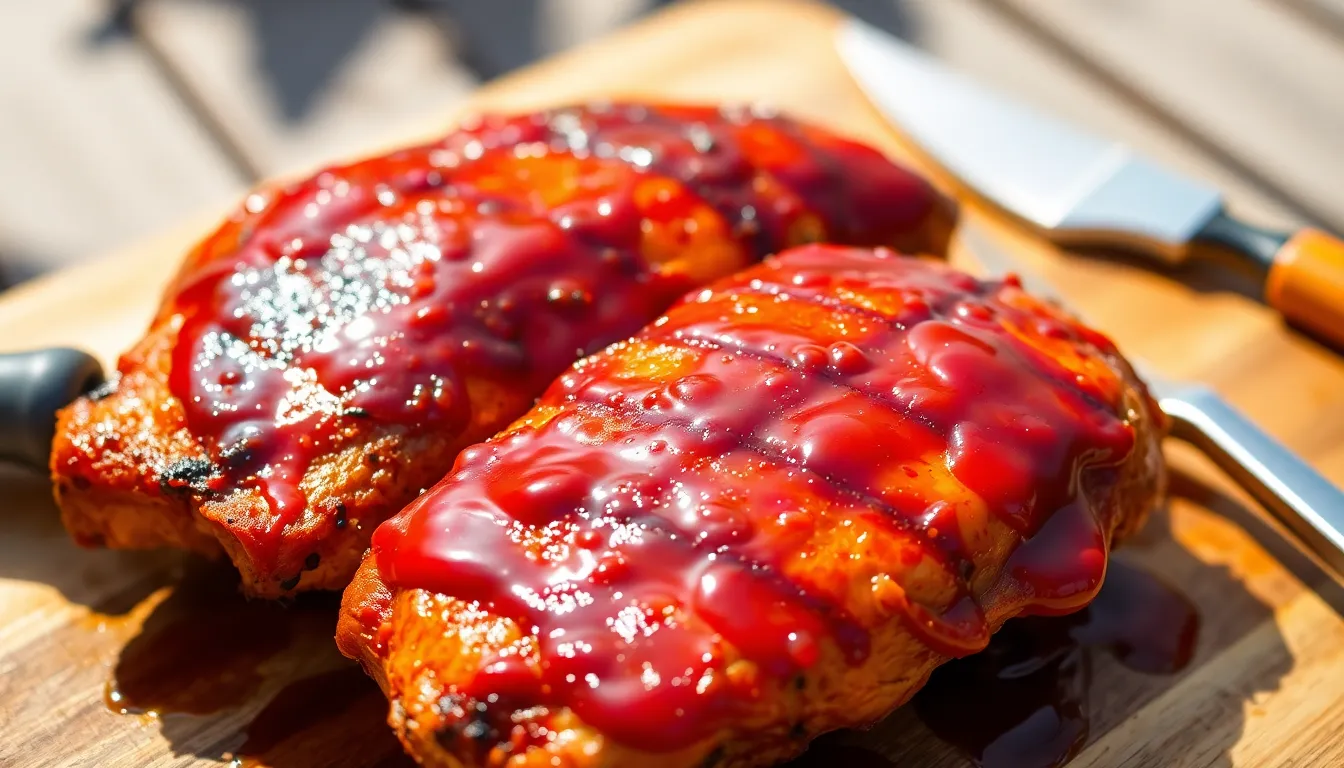
Timing your BBQ sauce application makes the difference between sticky, caramelized perfection and burnt, bitter disappointment. We’ve perfected the art of saucing chicken at precisely the right moment to create that glossy, flavorful finish everyone craves.
When to Sauce During Cooking
Wait until your chicken reaches an internal temperature of around 155°F before applying any BBQ sauce. Starting the grilling process over indirect heat allows the chicken to cook evenly while staying juicy throughout.
Brush the sauce onto the chicken and grill uncovered for about 2 to 4 minutes per side. Flip and baste repeatedly during this final stage to build up layers of flavor. Continue this saucing and grilling process until the chicken reaches the safe internal temperature of 165°F to 175°F, depending on the cut you’re cooking.
This method prevents the sugars in BBQ sauce from burning while still allowing proper caramelization. Grilling mostly without sauce initially ensures even cooking and maintains the chicken’s natural moisture.
Homemade Versus Store-Bought Options
Creating your own BBQ sauce gives you complete control over flavor, sweetness, acidity, and spice levels. Homemade sauces enhance the chicken’s natural taste while allowing customization to match your family’s preferences perfectly.
Store-bought BBQ sauces offer convenience and consistent flavor profiles that work well for quick weeknight meals. But, they often contain higher sugar content or preservatives that can affect the final taste and texture.
Experimenting with homemade recipes delivers a more authentic and customized flavor experience. You can adjust ingredients based on your chicken preparation method and personal taste preferences.
Glazing Techniques for Perfect Finish
Apply BBQ sauce in thin layers near the end of cooking to build up a rich, sticky coating. Use a basting brush to coat the chicken thoroughly without saturating it early in the process.
Grill with the lid covered briefly to let each glaze layer set properly. Flip the chicken and repeat this process to ensure even coverage on all sides.
Repeat the glazing process 2 to 3 times to develop that signature glossy, caramelized exterior. Rest the finished chicken for several minutes after grilling to allow juices to redistribute and the glaze to set completely.
Following this layered approach produces BBQ chicken with balanced smoky flavor, moist interior, and beautifully caramelized finish that looks as good as it tastes.
Avoid Common BBQ Chicken Mistakes
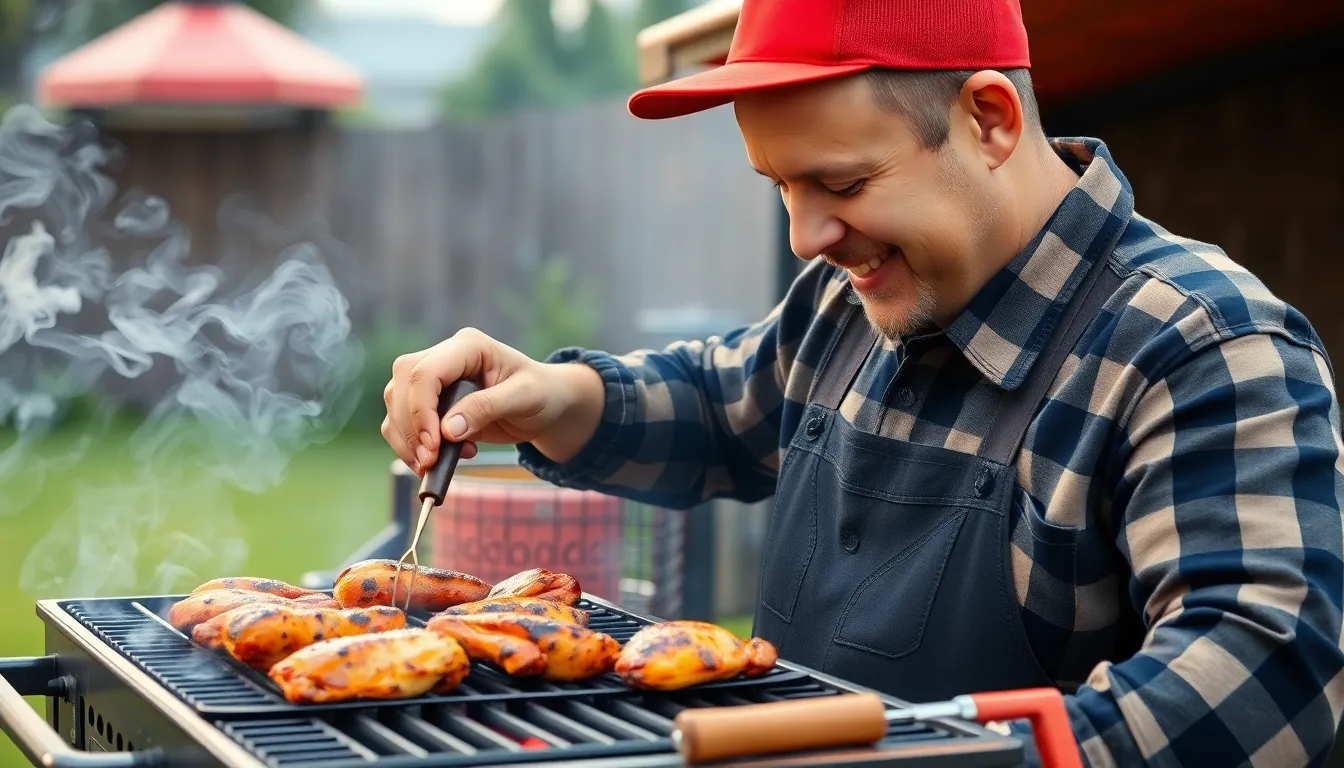
Even the most experienced grillers can fall into common traps that turn perfect chicken into a disappointing meal. We’ve identified the most frequent mistakes that sabotage BBQ chicken success and how to avoid them.
Preventing Dry, Overcooked Meat
Overcooking stands as the primary culprit behind dry, tough chicken. We recommend using an instant-read meat thermometer to achieve the precise internal temperature of 165°F (73.9°C) without guesswork. This approach ensures food safety while preventing the moisture loss that occurs when chicken cooks beyond the optimal temperature.
Brining transforms ordinary chicken into exceptionally juicy meat. Salt penetrates deep into the muscle fibers, creating a barrier that seals in natural juices during cooking. We suggest using a lightly sweetened salt solution that allows chicken to retain moisture even when slightly overcooked.
Choosing skin-on and bone-in pieces naturally preserves more moisture than their skinless counterparts. When we must use skinless cuts, quick cooking at high temperature becomes essential to minimize surface dryness. Pounding thicker pieces to uniform thickness ensures even cooking without creating dry spots.
Managing Flare-Ups and Hot Spots
Flare-ups occur when chicken fat drips onto flames, creating sudden bursts of intense heat. These flames char the exterior while leaving the interior undercooked, ruining the balance we’ve worked to achieve. We trim excess fat before grilling to reduce the drippings that fuel these dangerous flames.
Creating indirect heat zones gives us control over flare-up situations. We position chicken over lower heat areas and move pieces away from direct flames when flare-ups strike. Keeping a spray bottle filled with water nearby allows us to quickly douse unexpected flames without disrupting the cooking process.
Hot spots create uneven cooking that burns some pieces while undercooking others. We arrange our grill with distinct zones of direct and indirect heat, then rotate chicken pieces as needed. This technique ensures consistent cooking across all pieces regardless of grill irregularities.
Timing Multiple Pieces Properly
Different cuts require different cooking times, making coordination essential for success. We group similar pieces together since drumsticks need more time than wings, and breasts cook differently than thighs. Starting with longer-cooking cuts and adding quicker pieces later prevents some from overcooking while others finish.
Using a meat thermometer on each piece eliminates timing guesswork. We check the internal temperature of individual pieces rather than relying on visual cues alone. This method ensures every piece reaches 165°F safely without overcooking faster-cooking cuts.
Arranging pieces by size and thickness optimizes our grill space efficiently. Larger pieces go over indirect heat first, while smaller cuts can finish over direct heat for the final searing. We monitor each piece individually to achieve consistent results across the entire batch.
Serve and Present Your BBQ Chicken
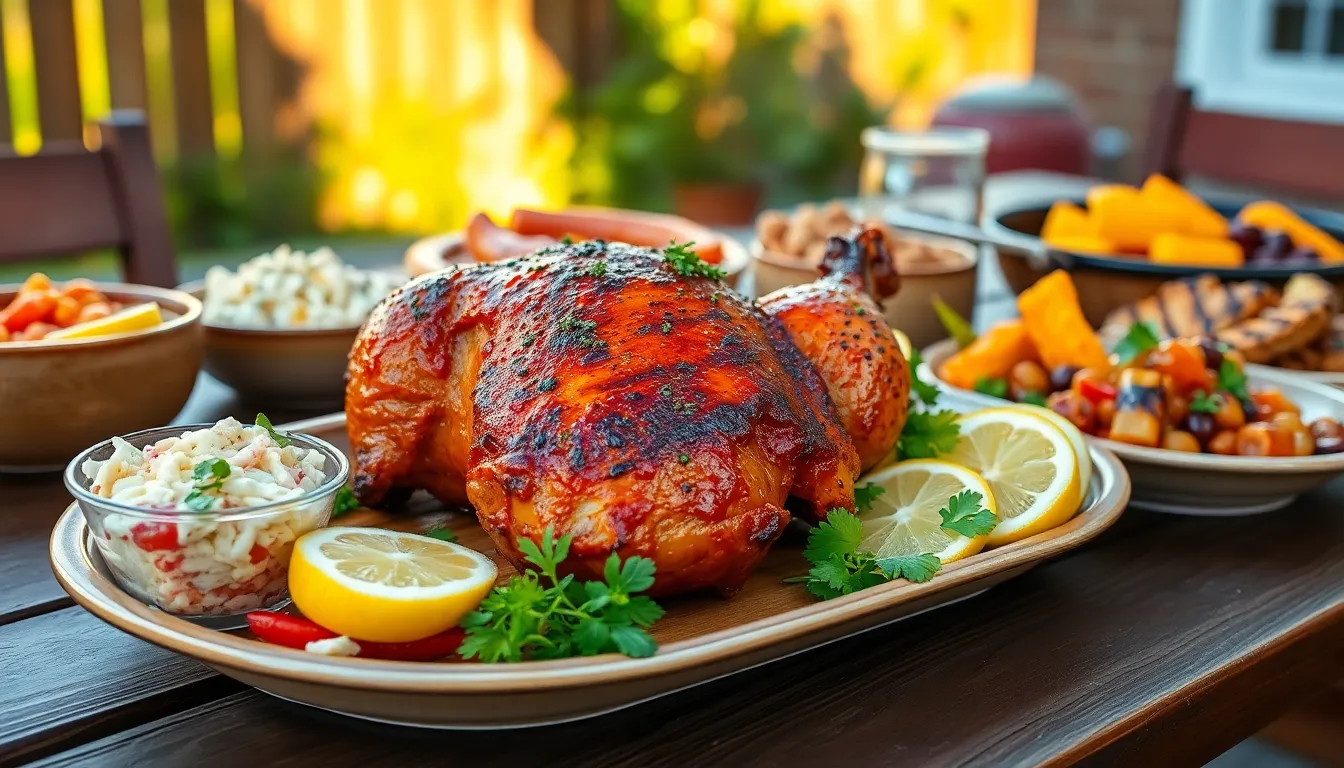
Once we’ve achieved that perfect balance of smoky flavor and juicy meat, presenting our BBQ chicken properly elevates the entire dining experience. Thoughtful presentation and strategic pairings transform a simple grilled meal into a memorable feast.
Classic Side Dish Pairings
Traditional accompaniments complete our BBQ chicken masterpiece and create a balanced meal. Coleslaw provides the perfect creamy contrast to smoky flavors while adding refreshing crunch to each bite. Baked beans complement the chicken’s richness with their sweet and savory profile that enhances the overall BBQ experience.
Cornbread serves as an essential component that soaks up delicious juices and provides a slightly sweet foundation for the meal. Fresh potato salad offers cooling relief from spicy rubs and creates textural variety on the plate. Grilled vegetables round out the meal with healthy options like bell peppers, zucchini, and corn that echo the smoky grill flavors.
Garnishing for Visual Appeal
Strategic garnishing transforms our BBQ chicken from ordinary to restaurant quality presentation. Fresh herbs like parsley or cilantro add vibrant green color while providing aromatic brightness that complements smoky flavors. Colorful bell pepper slices create visual interest and offer additional crunch for texture contrast.
Lemon wedges serve dual purposes by improving both appearance and flavor through their bright acidity. These citrus accents cut through rich BBQ flavors while adding professional plating appeal. Simple garnishes make the biggest impact when arranged thoughtfully around the chicken rather than scattered randomly.
Keeping Chicken Warm for Serving
Temperature maintenance ensures our perfectly grilled chicken stays delicious until serving time. Tenting the chicken loosely with foil at room temperature prevents moisture loss while maintaining warmth for short periods. This method works best when serving within 15 to 20 minutes of cooking completion.
Extended warming requires placing chicken in a low oven set between 170°F and 200°F to prevent drying while maintaining safe serving temperatures. This technique allows us to prepare other dishes without compromising the chicken’s quality. Always serve BBQ chicken hot with extra sauce available on the side for dipping preferences.
Conclusion
We’ve covered everything you need to master BBQ chicken from start to finish. The journey from selecting quality cuts to achieving that perfect caramelized glaze doesn’t have to be intimidating when you follow these proven techniques.
Remember that great BBQ chicken isn’t just about the sauce – it’s about understanding how proper preparation temperature control and timing work together. These fundamentals will consistently deliver juicy flavorful results that’ll have everyone asking for your secret.
Whether you’re a weekend warrior or aspiring pitmaster these methods will transform your grilling game. Fire up that grill grab your favorite cuts and start creating BBQ chicken that’s truly worthy of your table.
Frequently Asked Questions
What’s the best cut of chicken for BBQ grilling?
Chicken thighs are the best choice for BBQ grilling due to their higher fat content and superior moisture retention. Dark meat is more forgiving for beginners and remains juicy even when slightly overcooked. Bone-in pieces are preferred over boneless cuts as they retain more moisture and provide better flavor during the grilling process.
How long should I brine chicken before grilling?
For optimal results, brine chicken for at least 30 minutes, though 24 hours provides the best moisture retention and flavor enhancement. Salt brines help prevent dryness during grilling by allowing the meat to absorb and retain water. This preparation step is crucial for achieving juicy, flavorful BBQ chicken.
When should I apply BBQ sauce to prevent burning?
Apply BBQ sauce when the chicken reaches an internal temperature of around 155°F, near the end of cooking. Brush sauce on and grill uncovered for 2-4 minutes per side to achieve caramelization without burning the sugars. Adding sauce too early will cause it to burn and create a bitter taste.
What wood types work best for smoking BBQ chicken?
Hickory provides a robust, bold smoke flavor ideal for traditional BBQ. Apple and cherry woods offer mild sweetness that complements marinated chicken perfectly. Oak is a versatile option that delivers balanced smoke flavor and consistent heat, making it excellent for smoking whole birds and leg quarters.
How do I avoid overcooking BBQ chicken?
Use an instant-read meat thermometer to ensure chicken reaches the safe internal temperature of 165°F without losing moisture. Create a two-zone fire for indirect cooking, starting chicken away from direct heat. Cook low and slow to preserve moisture and develop deep flavors while monitoring temperature closely.
What are the essential spices for a good dry rub?
A perfect dry rub combines salt, pepper, paprika, garlic powder, and onion powder as the base. Brown sugar adds sweetness and creates a desirable crust during cooking. Balance heat elements like cayenne or chili powder with sweet components to achieve a complex flavor profile that enhances the chicken’s natural taste.
How long should marinated chicken sit before grilling?
Marinate chicken overnight for deep flavor penetration, with buttermilk marinades being particularly effective for tenderizing meat. Allow marinated chicken to reach room temperature before grilling (about 30 minutes) to ensure even cooking. This prevents the outside from cooking too quickly while the inside remains cold.
What side dishes pair best with BBQ chicken?
Classic accompaniments include coleslaw, baked beans, cornbread, potato salad, and grilled vegetables. These sides create a balanced meal that complements the rich flavors of BBQ chicken. Garnish with fresh herbs and lemon wedges for visual appeal and additional flavor enhancement.

