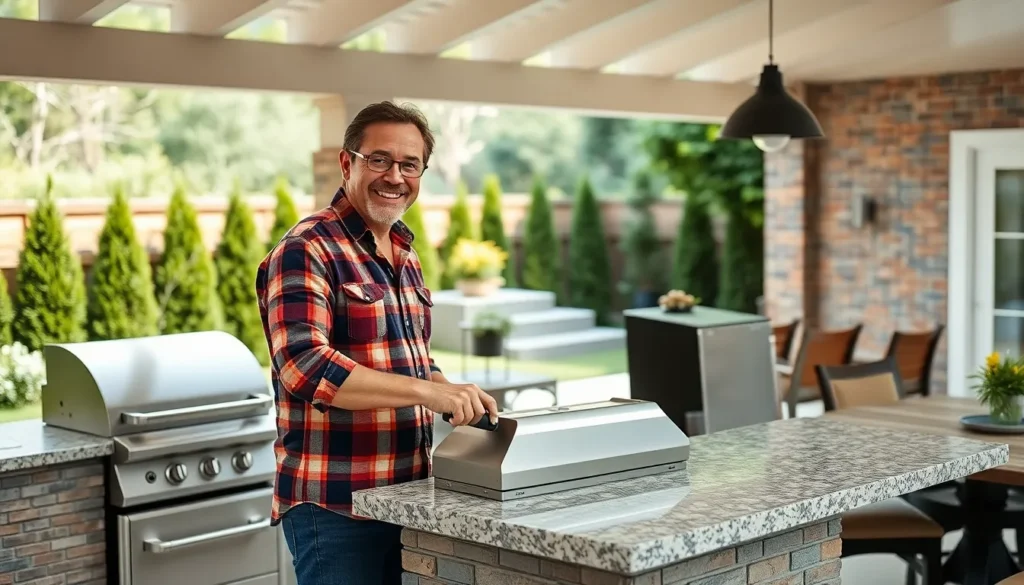
Building an outdoor BBQ kitchen transforms your backyard into the ultimate entertaining space where we can cook delicious meals while enjoying the fresh air and company of family and friends. We’ve discovered that creating a DIY outdoor kitchen isn’t just about grilling – it’s about crafting an outdoor culinary experience that extends our living space and adds important value to our homes.
The beauty of a DIY approach lies in our ability to customize every detail according to our exact needs and budget. Whether we’re dreaming of a simple grilling station or an elaborate outdoor cooking complex complete with countertops and storage we can make it happen without very costly.
We’ll guide you through the essential steps to plan design and build your own outdoor BBQ kitchen that’ll become the centerpiece of countless memorable gatherings. From selecting the right location and materials to understanding local building codes we’ve got everything covered to help you create your perfect outdoor cooking paradise.
Plan Your Outdoor BBQ Kitchen DIY Layout and Design
Successful outdoor BBQ kitchen construction starts with thoughtful planning and strategic design decisions. We’ll guide you through the essential layout considerations that ensure your DIY project meets both functional needs and safety requirements.
Choose the Perfect Location in Your Backyard
Accessibility determines your outdoor kitchen’s daily usability. Position your BBQ kitchen within 15-20 feet of your indoor kitchen to make ingredient transport and cleanup manageable. We recommend selecting a spot that connects seamlessly to your home’s main entertaining areas like patios, decks, or family rooms.
Proximity to utilities saves important installation costs. Locate your outdoor kitchen near existing electrical panels, water lines, and gas connections to minimize excavation and plumbing expenses. Most contractors charge $50-100 per linear foot for new utility runs, making strategic placement crucial for budget-conscious DIY builders.
Ground stability affects your kitchen’s longevity. Choose level terrain or areas requiring minimal grading to reduce foundation preparation costs. We suggest avoiding low-lying spots where water collects after rainfall, as proper drainage prevents structural damage and extends your outdoor kitchen’s lifespan.
Measure and Map Your Available Space
Accurate measurements prevent costly design mistakes. Use a measuring tape to record your designated area’s length, width, and any elevation changes, then create a scaled drawing on graph paper. We recommend allowing 36-48 inches of walking space between major appliances and prep areas for comfortable movement during cooking.
Zoning creates efficient workflow patterns. Divide your outdoor kitchen into distinct areas: grilling zone, prep space, storage section, and serving area. Professional outdoor kitchen designers follow the “kitchen triangle” principle, positioning your grill, prep surface, and refrigeration within 4-9 feet of each other for optimal efficiency.
Overhead clearances ensure safe operation. Measure vertical space above your planned grill location, accounting for range hoods, pergolas, or low-hanging branches. We require minimum 8-foot clearances above gas grills and 10 feet for areas with roof structures to prevent fire hazards and ensure proper ventilation.
Consider Wind Direction and Safety Clearances
Prevailing winds determine grill placement for comfort and safety. Observe your backyard’s wind patterns during different seasons and times of day, then position your grill so smoke blows away from seating areas and neighboring properties. We suggest using a simple ribbon test on various days to identify consistent wind directions before finalizing your layout.
Fire safety clearances protect your investment. Maintain 36 inches between your grill and combustible materials like wooden decks, fences, or outdoor furniture. Local fire codes typically require 10-foot clearances from property lines and 20 feet from structures, though regulations vary by municipality.
Ventilation planning prevents smoke accumulation. Install your grill in open areas rather than enclosed spaces or under low overhangs where smoke can become trapped. We recommend positioning grills at least 8 feet from windows, doors, and air conditioning units to prevent smoke infiltration into your home’s interior spaces.
Select Essential Components for Your DIY BBQ Kitchen Build
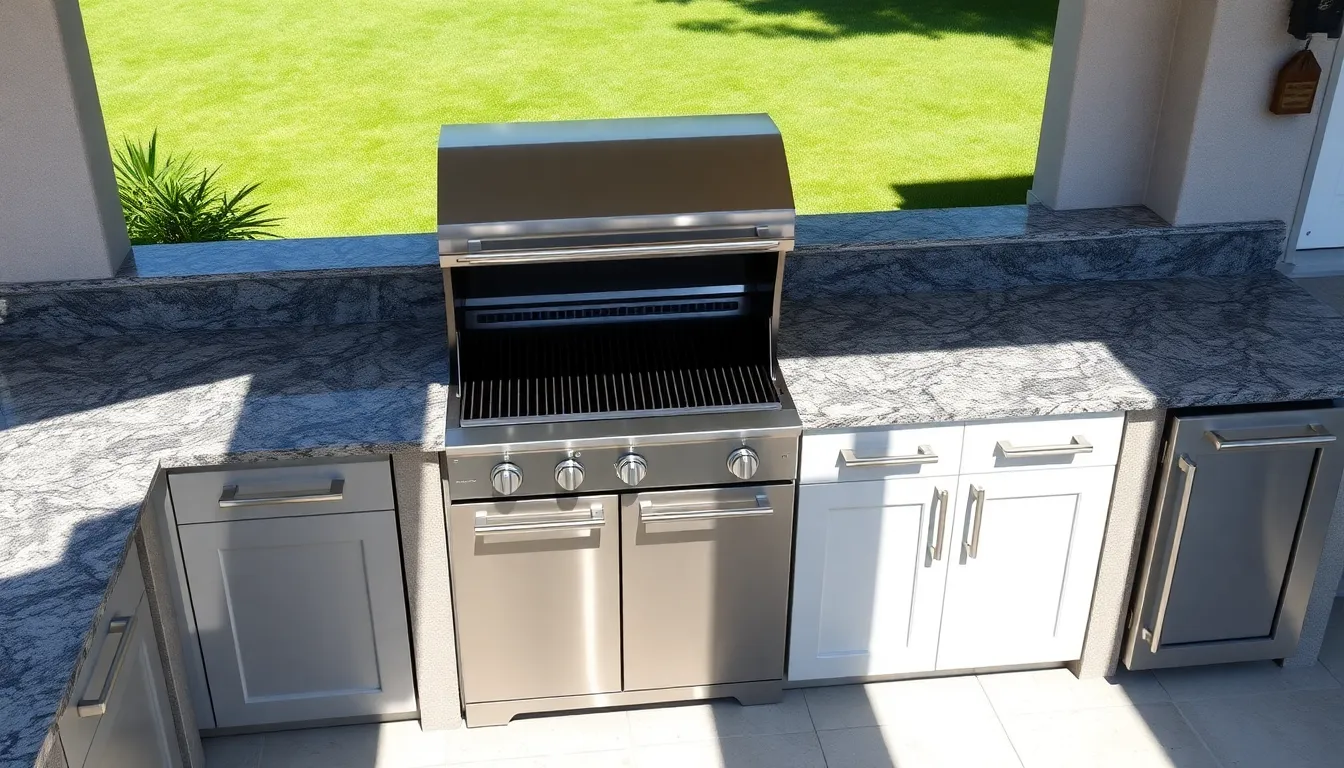
Once you’ve secured your location and design, it’s time to focus on the core components that’ll make your outdoor kitchen functional and enjoyable. We’ll break down the essential elements you need to create a workspace that rivals any indoor kitchen.
Pick the Right Grill as Your Centerpiece
Your grill serves as the heart of your outdoor BBQ kitchen, so choosing the right one requires careful consideration of several factors. Gas grills offer convenience and precise temperature control, making them ideal for frequent entertainers who want consistent results. Charcoal grills deliver that authentic smoky flavor many BBQ enthusiasts crave, though they require more time and skill to master. Electric grills work well in areas with strict fire regulations but may limit your cooking versatility.
Size matters significantly when selecting your grill, as you’ll want to match your cooking capacity to your typical entertaining needs. Consider grills with multiple burners for versatility, allowing you to cook different foods at various temperatures simultaneously. Side burners add valuable cooking space for sauces, sides, and other dishes that complement your grilled main courses.
Proper clearance and ventilation are crucial for safety and performance, especially with gas grills that often require cabinet venting systems. Some built-in gas grills need insulated metal jackets to function safely within your outdoor kitchen structure. Always verify your grill’s exact installation requirements before finalizing your cabinet design.
Choose Durable Countertop Materials
Countertops in your outdoor BBQ kitchen must withstand extreme weather conditions while providing ample workspace for food preparation and serving. Granite stands out as an excellent natural stone option that handles heat exceptionally well and resists outdoor elements without requiring extensive maintenance. Its non-porous surface when properly sealed makes cleanup effortless after messy BBQ sessions.
Concrete offers incredible customization potential, allowing you to create unique colors, textures, and integrated features like built-in cutting boards or ice wells. Properly sealed concrete resists stains and moisture while providing a durable work surface that can last for decades. The material works particularly well for those seeking a modern, industrial aesthetic.
Stainless steel provides unmatched durability and weather resistance, making it the preferred choice for professional-grade outdoor kitchens. While it may show fingerprints more readily than other materials, its easy maintenance and heat resistance make it ideal for areas around the grill. Plan for adequate countertop space to ensure comfortable food preparation and serving during your outdoor cooking adventures.
Select Weather-Resistant Cabinet Options
Outdoor kitchen cabinets face constant exposure to moisture, temperature fluctuations, and UV rays, requiring materials specifically designed for exterior use. Marine-grade polymer cabinets offer superior weather resistance without the maintenance requirements of traditional wood, making them increasingly popular among DIY builders. These synthetic materials won’t warp, crack, or fade even after years of exposure to harsh weather conditions.
Stainless steel cabinets provide commercial-grade durability and complement stainless steel appliances perfectly, though they typically come with a higher price tag. Specially treated wood options like teak or cedar can work well when properly sealed and maintained, offering natural beauty that many homeowners prefer.
Ventilation becomes critical for cabinets that house gas appliances, as proper airflow prevents dangerous gas buildup and ensures safe operation. Install vent openings according to manufacturer specifications, and use weatherproof fasteners and finishes to prevent rust and deterioration. Cabinet doors should seal properly to keep moisture out while still allowing necessary ventilation for appliances.
Gather Tools and Materials for Your Outdoor Kitchen Project
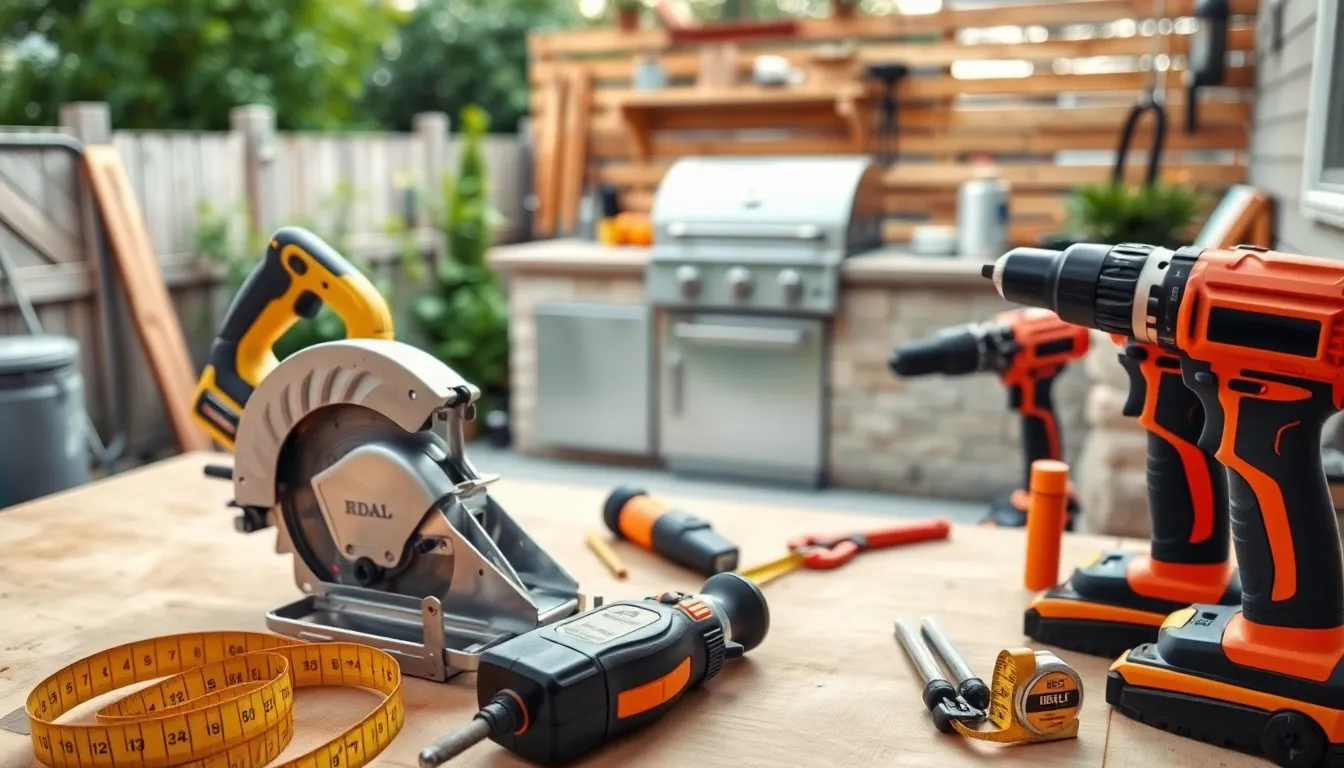
Now that we’ve covered the planning and design aspects, let’s focus on assembling everything you’ll need to bring your outdoor BBQ kitchen to life. Having the right tools, materials, and safety equipment ready before you start construction will ensure a smoother building process and professional results.
Essential Power Tools for Construction
Circular saws or table saws are absolutely crucial for cutting plywood and framing lumber to the exact dimensions your project requires. We recommend investing in a quality circular saw if you don’t already own one, as you’ll use it throughout the entire build process.
Grinders equipped with masonry cutting wheels become essential when working with cement board or stone countertops. These tools allow you to make precise cuts in tough materials that regular saws can’t handle effectively.
Drills and drivers will be your go-to tools for assembling frames, attaching panels, and installing hardware throughout the construction process. We suggest having both corded and cordless options available for maximum flexibility.
Levels ensure your kitchen structure remains perfectly even, which is particularly important when building on sloping patios or uneven surfaces. A 4-foot level typically works best for most outdoor kitchen projects.
Measuring tapes and squares provide the accuracy needed for professional-looking results, helping you maintain proper dimensions and create perfectly square corners. Don’t skimp on quality here as precise measurements prevent costly mistakes.
Jigsaws excel at making curved cuts and creating appliance cutouts, especially when you need to accommodate built-in grills or other equipment. They’re also perfect for cutting around obstacles or making detailed trim work.
Hardware and Fasteners You’ll Need
Galvanized or stainless steel screws offer superior corrosion resistance compared to standard screws, making them essential for outdoor applications where moisture exposure is constant. We recommend keeping various lengths on hand to accommodate different assembly needs.
Metal grill supports and brackets provide the structural reinforcement necessary for built-in appliances, ensuring your expensive equipment stays securely in place. These specialized brackets distribute weight evenly and prevent sagging over time.
Construction adhesive and weatherproof caulk create watertight seals at joints and seams, protecting your investment from moisture damage. Choose products specifically rated for outdoor use and temperature fluctuations.
Metal feet or legs elevate your counter base from ground contact, preventing moisture wicking and extending the life of your structure. Adjustable feet work particularly well on uneven surfaces.
Concrete anchors or masonry fasteners become necessary when attaching components directly to existing patios or concrete slabs. These specialized fasteners provide the holding power needed for permanent installations.
Safety Equipment and Protective Gear
Safety glasses or goggles protect your eyes from dust, debris, and flying particles during cutting and grinding operations. We can’t stress enough how important eye protection is when working with power tools.
Ear protection becomes essential when operating loud equipment like circular saws and grinders for extended periods. Prolonged exposure to tool noise can cause permanent hearing damage, so don’t skip this critical safety gear.
Work gloves shield your hands from sharp edges, rough materials, and potential cuts while handling lumber and hardware. Choose gloves that provide protection while maintaining dexterity for detailed work.
Dust masks or respirators are particularly important when cutting cement boards or masonry materials, as these create fine particles that can be harmful when inhaled. N95 masks provide adequate protection for most DIY projects.
Proper footwear with closed toes and non-slip soles prevents injuries from dropped tools or materials while providing stable footing on various surfaces. Steel-toed boots offer additional protection for heavy-duty projects.
Build the Foundation and Frame Structure
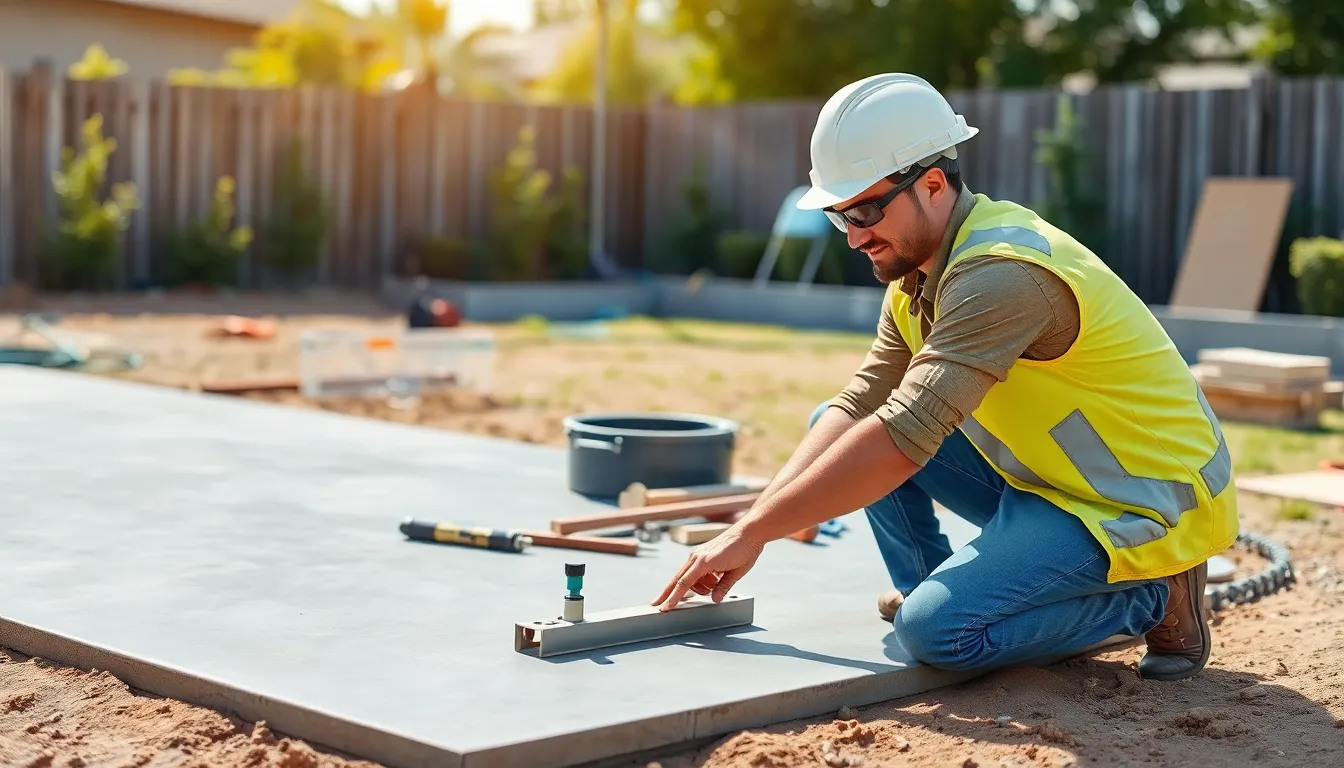
Now that we’ve gathered all our tools and materials, it’s time to create the solid foundation that’ll support our outdoor BBQ kitchen for years to come.
Pour a Concrete Pad or Install Pavers
Selecting the right foundation material determines the long-term stability of our outdoor kitchen. Concrete offers the most durable option, requiring a 4-inch thick pad with reinforcement to handle the weight of appliances and countertops. We’ll need to ensure the slab is completely flat and level before proceeding with construction.
Preparing the ground properly prevents future settling issues. Clear the area of vegetation, debris, and loose soil, then compact the base thoroughly. A concrete footing provides the best protection against sinking or cracking over time compared to building directly on soft ground.
Installing heavy-duty pavers presents an alternative to concrete for those preferring a modular approach. These pavers must be properly compacted and leveled to avoid shifting under the kitchen’s weight. We recommend using a sand base with edge restraints to maintain alignment and prevent movement during temperature changes.
Construct the Basic Frame Using Treated Lumber
Building the skeleton structure starts with selecting moisture-resistant framing materials. Pressure-treated lumber works well for basic frames due to its resistance to decay and insect damage. We’ll construct walls and countertop supports using standard framing techniques while ensuring all connections are secure.
Assembling the frame requires precise measurements and square corners for proper appliance installation. Cut all lumber to size before beginning assembly, and use galvanized screws and metal brackets for maximum durability. Each joint should be checked with a square to maintain structural integrity.
Upgrading to metal stud frames provides superior longevity and fire resistance. Steel or aluminum studs covered with cement board create a strong base for mounting grills and heavy appliances. This option costs more initially but offers better protection against moisture and heat damage.
Ensure Proper Drainage and Utilities Access
Planning drainage prevents water damage and extends the life of our outdoor kitchen. Create a slight slope away from the structure to direct water runoff, and consider installing drainage systems under the foundation if needed. Poor drainage leads to standing water and potential structural problems.
Installing utilities before completing the frame saves time and reduces complications later. Bring water lines, electrical wiring, and gas lines into the kitchen area while the structure remains accessible. We’ll need to follow local building codes and safety regulations for all utility installations.
Creating access panels allows for future maintenance and repairs. Install removable sections in the frame where utilities enter the kitchen, making it easier to service connections without dismantling the entire structure. These panels should be clearly marked and easily accessible for emergency situations.
Install Plumbing and Electrical Systems Safely
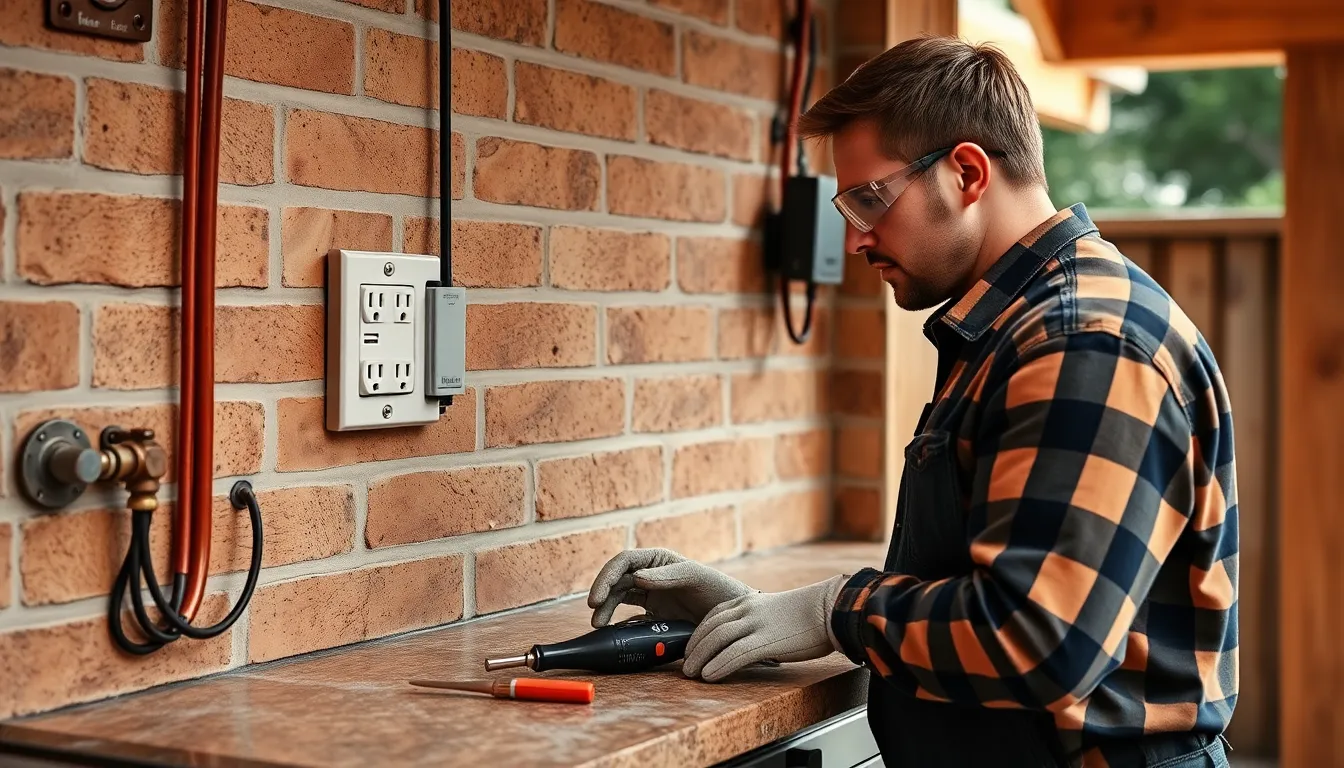
Now we’re getting into the critical infrastructure that’ll make your outdoor BBQ kitchen truly functional and safe. Proper installation of plumbing, electrical, and gas systems requires careful planning and often professional expertise to ensure code compliance.
Run Water Lines for Sinks and Ice Makers
Water lines need to connect from your home’s main plumbing system to your outdoor kitchen fixtures. We recommend using durable PEX or copper piping that can withstand exterior conditions and temperature fluctuations.
Position shutoff valves strategically near each fixture for easy maintenance and emergency repairs. Cold water supply lines typically serve most outdoor kitchen needs, though you might want hot water for cleaning stations.
Protect your water lines from freezing if you live in a cold climate by burying them below the frost line or installing insulation sleeves. Waterproof materials become essential for all plumbing fixtures to prevent leaks and weather damage.
Plan your water line routes during the foundation stage to avoid costly modifications later. Ice makers require dedicated water connections with proper filtration systems for optimal performance.
Install GFCI Outlets and Proper Wiring
GFCI outlets prevent electric shocks near water sources and are mandatory for outdoor kitchen installations. We strongly recommend hiring a licensed electrician to ensure compliance with local electrical codes and safety standards.
Weatherproof outdoor rated wiring protects against moisture and other elements that could cause electrical hazards. Place GFCI outlets strategically near work surfaces and appliances following your local electrical code requirements.
Dedicated circuits serve high power appliances like refrigerators and ice makers to prevent overloading. Outlet covers need weatherproof ratings to maintain protection during rain and harsh weather conditions.
Underground electrical lines require proper conduits and burial depths according to local regulations. Circuit breakers should be clearly labeled for easy identification during maintenance or emergencies.
Add Gas Lines for Built-in Grills
Gas line installation demands precision and professional expertise for safety and regulatory compliance. Licensed professionals should run dedicated gas lines from your home’s main supply to the grill location using approved materials.
Black iron or flexible CSST tubing provides reliable gas delivery when properly installed and tested. Shutoff valves near each gas appliance allow for quick disconnection during emergencies or maintenance.
Proper ventilation around gas appliances prevents dangerous fume accumulation that could pose health risks. Gas line sizing calculations ensure adequate pressure and flow for your exact grill requirements.
Testing all gas connections with approved leak detection answers verifies system integrity before first use. Professional installation typically includes permits and inspections to meet local building codes and safety standards.
Construct Cabinets and Storage Solutions
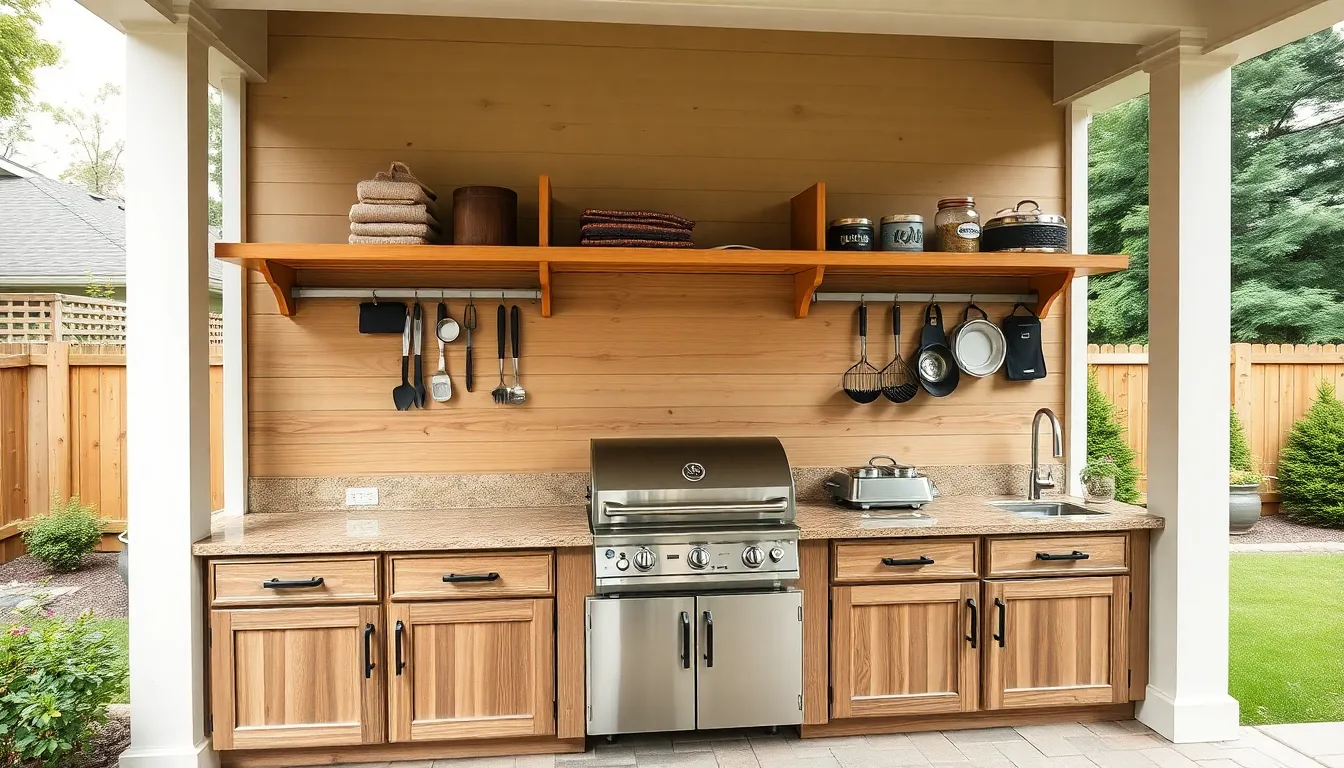
Now that we’ve established our foundation and utilities, it’s time to build the storage elements that’ll make our outdoor kitchen both functional and organized.
Build Custom Lower Cabinets
Starting with the cabinet base requires durable materials like treated lumber or 304 stainless steel framing to withstand outdoor conditions. Frame construction begins with creating a sturdy structure that can support heavy appliances and countertops while resisting weather damage.
Cement board or marine-grade plywood serves as the ideal siding material, offering superior weather resistance when properly affixed to our frame. We’ll secure these materials firmly to ensure they remain stable through seasonal temperature changes and moisture exposure.
Foundation stability proves critical for long-term success, so we’ll build our cabinet bases on a solid 4-inch cement footing to prevent settling or structural damage over time. This foundation prevents the costly repairs that come from inadequate support systems.
Cabinet dimensions should align perfectly with our grill measurements, appliances, and prep space requirements to maximize functionality. Custom sizing ensures every inch serves a purpose while maintaining the aesthetic appeal of our outdoor kitchen design.
Weatherproof finishes like stucco, stone, tile, or combination veneers complete our cabinets while protecting against the elements. These finishing materials blend seamlessly with outdoor décor while providing the durability needed for year-round use.
Install Upper Shelving and Open Storage
Upper shelving installation utilizes pressure-treated wood or metal brackets specifically designed for outdoor environments. These materials resist moisture, temperature fluctuations, and UV damage that would compromise indoor-grade alternatives.
Positioning shelves above countertops creates accessible storage for frequently used items like spices, condiments, and small kitchen tools. This strategic placement keeps essentials within arm’s reach while maintaining clean prep surfaces below.
Covered areas provide the best protection for upper storage, shielding stored items from direct weather exposure. We’ll plan shelf placement under overhangs or pergolas whenever possible to extend the life of both shelving and stored goods.
Add Specialty Storage for Grilling Tools
Specialized storage answers transform our outdoor kitchen from basic to professional-grade functionality. Hooks and magnetic strips mounted on cabinet sides or walls provide immediate access to essential grilling tools like spatulas, tongs, and brushes.
Built-in drawers within lower cabinets organize smaller accessories efficiently while keeping them protected from weather and debris. These compartments can be sized specifically for items like thermometers, skewers, and seasoning containers.
Vertical storage slots accommodate cutting boards and serving trays, preventing warping and damage while maintaining easy accessibility. Dedicated spaces for these items prevent clutter and ensure everything has its designated place.
Fuel storage racks or holders for charcoal bags, wood chips, and gas canisters keep these essentials organized and safely stored. Proper storage of fuel sources reduces fire hazards while ensuring we’re always ready for our next grilling session.
Weather-resistant hardware including stainless steel hinges and drawer slides prevents rust and deterioration that would compromise our storage systems. Quality hardware ensures smooth operation and longevity even though constant exposure to outdoor conditions.
Install Countertops and Work Surfaces
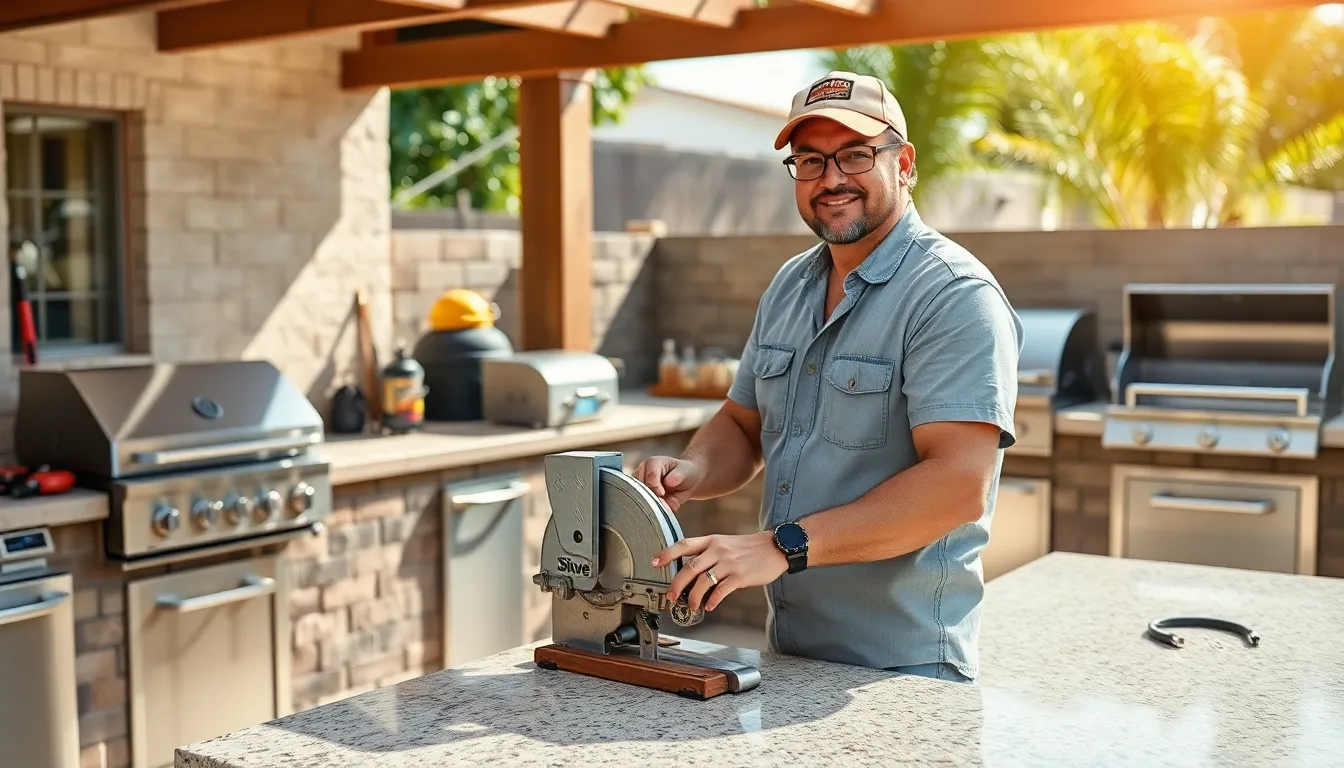
Installing countertops transforms your outdoor BBQ kitchen into a fully functional workspace. We’ll guide you through the critical steps to ensure your work surfaces are durable and perfectly fitted.
Cut and Fit Your Chosen Counter Material
Measuring your outdoor kitchen frame and appliances precisely marks the first crucial step in countertop installation. We recommend using cut-out dimensions from appliance specifications to guarantee a perfect fit for your grills, sinks, and other fixtures.
Popular countertop materials like granite, concrete, and tile surfaces each require exact cutting approaches. Wet saws work best for stone materials, while grinders handle concrete board effectively. We always create appliance cutouts according to manufacturer-provided dimensions to avoid costly mistakes.
Proper measurement prevents expensive redesigns and ensures your countertops align perfectly with your kitchen’s layout. Double-checking all dimensions before cutting saves time and materials throughout the installation process.
Create Proper Overhang for Bar Seating
Designing your countertop with at least a 12-inch overhang provides comfortable legroom for bar seating areas. We position this overhang strategically to create an inviting space for guests while maintaining the kitchen’s functionality.
Supporting the countertop underneath prevents sagging and structural damage over time. Sturdy braces or reinforced framing distribute weight evenly across the overhang area. We install additional support brackets every 24 inches for materials like granite or concrete that require extra reinforcement.
Calculating the overhang depth based on stool height ensures comfortable seating arrangements. Standard counter height requires different overhang specifications than bar-height installations.
Seal Edges Against Weather Damage
Sealing all countertop edges with weather-resistant materials protects against moisture infiltration and extends your kitchen’s lifespan. We apply high-quality waterproof caulking around seams, cutouts, and edges where water might penetrate.
Different countertop materials require exact sealing approaches for optimal protection. Stone surfaces benefit from specialized stone sealants, while concrete countertops need concrete-exact weatherproofing products. We reapply sealants periodically according to manufacturer recommendations to maintain protection.
Installing grill arms around appliance cutouts reinforces openings and secures appliances firmly in place. These supports prevent shifting and provide additional structural integrity to your countertop installation.
Add Finishing Touches and Accessories
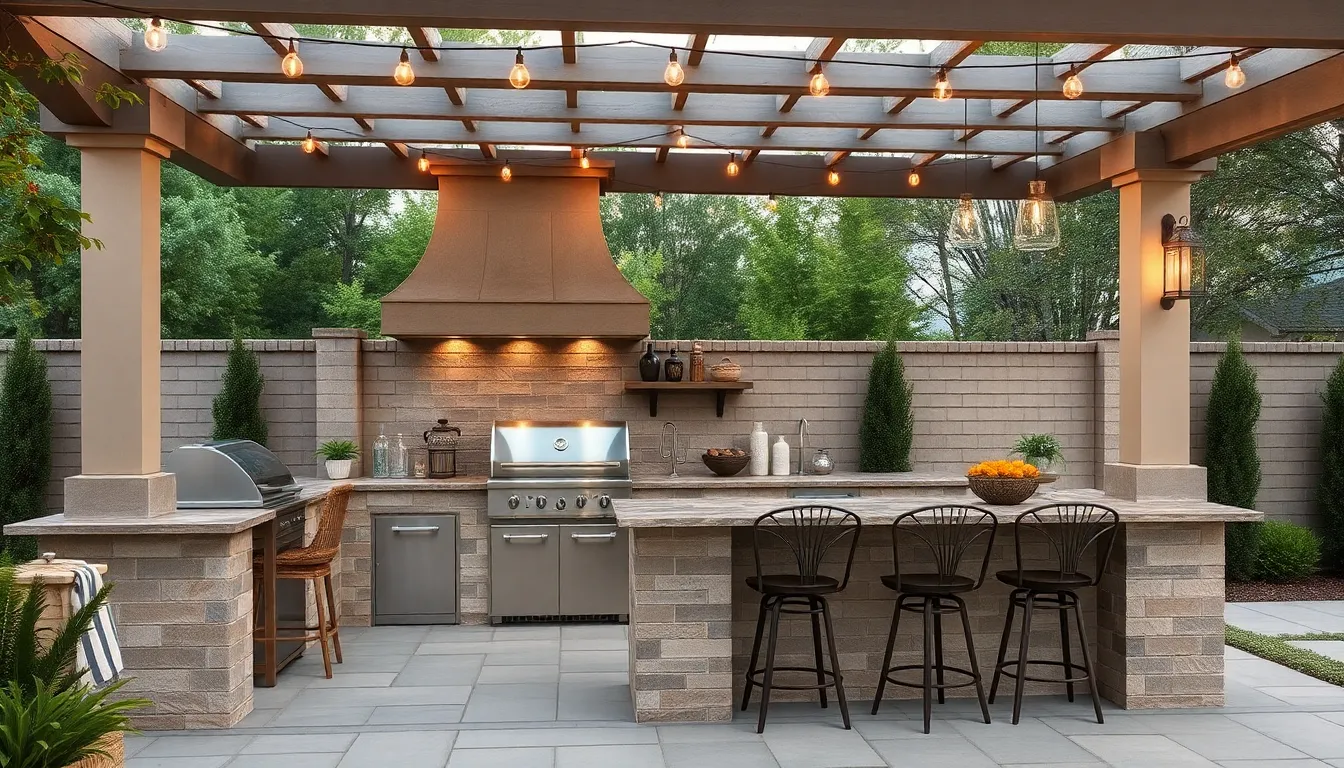
Now that we’ve constructed the core structure of our outdoor BBQ kitchen, it’s time to transform it into a truly functional and personalized cooking space.
Install Backsplash and Decorative Elements
Installing a quality backsplash protects our kitchen from grease splatters while improving the overall aesthetic appeal. Tile, stone, or stainless steel materials work exceptionally well for outdoor applications since they withstand weather exposure and resist staining. We recommend choosing materials that complement our countertop selection and maintain visual consistency throughout the space.
Stone veneers add natural charm and can seamlessly blend with existing industry features. Tile accents offer endless design possibilities, from classic subway patterns to bold geometric designs that reflect our personal style. Wood trim provides warmth and texture but requires proper sealing to resist moisture and UV damage.
Safety clearances around grills and heat sources must follow manufacturer guidelines precisely. We should maintain appropriate distances from combustible surfaces and ensure decorative elements won’t interfere with ventilation requirements. These precautions prevent fire hazards while allowing us to express our design preferences freely.
Mount Task Lighting and Ambient Features
Proper lighting extends our outdoor kitchen’s usability well into evening hours and creates a welcoming atmosphere for guests. Task lighting near cooking and prep areas ensures we can safely handle sharp tools and monitor food temperatures after sunset. Under cabinet LED strips provide excellent work surface illumination while consuming minimal energy.
Ambient lighting transforms our space into an inviting entertainment area perfect for hosting gatherings. String lights create a festive atmosphere, while lanterns or pendant fixtures add sophisticated touches that complement our design theme. We can install dimmer switches to adjust lighting levels based on different activities and moods.
Weather resistant fixtures and proper electrical planning are essential for long term performance. All electrical work should meet local code requirements and include GFCI protection for outdoor installations. We need to plan wire routing carefully to avoid interference with plumbing or gas lines installed earlier.
Add Weather Protection with Pergolas or Covers
Building a pergola or installing protective covers extends our outdoor kitchen’s usability during various weather conditions. These structures provide shade from intense sun while maintaining adequate airflow for safe cooking operations. Pergolas can support climbing plants that add natural beauty and additional cooling benefits.
Retractable covers offer flexible protection options that we can adjust based on current weather conditions. Waterproof awnings shield our cooking area from rain while allowing us to continue meal preparation during light precipitation. Canvas or vinyl materials work well for temporary covers, while metal roofing provides permanent protection.
Structural considerations include proper anchoring to withstand wind loads and adequate height clearances for safe grill operation. We should consult local building codes to determine if permits are required for permanent structures. The aesthetic design should complement our home’s architecture and industry features for a cohesive outdoor living environment.
Test Your DIY Outdoor BBQ Kitchen Setup
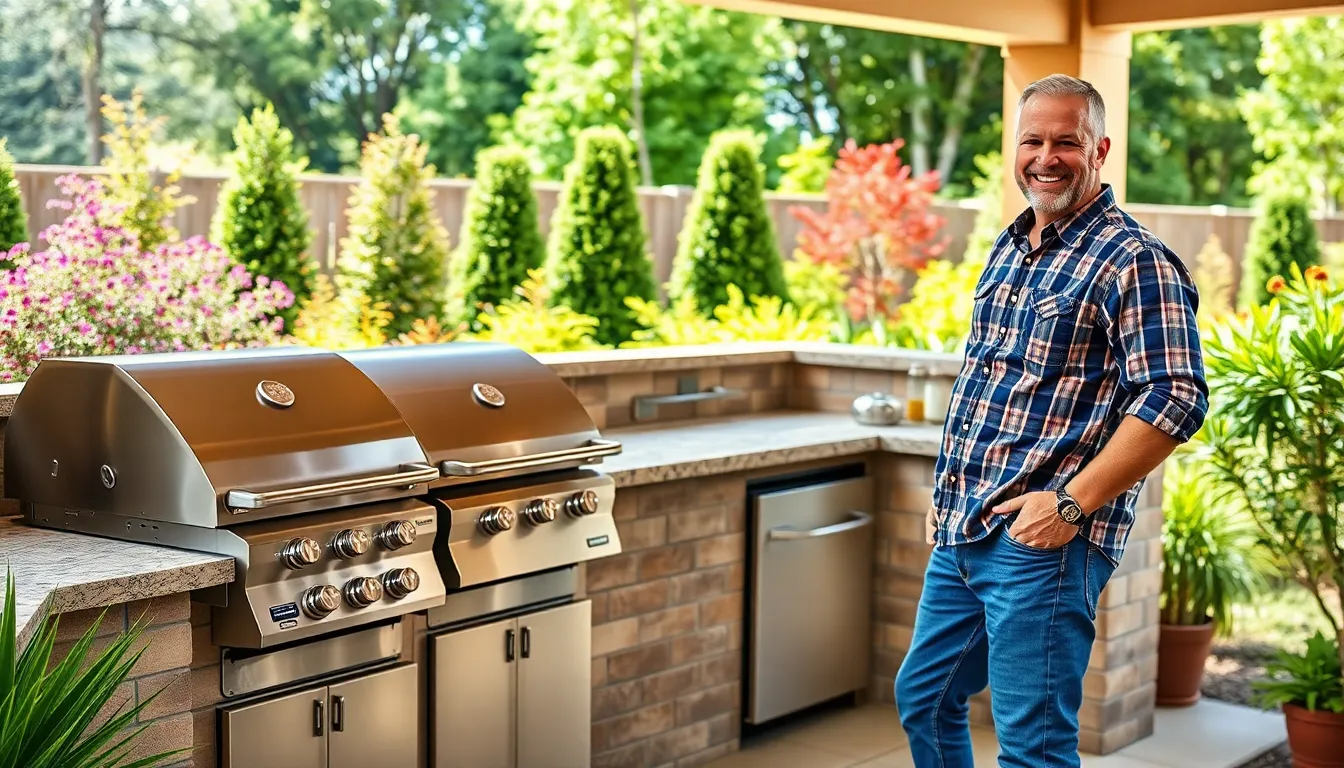
We’ve reached the crucial stage where testing ensures your outdoor BBQ kitchen operates safely and efficiently. Thorough testing prevents potential hazards and guarantees optimal performance before your first cookout.
Check All Electrical and Plumbing Connections
Verify all wiring meets safety standards by having a licensed electrician inspect connections before energizing circuits. GFCI protection must function properly on all outdoor electrical outlets to prevent shock hazards in wet conditions. Test each outlet using a GFCI tester to confirm proper operation and reset functionality.
Inspect water line connections at all joints and fittings for signs of leaks or loose connections. Turn on water supply gradually and check each connection point including shutoff valves, faucets, and any ice maker lines. Look for drips, moisture buildup, or pressure drops that indicate connection issues requiring immediate attention.
Examine gas line installations with soapy water solution applied to all joints and connections while gas is flowing. Bubbles indicate dangerous gas leaks that demand professional repair before operating any gas appliances. Confirm proper regulator installation and verify correct gas pressure readings match manufacturer specifications for your appliances.
Season Your Grill and Test All Appliances
Season your grill grates by coating them with high heat cooking oil and running the grill at maximum temperature for 15-20 minutes. This process creates a protective coating that prevents rust and improves food release. Allow grates to cool completely before wiping away excess oil residue.
Test all burner operations by igniting each burner individually and checking for even flame distribution across cooking surfaces. Blue flames indicate proper combustion while yellow or orange flames suggest airflow adjustments or cleaning requirements. Verify temperature controls respond accurately and maintain consistent heat levels.
Check refrigeration units by monitoring internal temperatures over 24 hours to ensure proper cooling performance. Ice makers should produce clear, solid ice cubes without unusual noises or operational delays. Verify door seals create tight closures and interior lighting functions correctly.
Verify Safety Features and Emergency Shutoffs
Test emergency gas shutoff valves by practicing quick closure procedures and confirming complete gas flow stoppage. These valves should turn easily without excessive force and completely stop gas flow to all connected appliances. Mark valve locations clearly and ensure family members know their positions.
Confirm fire safety clearances meet manufacturer specifications around all heat-producing appliances and combustible materials. Measure distances from grills to overhanging structures, nearby vegetation, and storage areas containing flammable items. Install heat shields if clearances fall short of required safety distances.
Verify electrical breakers and GFCI outlets respond properly during testing by intentionally tripping protection devices and confirming they reset correctly. Test all lighting circuits, outlet functionality, and any installed ventilation fans under load conditions. Document breaker locations and create a reference guide for quick emergency access.
Conclusion
We’ve walked you through every step of creating your dream outdoor BBQ kitchen from initial planning to final testing. This comprehensive DIY approach allows you to build exactly what you want while staying within your budget and timeline.
Remember that patience and attention to detail are your best friends throughout this process. Take time with each phase and don’t rush the installation of utilities or safety systems. Your outdoor kitchen will become the heart of your backyard entertainment space for years to come.
Start with your planning phase this weekend and begin gathering materials. Before you know it you’ll be hosting unforgettable gatherings in your custom-built outdoor cooking paradise. Your family and friends will be impressed by what you’ve accomplished with your own hands.
Frequently Asked Questions
What is the ideal location for a DIY outdoor BBQ kitchen?
The best location is within 15-20 feet of your indoor kitchen for convenience and near existing utilities to reduce installation costs. Choose ground that’s stable and well-draining, avoiding low-lying areas prone to water accumulation. Ensure proper clearances from combustible materials and adequate ventilation to prevent smoke buildup.
What are the best grill options for an outdoor BBQ kitchen?
Gas grills offer convenience and precise temperature control, charcoal provides authentic smoky flavor, and electric grills work well in areas with fire restrictions. Consider your cooking preferences, local regulations, and available utilities. Ensure proper clearance (typically 6-10 inches) and ventilation regardless of your choice.
Which countertop materials work best for outdoor kitchens?
Granite, concrete, and stainless steel are top choices for outdoor countertops. These materials resist weather damage, are easy to maintain, and handle temperature fluctuations well. Granite offers natural beauty, concrete allows customization, and stainless steel provides a professional look with excellent durability.
Do I need professional help for utilities installation?
Yes, hire licensed professionals for electrical, plumbing, and gas installations. This ensures compliance with local building codes and safety standards. Professional installation is especially critical for gas lines and electrical systems, as improper installation can create serious safety hazards and void insurance coverage.
What safety considerations should I keep in mind?
Maintain proper clearances around heat sources, install GFCI outlets for electrical safety, and ensure adequate ventilation. Test all gas connections for leaks, verify emergency shutoffs work correctly, and follow local fire safety codes. Always wear protective equipment during construction and have fire extinguishing equipment accessible.
How do I protect my outdoor kitchen from weather damage?
Use weather-resistant materials like marine-grade polymer cabinets, seal all exposed edges and joints, and consider adding pergolas or retractable covers. Install proper drainage around the kitchen area and choose hardware specifically designed for outdoor use. Regular maintenance and seasonal inspections help prevent weather-related damage.
What tools do I need for DIY construction?
Essential power tools include circular saws, drills, jigsaws, and sanders. You’ll also need measuring tools, levels, and safety equipment like goggles, ear protection, and gloves. Use galvanized screws and metal brackets for durability. Having the right tools ensures safer construction and professional-looking results.
How do I create efficient workflow zones?
Design distinct areas for grilling, food prep, storage, and serving. Place frequently used items within easy reach of the cooking area. Allow adequate counter space on both sides of the grill and position storage strategically. Good workflow design reduces movement and makes cooking more enjoyable.
