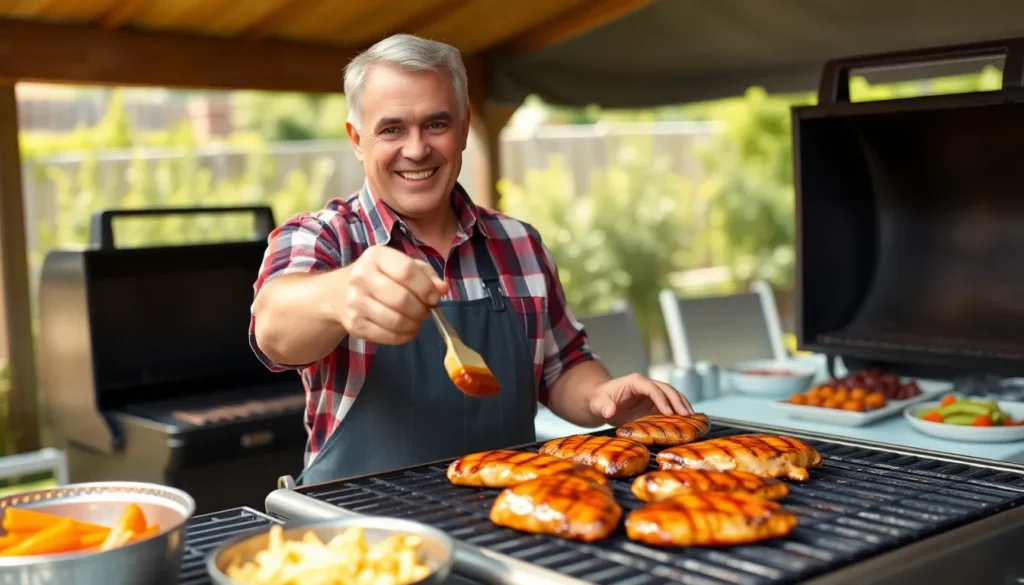
We’ve all been there – standing in front of the grill wondering how to transform bland chicken breasts into something spectacular. The secret lies in mastering the perfect BBQ chicken breast that’s juicy on the inside with a gorgeous caramelized exterior that’ll have your neighbors peeking over the fence.
Grilling chicken breast doesn’t have to be intimidating or result in dry disappointing meat. With our foolproof technique you’ll discover how to achieve that ideal balance of smoky flavor and tender texture that makes restaurant-quality BBQ at home totally achievable.
This recipe delivers everything you want in BBQ chicken – bold flavors that penetrate deep into the meat and a beautiful char that screams summer cookout perfection. Whether you’re hosting a backyard gathering or simply craving that irresistible smoky taste we’ll show you exactly how to nail it every single time.
Ingredients
We’ve carefully selected each ingredient to deliver maximum flavor and ensure your chicken stays juicy throughout the grilling process. These components work together to create the perfect balance of smoky spice and tender meat.
For the BBQ Rub
- 2 tablespoons brown sugar
- 1 tablespoon paprika
- 1 tablespoon chili powder
- 1 teaspoon garlic powder
- 1 teaspoon onion powder
- 1 teaspoon ground cumin
- 1 teaspoon smoked paprika
- 1/2 teaspoon black pepper
- 1/2 teaspoon salt
- 1/4 teaspoon cayenne pepper
For the Chicken
- 4 boneless skinless chicken breasts (6-8 ounces each)
- 2 tablespoons olive oil
- 1 teaspoon salt (for brining)
For the BBQ Sauce (Optional)
- 1 cup ketchup
- 1/4 cup apple cider vinegar
- 2 tablespoons brown sugar
- 1 tablespoon Worcestershire sauce
- 1 teaspoon liquid smoke
- 1/2 teaspoon garlic powder
- 1/4 teaspoon black pepper
Equipment Needed
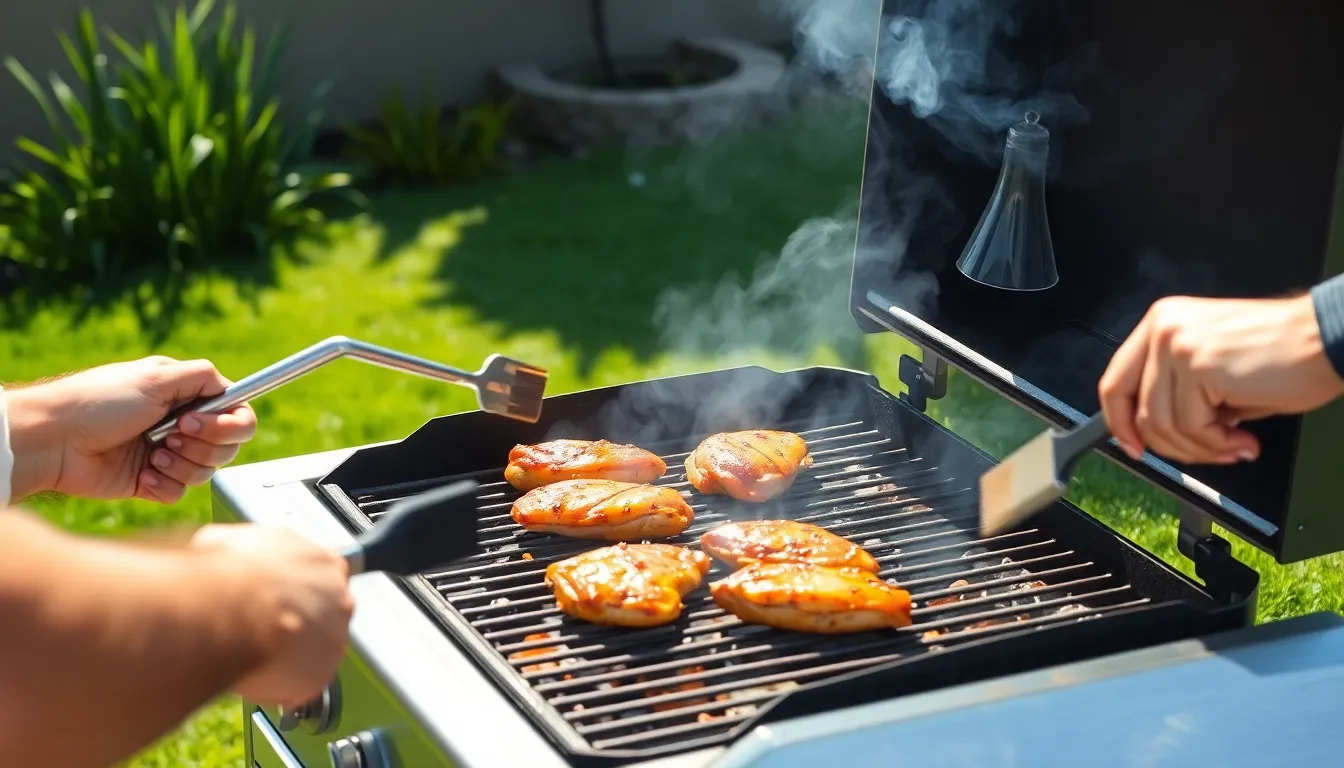
Before we jump into grilling our perfectly seasoned chicken breasts, let’s gather the essential tools that will ensure our BBQ chicken turns out juicy and flavorful every time.
Grill or Grill Pan serves as our primary cooking surface. We need equipment capable of reaching medium-high to high temperatures around 450-500°F for proper cooking and those coveted char marks. An outdoor grill works best, but an indoor grill pan can deliver excellent results when outdoor grilling isn’t possible.
Meat Thermometer becomes our most reliable ally for food safety and quality. We use this tool to monitor internal temperature, ensuring our chicken reaches the critical 165°F mark without overcooking and drying out the meat.
Basting Brush allows us to apply our BBQ sauce evenly during the final minutes of grilling. A silicone brush works exceptionally well since it can withstand high heat and won’t shed bristles onto our food.
Long-Handled Tongs provide safe handling over hot grill grates. We rely on these tools for flipping and maneuvering chicken pieces without getting too close to the intense heat.
Grill Top Rack offers an optional upgrade for indirect heat cooking. This accessory helps maintain moisture while delivering that signature grilled flavor without the risk of burning our carefully crafted BBQ glaze.
| Equipment | Temperature Range | Primary Function |
|---|---|---|
| Grill/Grill Pan | 450-500°F | Main cooking surface |
| Meat Thermometer | 165°F target | Food safety monitoring |
| Basting Brush | Heat resistant | Sauce application |
| Long Tongs | N/A | Safe handling |
| Grill Top Rack | Indirect heat | Moisture retention |
Each piece of equipment plays a exact role in creating our ultimate BBQ chicken breast experience, transforming simple ingredients into restaurant-quality results.
Prep Instructions
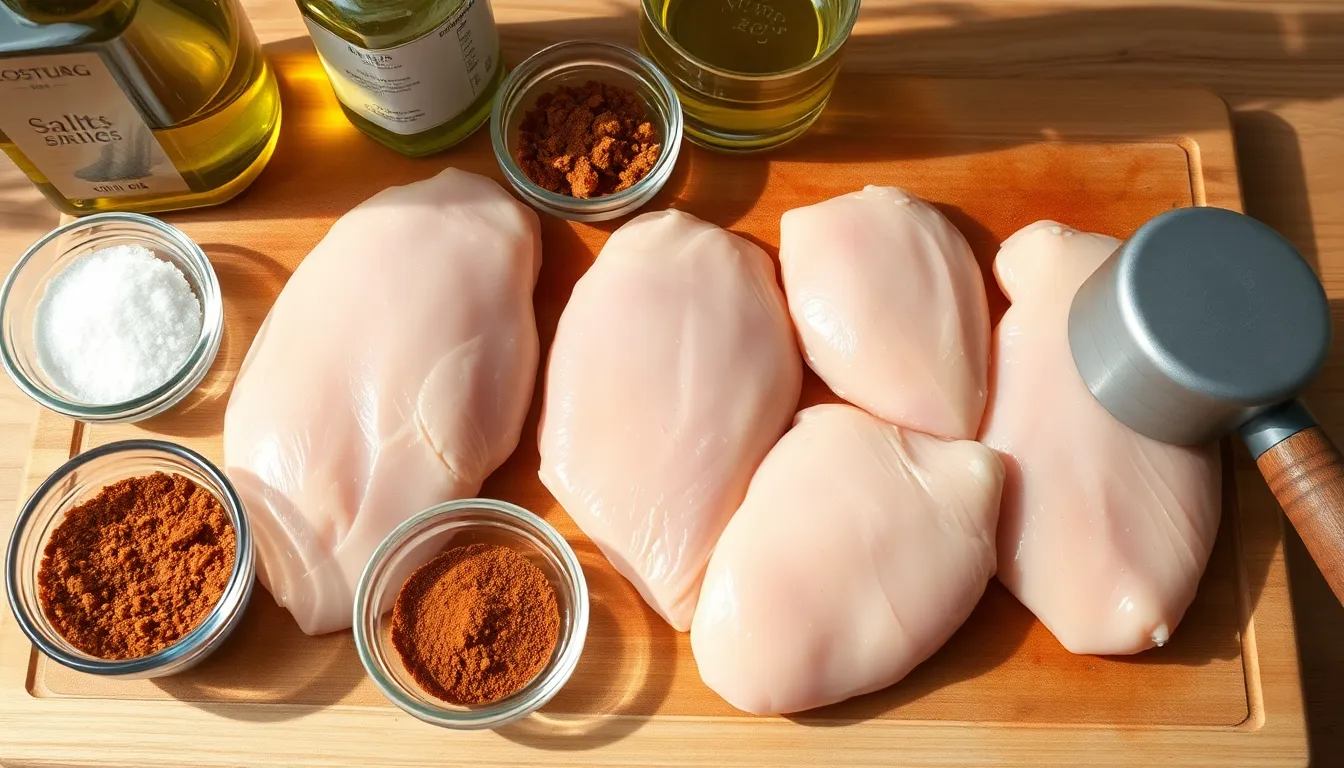
Proper preparation sets the foundation for achieving perfectly grilled BBQ chicken breasts that remain juicy and flavorful. We’ll walk through each essential step to ensure your chicken cooks evenly and develops that coveted caramelized exterior.
Preparing the Chicken Breasts
Start with 4 medium boneless, skinless chicken breasts weighing approximately 2 pounds total. We need to pound them lightly to create an even thickness across each breast for uniform cooking. Using a meat mallet or rolling pin, gently flatten the chicken to about 1/2 to 3/4 inch thickness throughout.
This tenderizing process ensures the chicken cooks evenly and prevents the thicker portions from remaining undercooked while the thinner areas become overcooked. Allow the chicken to sit at room temperature for 15 to 20 minutes before cooking to promote even heat distribution.
Making the BBQ Rub
Combine these dry ingredients in a small bowl to create our signature BBQ rub:
- 1 teaspoon kosher salt
- 1/2 teaspoon black pepper
- 1/2 teaspoon garlic powder
- 1/2 teaspoon onion powder
- 1/2 teaspoon paprika or chili powder
- 2 teaspoons brown sugar (optional for added sweetness and caramelization)
Mix the spices thoroughly until well blended. Smoked paprika works exceptionally well if you want to enhance the grilled smoky flavor profile. The brown sugar helps create that beautiful caramelized crust we’re aiming for during the grilling process.
Seasoning the Chicken
Drizzle 2 tablespoons of olive oil over each chicken breast before applying the rub. This step helps the spices adhere properly and keeps the meat moist during cooking. Sprinkle the BBQ rub mixture evenly over both sides of each chicken breast.
Use your hands to massage the seasoning into the meat, ensuring complete coverage across all surfaces. Press the rub gently into the chicken to help it penetrate the surface. The oil creates a barrier that prevents the spices from burning while allowing them to develop deep flavor during the grilling process.
Cooking Instructions
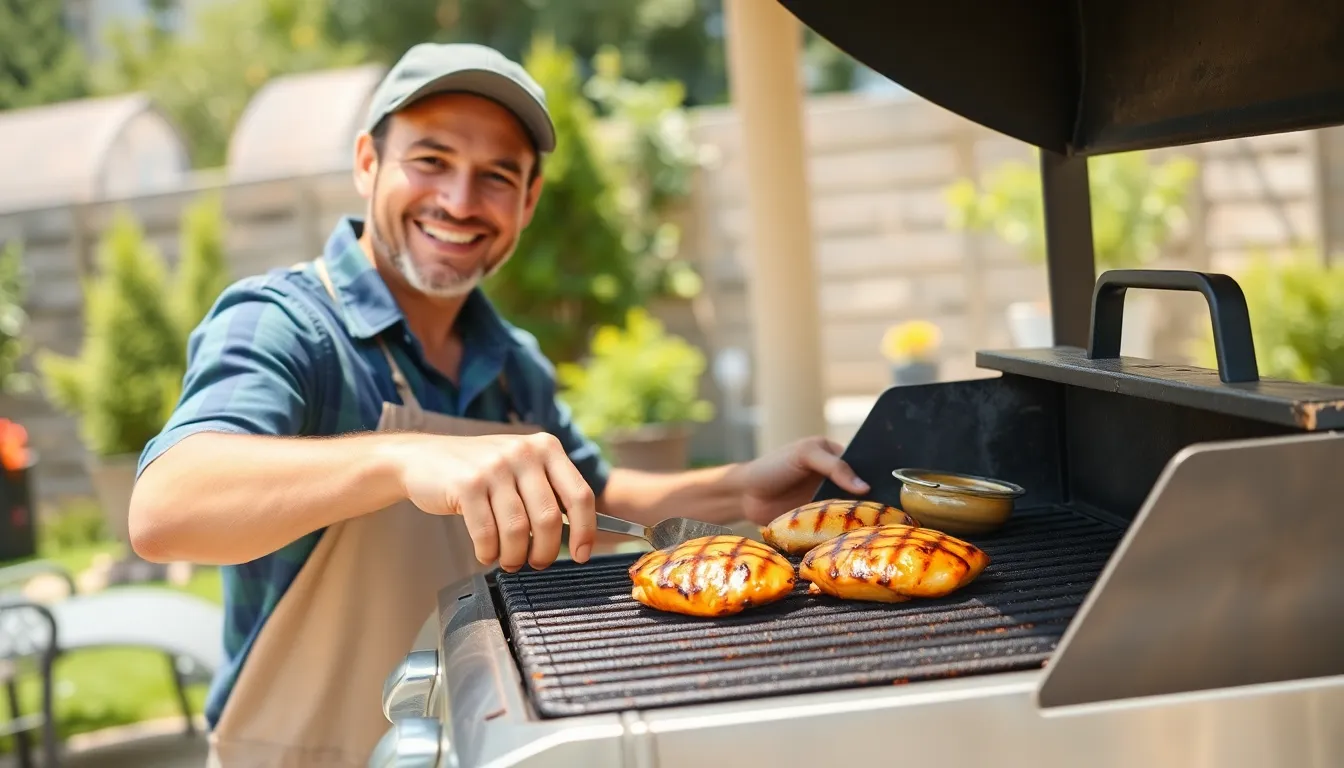
Now we’ll guide you through the grilling process that transforms your seasoned chicken into perfectly cooked BBQ chicken breasts. These steps ensure even cooking and juicy results every time.
Preheating the Grill
We start by preheating our grill to medium-high heat, targeting a temperature range of 375°F to 450°F. This temperature zone allows the chicken breasts to cook evenly without drying out while developing that coveted caramelized exterior. Clean the grill grates thoroughly and lightly oil them to prevent sticking. Allow the grill to reach the proper temperature before placing the chicken, which typically takes 10 to 15 minutes for most gas grills.
Grilling the Chicken Breasts
We place the seasoned chicken breasts on the preheated grill and cook for 6 to 8 minutes on the first side without moving them. This initial searing creates those beautiful grill marks and locks in the juices. After flipping the chicken, we baste with barbecue sauce and continue grilling for another 6 to 8 minutes. Resist the urge to press down on the chicken with your spatula as this forces out the precious juices. If flare-ups occur, we simply move the chicken to a cooler section of the grill temporarily to prevent burning.
Checking for Doneness
We use a meat thermometer to ensure food safety and perfect results by inserting it into the thickest part of the chicken breast. The internal temperature should reach 160°F to 165°F for safe consumption. Alternatively, we can pierce the chicken with a knife and check that the juices run clear rather than pink. Once the chicken reaches the proper temperature, we remove it from the grill and let it rest for 5 to 10 minutes covered loosely with foil to allow the juices to redistribute throughout the meat.
Sauce and Finishing
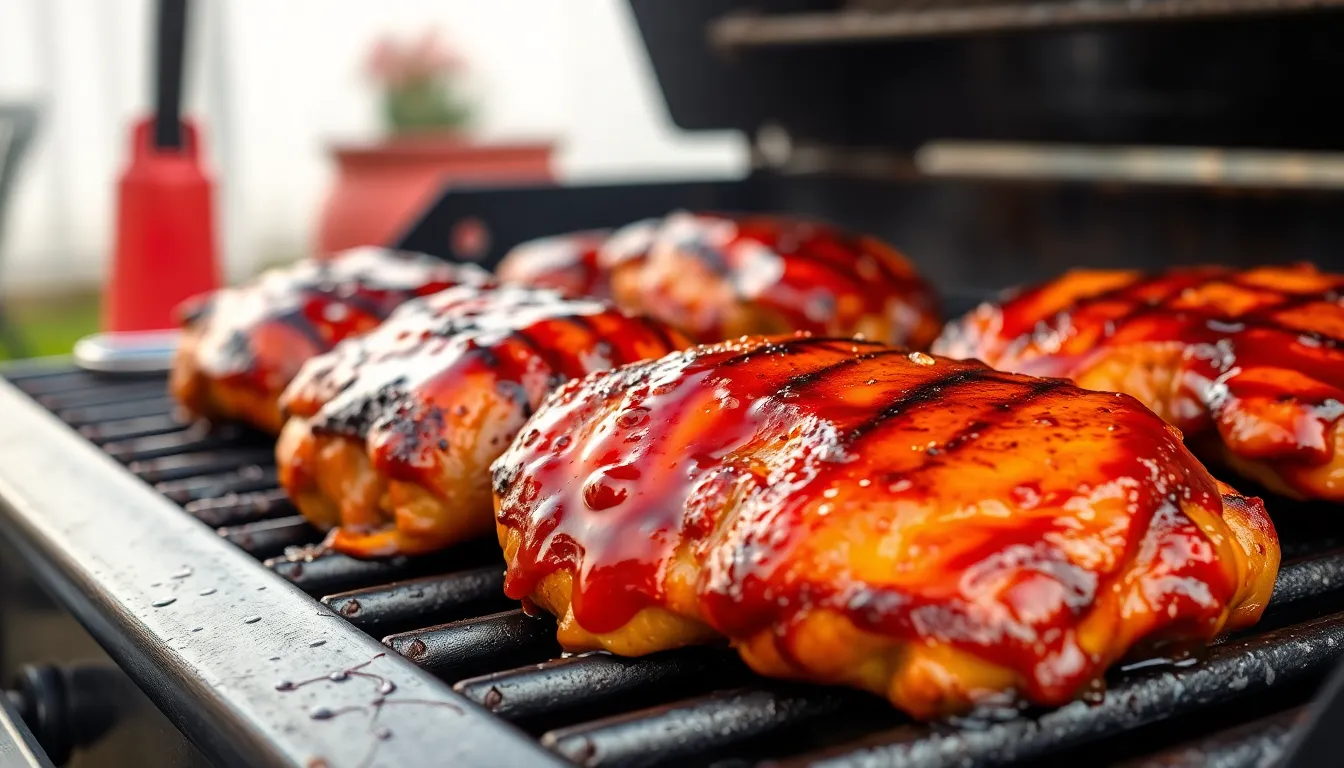
The final grilling phase transforms our seasoned chicken into a beautifully glazed BBQ masterpiece. This critical step requires precise timing to achieve that perfect caramelized exterior while maintaining juicy interior meat.
Applying BBQ Sauce
After the initial 6-minute grill per side we apply our BBQ sauce strategically to build layers of flavor. We baste each chicken breast generously with approximately 1/4 cup of BBQ sauce immediately after flipping the meat for the first time. This timing prevents the sauce from burning while allowing it to penetrate the surface and begin caramelizing.
The sauce application should coat the entire surface evenly using a basting brush to ensure complete coverage. We continue grilling for an additional 2 minutes per side after sauce application allowing the sugars in the BBQ sauce to caramelize and create that signature glossy finish. During this phase we monitor the internal temperature closely as it should reach 155°F to 160°F.
The caramelization process creates complex flavors while the sauce forms a protective barrier that helps retain moisture. We avoid applying sauce too early in the cooking process as this can lead to burning and bitter flavors that overpower the chicken.
Final Grilling Steps
Once our chicken reaches the target internal temperature range we remove the breasts from the grill immediately to prevent overcooking. We tent the chicken loosely with aluminum foil to create a gentle steam environment that continues the cooking process through residual heat.
The resting period lasts exactly 5 minutes allowing the internal temperature to climb from 155°F to the safe target of 165°F. This technique ensures food safety while preventing the dry texture that results from overcooking directly on the grill.
During the resting phase the muscle fibers relax and redistribute the juices throughout the meat creating that perfect tender texture we desire. We resist the temptation to cut into the chicken immediately as this would release the accumulated juices and result in drier meat.
The final internal temperature measurement should confirm 165°F at the thickest part of each breast before serving. Our BBQ chicken emerges with a beautiful caramelized glaze perfectly balanced moisture and that signature smoky flavor that makes this recipe a standout choice for any grilling occasion.
Make-Ahead Instructions
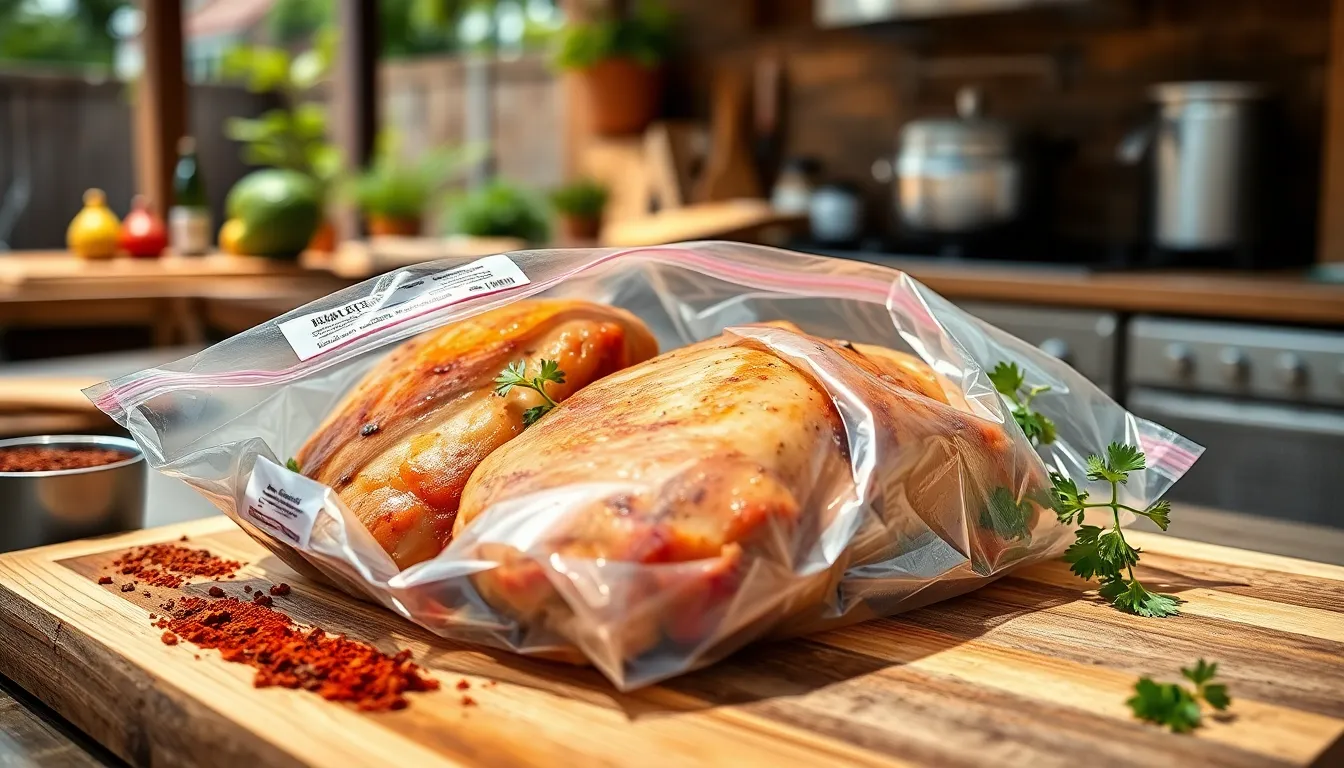
We understand that busy schedules and entertaining guests often require advance preparation. Our BBQ chicken breast recipe adapts perfectly to make-ahead strategies that save time without compromising flavor or quality.
Marinating in Advance
Season the chicken breasts with our signature BBQ rub several hours before cooking or even overnight in the refrigerator. This extended marinating time allows the spices to penetrate deeper into the meat while creating more complex flavors. We recommend placing the seasoned chicken in a sealed container or resealable bag to prevent cross-contamination and maximize flavor absorption.
The salt in our rub acts as a natural brine during this extended period, helping the chicken retain moisture throughout the cooking process. Brown sugar in the spice mixture begins to break down and tenderize the meat fibers, resulting in exceptionally juicy chicken when grilled.
Pre-Cooking Strategy
We can partially cook the chicken breasts ahead of time using our oven method at 450°F for approximately 12 minutes. This technique brings the internal temperature to about 140°F, leaving the final cooking and caramelization for when guests arrive. Cool the partially cooked chicken completely before refrigerating for up to 24 hours.
When ready to serve, we finish the chicken on the grill or under the broiler with fresh BBQ sauce. This approach requires only 5 to 8 additional minutes of cooking time while achieving that signature caramelized exterior and perfect internal temperature of 165°F.
Sauce Preparation
Our BBQ sauce benefits from advance preparation and actually improves in flavor when made a day ahead. Store the prepared sauce in the refrigerator and warm it slightly before applying to the chicken. This warming step helps the sauce spread evenly and caramelize more effectively during the final cooking phase.
We recommend preparing extra sauce for serving alongside the finished chicken. Guests often appreciate having additional warm sauce available for drizzling over their portions.
Serving Suggestions
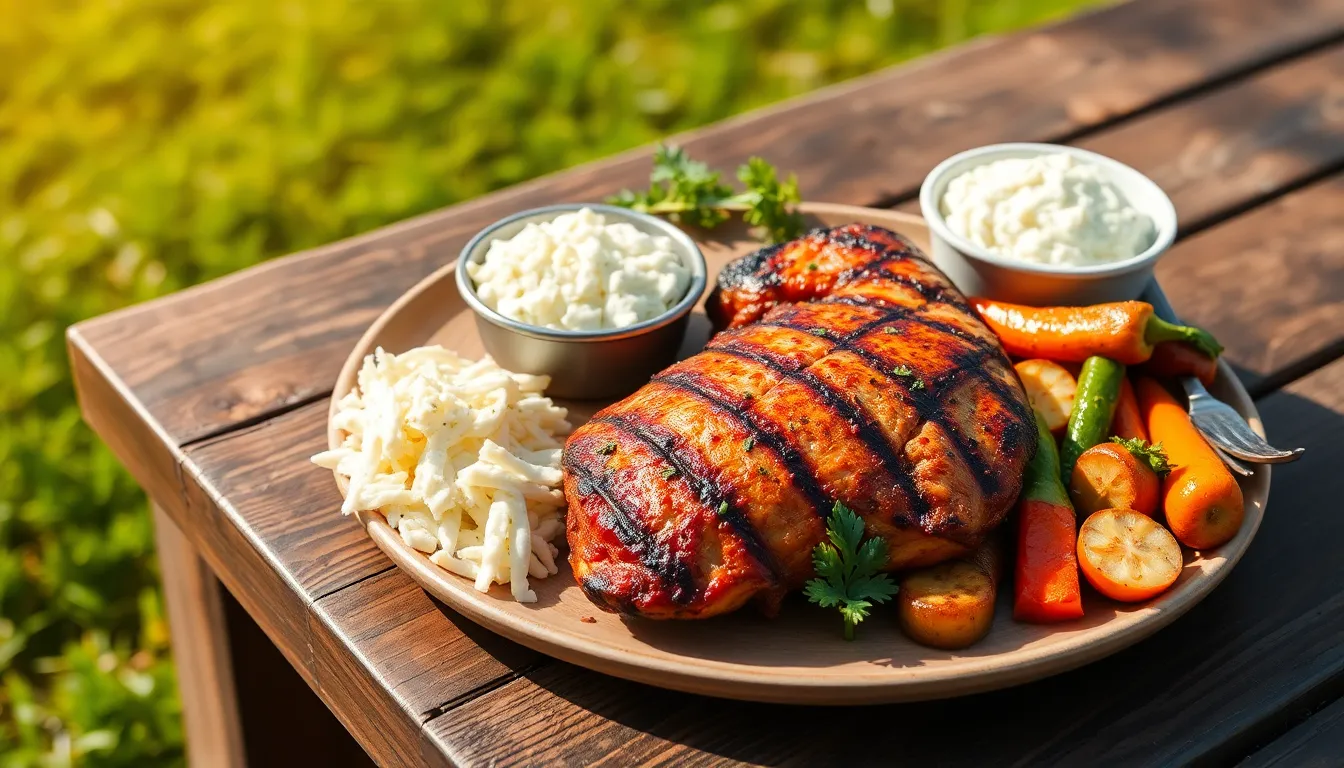
Our perfectly grilled BBQ chicken breast pairs beautifully with classic side dishes that complement its smoky, tangy flavors. We recommend serving alongside traditional favorites like creamy coleslaw, which provides a cool contrast to the warm, caramelized chicken. Corn on the cob grilled with butter and herbs creates a perfect summer combination, while baked beans add hearty richness to your plate.
Fresh salads transform our BBQ chicken into lighter meal options. Slice the grilled breast over mixed greens with cherry tomatoes, cucumbers, and your favorite vinaigrette for a protein-packed salad. We love creating BBQ chicken grain bowls using quinoa or brown rice as a base, topped with roasted vegetables and a drizzle of extra BBQ sauce.
Sandwiches and wraps offer versatile serving options for casual dining. Layer sliced BBQ chicken breast on toasted buns with crisp lettuce, dill pickles, and additional BBQ sauce for a crowd-pleasing sandwich. Soft tortillas work wonderfully for BBQ chicken wraps, especially when paired with fresh coleslaw and creamy avocado slices.
Transform leftover chicken into exciting new meals by dicing it for BBQ chicken tacos. Add diced chicken to corn tortillas with shredded cabbage, cilantro, and lime crema for a Mexican-inspired twist. Pizza lovers can use sliced BBQ chicken as a gourmet topping with red onions and mozzarella cheese.
Grilled vegetables make excellent accompaniments that can cook alongside your chicken. Asparagus spears, bell pepper strips, and zucchini rounds develop beautiful char marks and smoky flavors when grilled over the same heat. Potato salad remains a timeless pairing that balances the bold BBQ flavors with creamy, comforting textures.
Our BBQ chicken breast recipe works equally well for summer cookouts and weeknight dinners, adapting to both casual family meals and entertaining guests with its restaurant-quality results.
Storage and Reheating
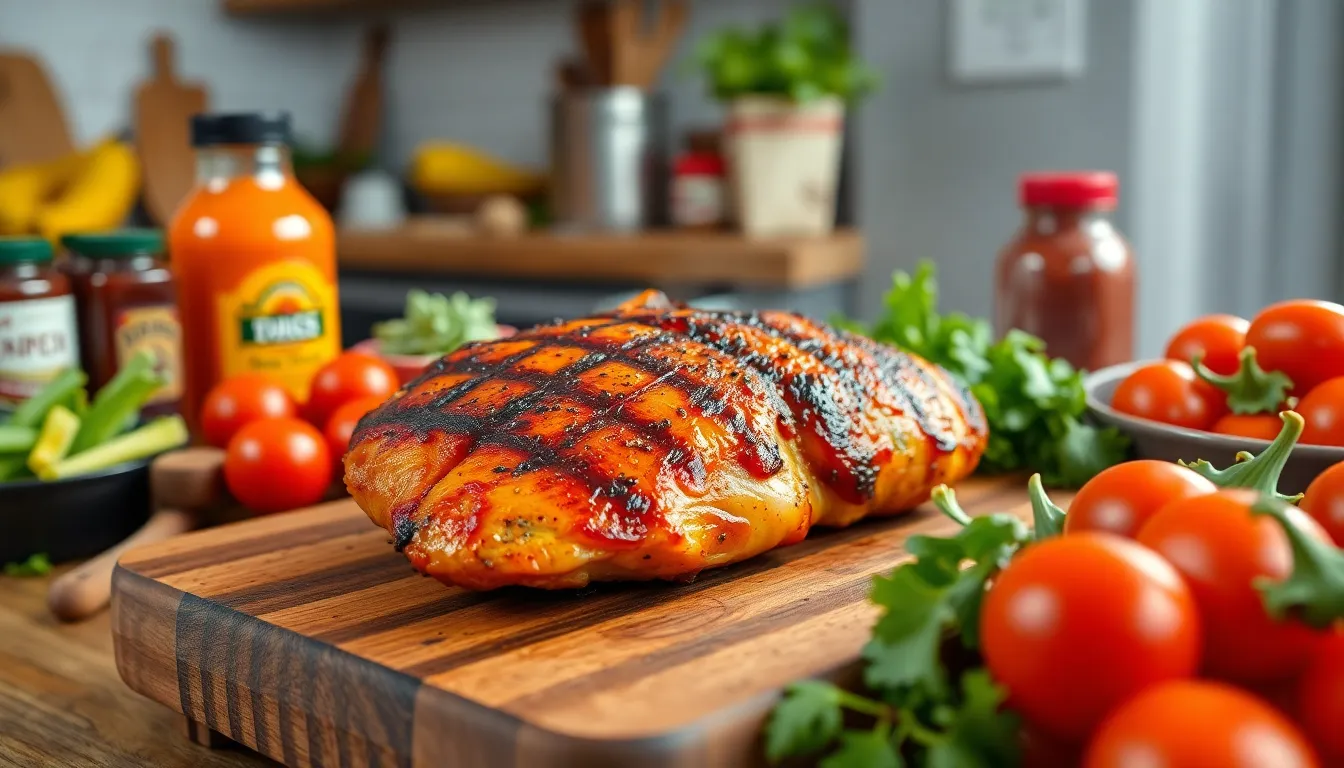
Proper storage extends the life of our perfectly grilled BBQ chicken while maintaining its delicious flavor and texture. We always allow the cooked chicken breasts to cool completely before storing them to prevent condensation that can lead to soggy meat.
Storing Your BBQ Chicken
Our leftover BBQ chicken should be placed in an airtight container to preserve freshness and prevent the absorption of other refrigerator odors. When stored correctly in the refrigerator, the chicken remains safe and delicious for up to 5-7 days. We recommend labeling containers with the date to track freshness and ensure food safety.
| Storage Method | Duration | Temperature |
|---|---|---|
| Refrigerator | 5-7 days | Below 40°F |
| Freezer | Up to 3 months | 0°F or below |
Reheating Methods That Preserve Moisture
Reheating BBQ chicken without drying it out requires the right technique. We’ve found several effective methods that maintain the juiciness and flavor we worked so hard to achieve during grilling.
Oven Method
We preheat our oven to 350°F and place the chicken in a baking dish with a splash of chicken broth or water. Covering the dish with foil traps steam and prevents moisture loss during the 15-25 minute reheating process. Removing the foil for the final few minutes helps restore some crispness to the exterior if desired.
Stovetop Method
Quick stovetop reheating works exceptionally well for our sauced BBQ chicken. We heat the chicken over medium heat with a lid covering the pan to maintain moisture. The BBQ sauce reheats evenly using this method without drying out the meat.
Microwave Method
While suitable for quick reheating, microwaving requires extra care to prevent drying. We cover the chicken to trap steam and reheat in short intervals, checking frequently to avoid overcooking.
Water Bath Method
Placing sealed chicken in a hot water bath at approximately 150°F provides gentle reheating that preserves the original texture. This sous vide style approach prevents the moisture loss that can occur with direct heat methods.
Each reheating method maintains the smoky flavor and tender texture that makes our BBQ chicken breast recipe so satisfying, ensuring every leftover portion tastes as good as the original meal.
Conclusion
This BBQ chicken breast recipe transforms everyday ingredients into something truly spectacular. We’ve shared our proven techniques for achieving that perfect balance of smoky flavor and tender juicy meat that’ll make your neighbors jealous.
The key lies in proper preparation timing and temperature control. By following our step-by-step approach you’ll avoid the common pitfalls that lead to dry overcooked chicken.
Whether you’re hosting a weekend cookout or simply craving restaurant-quality BBQ at home this recipe delivers consistent results every time. Fire up that grill and get ready to enjoy the most flavorful chicken breasts you’ve ever made.
Frequently Asked Questions
What makes this BBQ chicken recipe different from others?
This recipe focuses on creating juicy, perfectly cooked chicken with a beautifully caramelized exterior. The key is using a strategic BBQ rub with brown sugar and spices, proper grilling technique with temperature monitoring, and applying sauce at the right time to prevent burning while building flavor layers.
What ingredients do I need for the BBQ rub?
The BBQ rub includes brown sugar, paprika, chili powder, garlic powder, onion powder, ground cumin, smoked paprika, black pepper, salt, and cayenne pepper. These ingredients work together to create maximum flavor while keeping the chicken moist during grilling.
What equipment is essential for grilling BBQ chicken?
You’ll need a grill or grill pan, meat thermometer (crucial for 165°F internal temperature), basting brush for sauce application, long-handled tongs for safe handling, and optionally a grill top rack for indirect heat cooking. Each tool plays a vital role in achieving restaurant-quality results.
How do I prepare the chicken before grilling?
Start with 4 medium boneless, skinless chicken breasts. Pound them lightly for even thickness, let them sit at room temperature for 15-20 minutes, drizzle with olive oil, then massage the BBQ rub into the meat for complete coverage and better flavor penetration.
What’s the proper grilling technique for BBQ chicken?
Preheat grill to medium-high heat (375°F-450°F), clean and oil grates, cook chicken 6-8 minutes per side, baste with BBQ sauce in final minutes, and check internal temperature reaches 160°F-165°F. Rest for 5-10 minutes before serving.
Can I prepare BBQ chicken ahead of time?
Yes! Marinate chicken several hours or overnight for enhanced flavor. The salt acts as a natural brine, while brown sugar tenderizes meat. You can also partially cook in the oven before finishing on the grill, and prepare BBQ sauce in advance.
What are the best side dishes to serve with BBQ chicken?
Classic pairings include creamy coleslaw, grilled corn, baked beans, fresh salads, and potato salad. The chicken also works great in sandwiches, wraps, tacos, grain bowls, or as pizza topping, making it versatile for various meal occasions.
How should I store and reheat leftover BBQ chicken?
Cool completely before storing in airtight container. Refrigerate up to 5-7 days or freeze up to 3 months. Reheat using oven, stovetop, microwave, or water bath methods to preserve moisture and flavor, ensuring leftovers taste as good as fresh.

