Nothing beats the sizzle of a BBQ grill firing up for the perfect outdoor gathering. But while your main dishes are cooking to perfection, your guests are probably getting hungry and ready to munch on something delicious. That’s where easy BBQ appetizers come to the rescue.
We’ve all been there – scrambling to put together last-minute snacks that won’t steal the spotlight from your carefully planned main course. The best BBQ appetizers should be simple to prepare, crowd-pleasing, and complement those smoky flavors you’re already creating on the grill.
Whether you’re hosting a backyard party, tailgating event, or casual family cookout, having a solid lineup of effortless appetizers will keep everyone satisfied and set the tone for an unforgettable meal. We’ll show you exactly how to create impressive starters that require minimal prep time but deliver maximum flavor.
Grilled Vegetable Skewers With Herb Marinade
Grilled vegetable skewers transform fresh produce into smoky, flavorful appetizers that perfectly complement any BBQ spread. We’ve found these colorful skewers create an impressive presentation while requiring minimal preparation time for busy hosts.
Bell Pepper and Zucchini Combinations
Bell peppers and zucchini create the perfect foundation for grilled vegetable skewers because they cook at similar rates and offer complementary textures. We recommend cutting bell peppers into 1-inch squares and zucchini into thick rounds to ensure even cooking across the skewer.
Different colored bell peppers like red, yellow, and orange add visual appeal while providing varying levels of sweetness when grilled. Zucchini absorbs marinades exceptionally well and develops a tender interior with slightly caramelized edges during grilling.
Threading these vegetables alternately on skewers creates an attractive pattern that looks professional yet remains simple to assemble. We suggest using metal skewers for better heat conduction or soaking wooden skewers in water for 30 minutes to prevent burning.
Mushroom and Cherry Tomato Pairings
Mushrooms and cherry tomatoes bring rich umami flavors and burst of freshness to grilled vegetable skewers. Button mushrooms, cremini, or baby portobello mushrooms work best because they hold their shape during the grilling process.
Cherry tomatoes add bright acidity that balances the earthy mushroom flavors while creating beautiful color contrast on the skewer. We recommend selecting firm cherry tomatoes that won’t split easily when pierced or become too soft during grilling.
Combining these ingredients with bell peppers and zucchini creates a well-rounded flavor profile that appeals to both vegetarians and meat lovers. The natural juices from tomatoes help keep other vegetables moist while adding depth to the overall taste.
Make-Ahead Marinade Tips
Preparing herb marinades 24 hours in advance allows flavors to develop fully and saves valuable time on BBQ day. We mix olive oil, minced garlic, fresh herbs like rosemary and thyme, salt, and black pepper for a classic Mediterranean-style marinade.
Marinating vegetables for 2-4 hours provides optimal flavor penetration without making them too soft or mushy. Longer marination times can break down vegetable cell walls and result in skewers falling apart during grilling.
Store marinated vegetables in airtight containers in the refrigerator and bring them to room temperature 20 minutes before grilling for even cooking. We always reserve a small portion of fresh marinade for basting during grilling to enhance flavors and prevent sticking.
Bacon-Wrapped Jalapeño Poppers
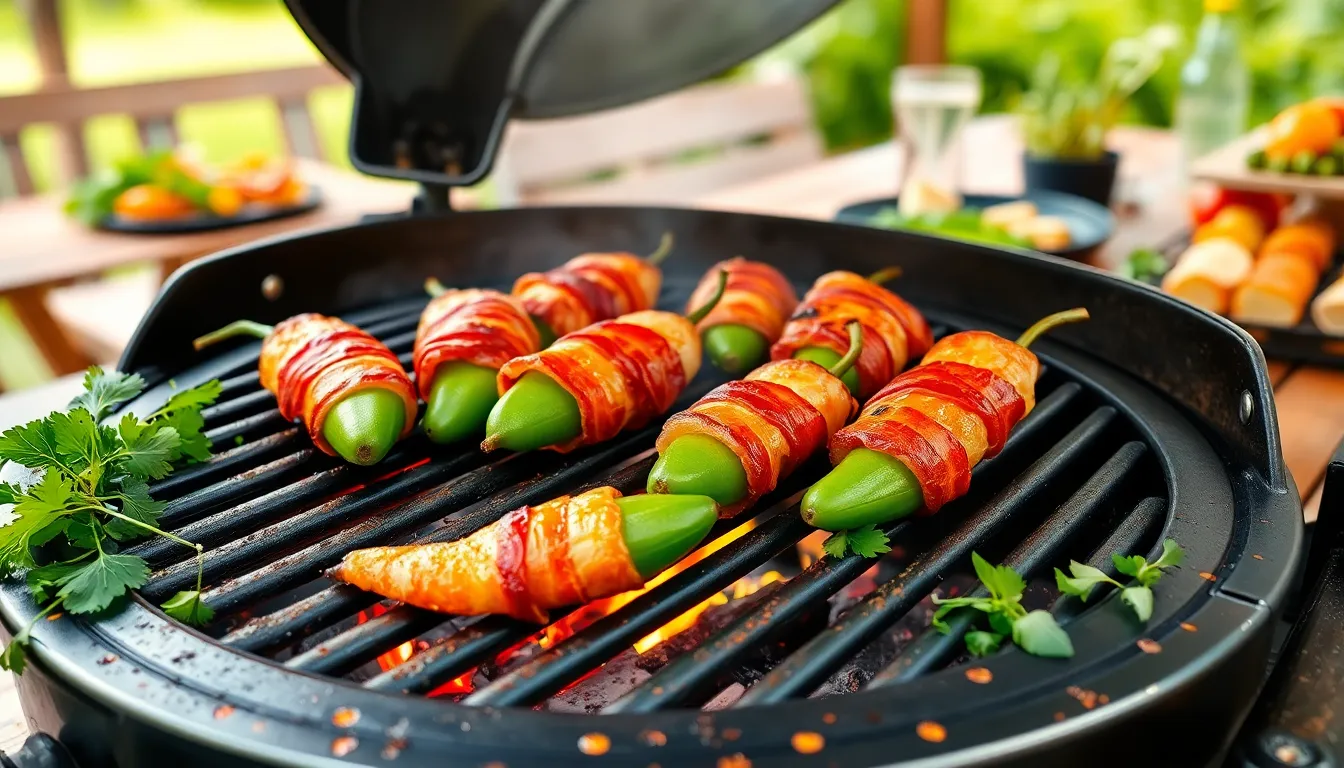
These smoky, spicy treats combine the perfect balance of heat, creaminess, and bacon’s irresistible flavor. We’ll show you how to master this crowd-pleasing appetizer that’s guaranteed to disappear from your BBQ table.
Cream Cheese Filling Variations
Classic cream cheese forms the foundation of traditional jalapeño poppers, but we can elevate this simple filling with countless variations. Mixing cream cheese with shredded cheddar or mozzarella creates an extra cheesy experience that melts beautifully on the grill. Adding spices like garlic powder, smoked paprika, or cumin brings depth and complexity to each bite.
Fresh herbs transform ordinary fillings into gourmet creations. Chopped cilantro, chives, or green onions add bright flavors that complement the jalapeño’s heat perfectly. Greek yogurt serves as a lighter alternative to cream cheese while maintaining the creamy texture but with fewer calories.
Protein additions create heartier poppers that satisfy even the hungriest guests. Cooked sausage or crumbled bacon mixed into the filling provides a meatier texture and amplifies the savory flavors throughout each popper.
Grilling Temperature and Timing
Medium heat at approximately 350°F (175°C) creates the ideal cooking environment for bacon wrapped jalapeño poppers. Preheating your grill ensures even cooking and prevents the bacon from burning before the filling heats through properly.
Indirect heat placement protects the bacon from direct flames while allowing it to crisp gradually. Grilling for 15 to 20 minutes provides enough time for the jalapeños to become tender and the cheese filling to melt completely. Turning the poppers occasionally ensures the bacon crisps evenly on all sides.
Grill baskets prevent smaller pieces from falling through the grates and make turning multiple poppers much easier. We recommend checking that the jalapeños feel tender when gently pressed and the cheese filling is hot and bubbly before removing from heat.
Spice Level Adjustments
Removing seeds and membranes significantly reduces the heat level since most capsaicin concentrates in these parts of the jalapeño. Scraping out the white membrane creates milder poppers that appeal to guests who prefer less spice.
Keeping seeds intact or using hotter peppers like serrano or poblano increases the heat level for spice lovers. Adding diced jalapeños, hot sauce, or cayenne pepper directly to the cream cheese filling amplifies the overall spiciness.
Testing different pepper varieties allows you to customize heat levels for your exact guests. We suggest preparing a batch with varying spice levels so everyone can enjoy these delicious BBQ appetizers regardless of their heat tolerance.
Classic Deviled Eggs With BBQ Twist
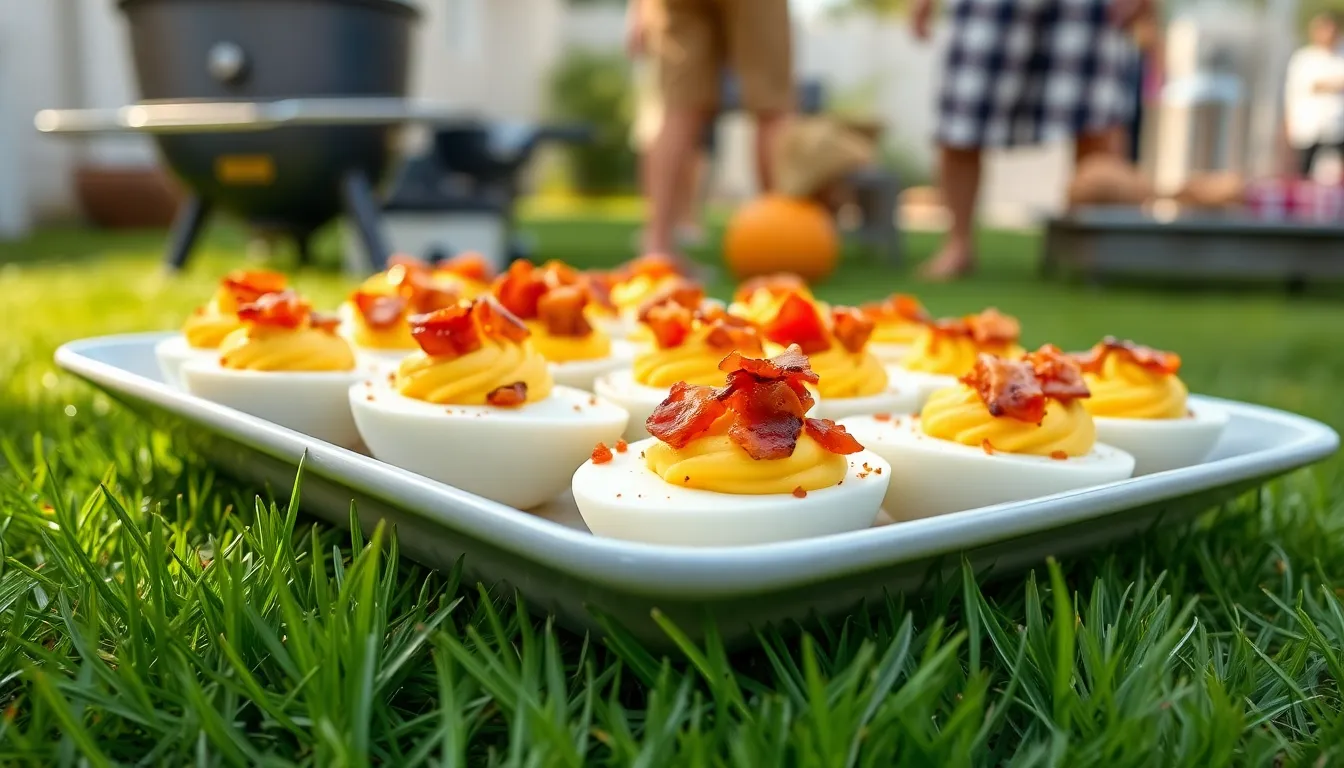
We’re elevating the timeless party favorite with smoky flavors that perfectly complement your grilled spread. These enhanced deviled eggs bring together creamy textures and BBQ inspired ingredients for an appetizer that’s both familiar and exciting.
Smoky Paprika Additions
Smoked paprika transforms ordinary deviled eggs into BBQ worthy appetizers with its deep, earthy flavor profile. We recommend sprinkling this spice generously over the filled egg halves to create visual appeal and taste enhancement. The smoky notes pair beautifully with grilled meats and other BBQ sides you’ll be serving.
This spice adds complexity without overwhelming the creamy egg filling, creating a subtle smokiness that guests will notice and appreciate. We’ve found that smoked paprika works better than regular paprika because it reinforces the outdoor cooking theme of your gathering.
Bacon Bit Toppings
Crispy bacon bits provide the perfect textural contrast to smooth egg yolk filling while adding rich, smoky flavors. We suggest using freshly cooked bacon that’s been chopped into small pieces for the best crunch and taste. These savory morsels elevate deviled eggs from simple appetizer to BBQ showstopper.
The combination of bacon’s saltiness with the creamy egg mixture creates an irresistible flavor balance. We recommend cooking the bacon until it’s extra crispy so it maintains its texture even after sitting on the eggs for extended periods during your BBQ.
Portable Serving Answers
Deviled egg trays keep your appetizers secure during transport and prevent messy spills at outdoor gatherings. We suggest investing in specialized carriers that have individual compartments for each egg half. These trays make serving effortless and help maintain the appetizers’ presentation throughout your event.
Miniature cupcake liners offer another practical solution for keeping deviled eggs neat and easy to grab. We place each filled egg half in its own liner, which prevents tipping and makes cleanup simpler. This approach works especially well when guests are standing and mingling around the BBQ area.
Grilled Corn and Black Bean Salsa
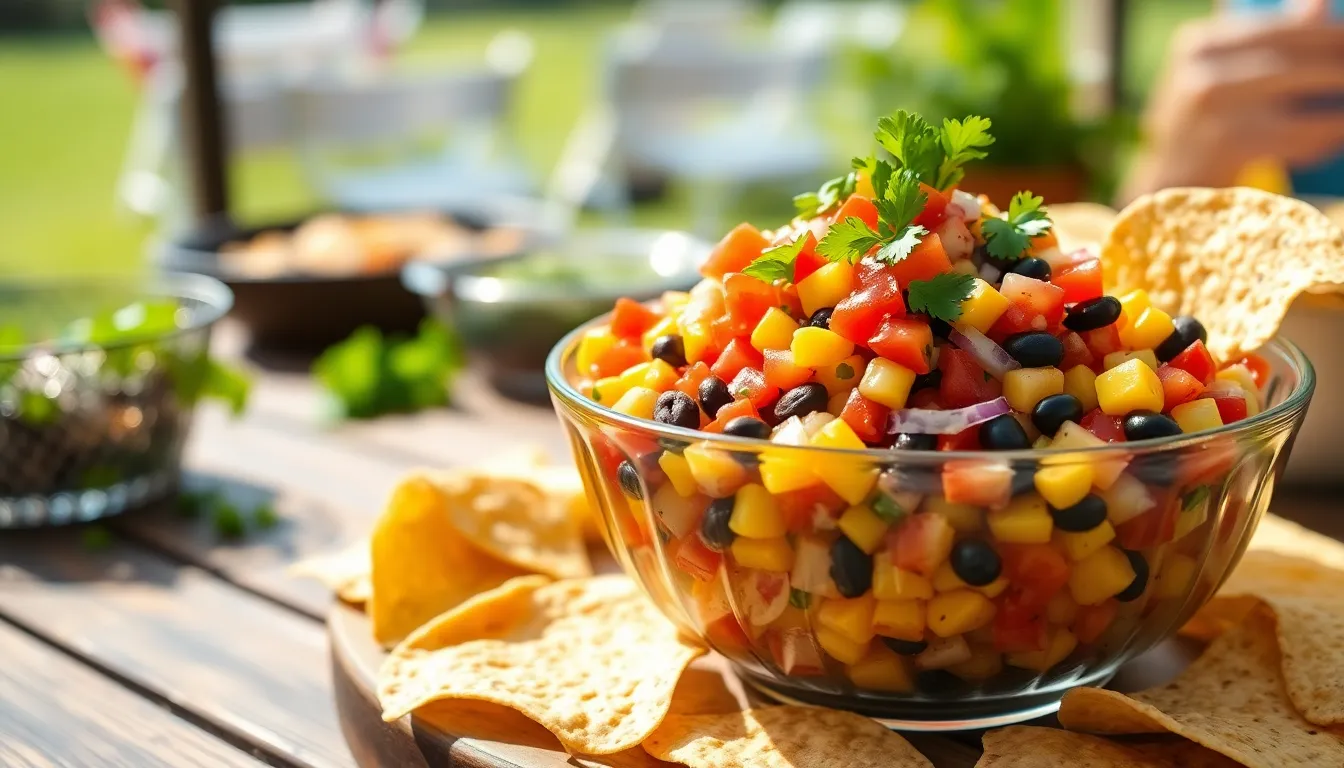
We’re bringing fresh, vibrant flavors to your BBQ spread with this colorful salsa that combines smoky grilled corn with protein-rich black beans. This appetizer offers a refreshing contrast to heavier BBQ dishes while delivering that signature charred flavor everyone loves.
Fresh Ingredient Preparation
Start with fresh corn on the cob for the best texture and sweetness in your salsa. We recommend using cooked or canned black beans that you’ve rinsed thoroughly to remove excess sodium and starch.
Dice your vegetables uniformly to ensure even flavor distribution throughout each bite. Red bell pepper and red onion should be chopped into small, consistent pieces that complement the corn kernel size.
Fresh cilantro and lime juice add the brightness and balance that make this salsa irresistible. We suggest chopping cilantro just before assembly to maintain its vibrant color and fresh taste.
Optional ingredients like diced jalapeños bring heat for those who want extra spice, while diced avocado creates a creamy texture that balances the smoky elements.
Charring Techniques for Maximum Flavor
Preheat your grill to medium-high heat before placing the corn directly on the grates. This temperature range ensures proper charring without burning the kernels.
Grill corn on the cob for 10-15 minutes, turning occasionally to achieve even charring on all sides. The char adds depth and smoky flavor that transforms ordinary corn into something extraordinary.
Watch for kernels that develop dark spots and slightly caramelized edges – this indicates the perfect level of char for maximum flavor impact.
Cut kernels off the cob after grilling and cooling slightly. We find that letting the corn cool for a few minutes makes it easier to handle while preserving that fresh-off-the-grill taste.
Serving With Tortilla Chips
Combine all ingredients in a large bowl, mixing grilled corn kernels with black beans, red bell pepper, red onion, cilantro, lime juice, salt, and pepper.
Let the salsa sit for 10-15 minutes after mixing to allow flavors to meld together. This resting period creates a more cohesive taste profile that your guests will notice.
Serve chilled or at room temperature alongside crisp tortilla chips for easy dipping. We’ve found that this colorful, healthy appetizer provides an ideal fresh start to summer BBQs.
Prepare ahead of time to minimize grill-time stress during your event. This crowd-pleasing salsa complements other BBQ dishes with its combination of smoky, sweet, tangy, and savory flavors that enhance rather than compete with your main course.
Buffalo Chicken Dip in Foil Packets
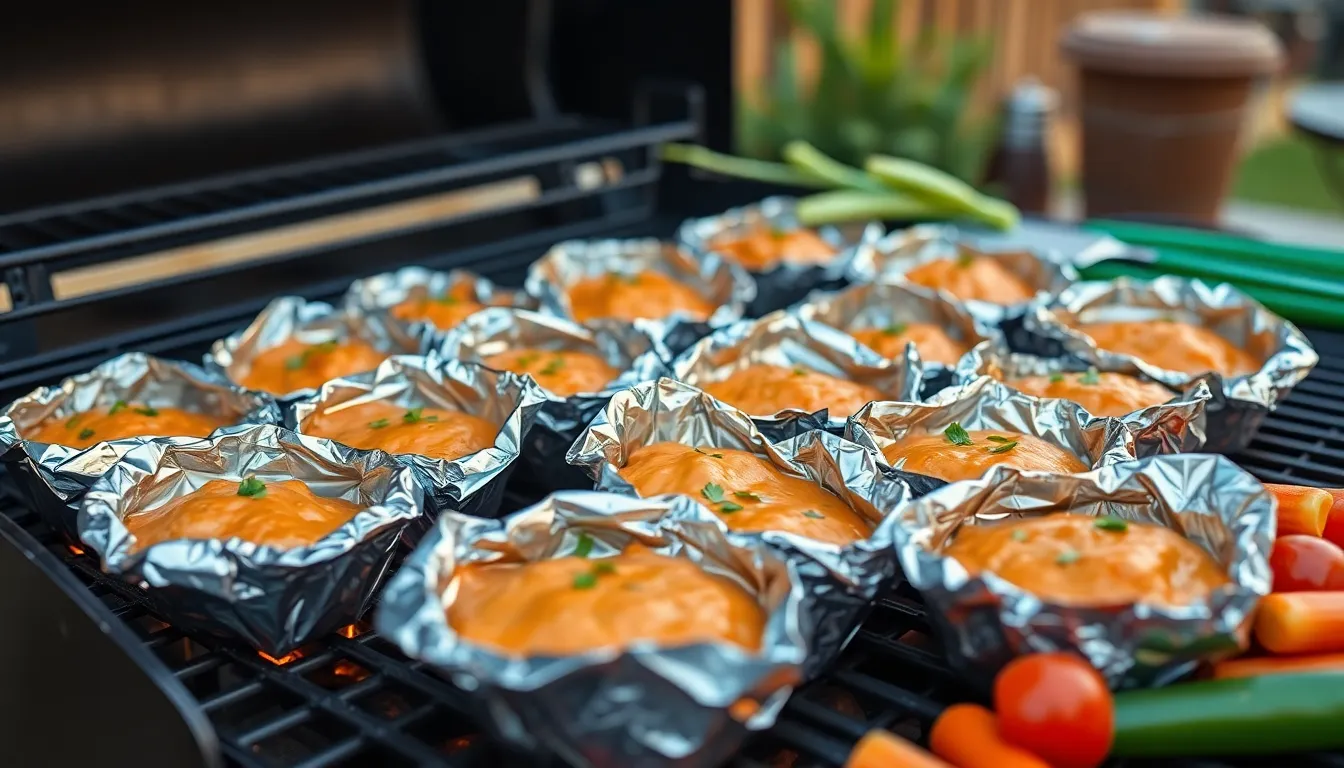
Buffalo chicken dip brings the perfect combination of creamy texture and spicy kick to our BBQ appetizer spread. We can easily prepare this crowd favorite on the grill using foil packets that lock in flavors while simplifying cleanup.
Ingredient Mixing Methods
Combining ingredients properly ensures our buffalo chicken dip achieves the perfect consistency and flavor balance. We start by mixing shredded cooked chicken with softened cream cheese and hot sauce in a large mixing bowl. Adding ranch or blue cheese dressing creates the creamy tang that makes this dip irresistible.
Stirring in shredded cheddar or mozzarella cheese gives us that melty, gooey texture everyone craves. We mix thoroughly to distribute flavors evenly throughout the dip. Chopped celery or green onions provide a satisfying crunch that contrasts beautifully with the smooth base.
Foil Wrapping Techniques
Creating secure foil packets prevents leaks and ensures even cooking on our grill. We use heavy duty aluminum foil cut large enough to accommodate the dip mixture plus extra space for steam circulation. Spooning the mixed ingredients onto the center of the foil allows us to create proper sealing edges.
Folding the foil edges up and sealing them tightly traps steam inside for optimal heating. We double wrap when needed to prevent any potential leaks during grilling. Placing the sealed packets on the grill grate over indirect heat ensures gentle, even cooking.
Grill Temperature Control
Maintaining steady heat between 350°F to 400°F gives us perfectly heated dip without burning. We use indirect heat by positioning our foil packets away from direct flame or turning off burners directly underneath. Cooking the packets for 20 to 30 minutes allows the dip to become hot and bubbly throughout.
Rotating packets occasionally promotes even heating and prevents hot spots. We monitor our grill temperature with a reliable thermometer to maintain consistent heat levels. This controlled approach delivers creamy, perfectly heated buffalo chicken dip that’s ready to serve with tortilla chips or celery sticks.
Caprese Skewers With Balsamic Glaze
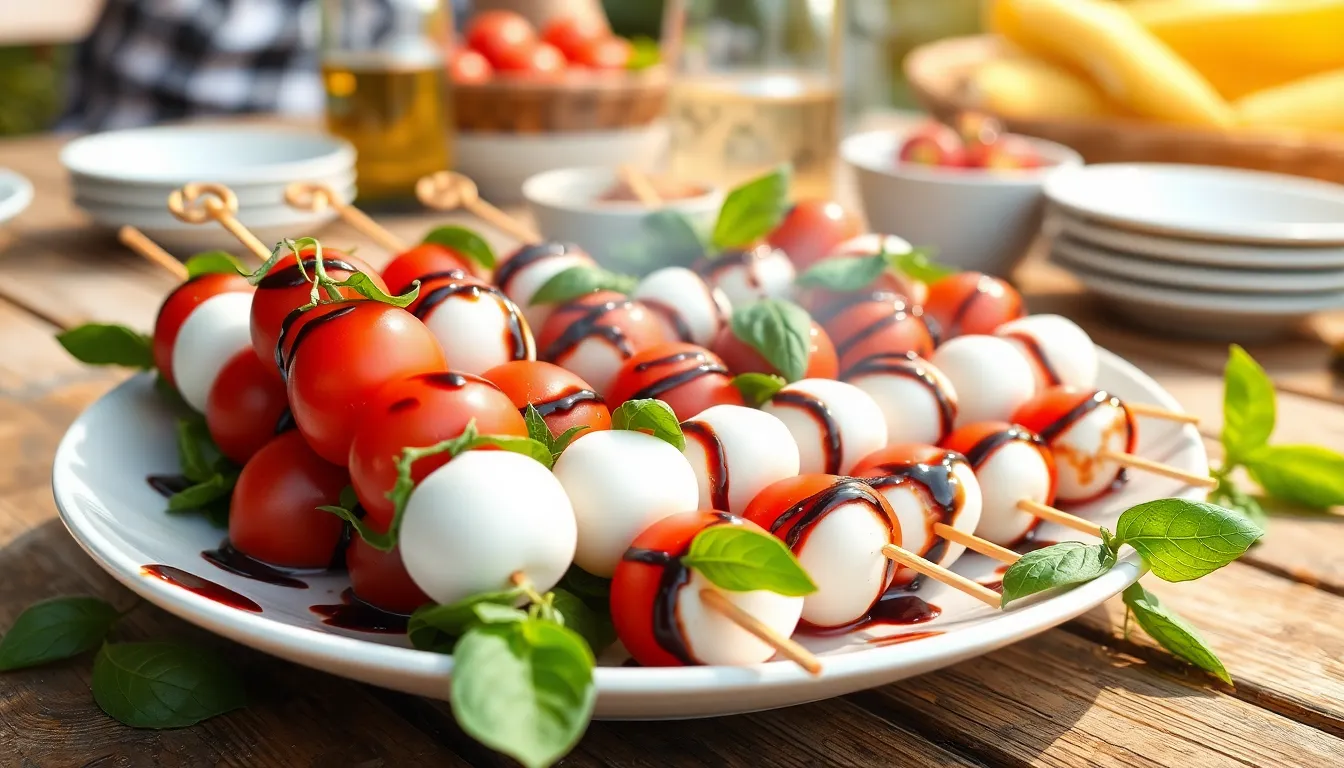
Building on our smoky and creamy appetizer options, we’re introducing a fresh Italian inspired bite that brings elegant simplicity to your BBQ spread. These colorful skewers combine the classic Caprese salad flavors in a portable, crowd friendly format.
Mozzarella and Tomato Selection
Mini mozzarella balls work best for our Caprese skewers because they provide perfect portion control and easy threading. Bocconcini offers the ideal soft texture and mild flavor that complements both tomatoes and basil without overwhelming the palate.
Cherry tomatoes deliver the sweetness and juiciness we need to balance the creamy mozzarella. Their small size makes them perfect for skewering, while their natural acidity brightens each bite and creates that classic Caprese flavor profile.
Basil Preparation Tips
Fresh basil leaves provide the aromatic punch that makes these skewers memorable. We recommend selecting medium sized leaves that won’t overpower the other ingredients or make threading difficult.
Gentle washing and drying preserves the basil’s delicate structure and prevents bruising. Paper towels or a salad spinner helps maintain the leaves’ integrity, ensuring they look vibrant and taste fresh when served.
Drizzling Presentation Ideas
Assembly order matters for both appearance and flavor distribution. We thread each skewer with tomato, mozzarella ball, and basil leaf, repeating the pattern to create visual appeal and ensure every bite contains all three components.
Extra virgin olive oil adds richness and helps the flavors meld together. Drizzling it over the assembled skewers creates that glossy finish that makes them look restaurant quality.
Balsamic reduction provides the tangy, slightly sweet contrast that elevates these simple ingredients. We drizzle the thickened glaze artistically across the skewers right before serving to maintain the best visual impact and prevent soggy ingredients.
Final seasoning with sea salt and freshly ground black pepper enhances all the flavors without masking the fresh ingredients. This light finishing touch transforms simple ingredients into an elegant appetizer that encourages mingling and requires no utensils.
Loaded Potato Skins on the Grill
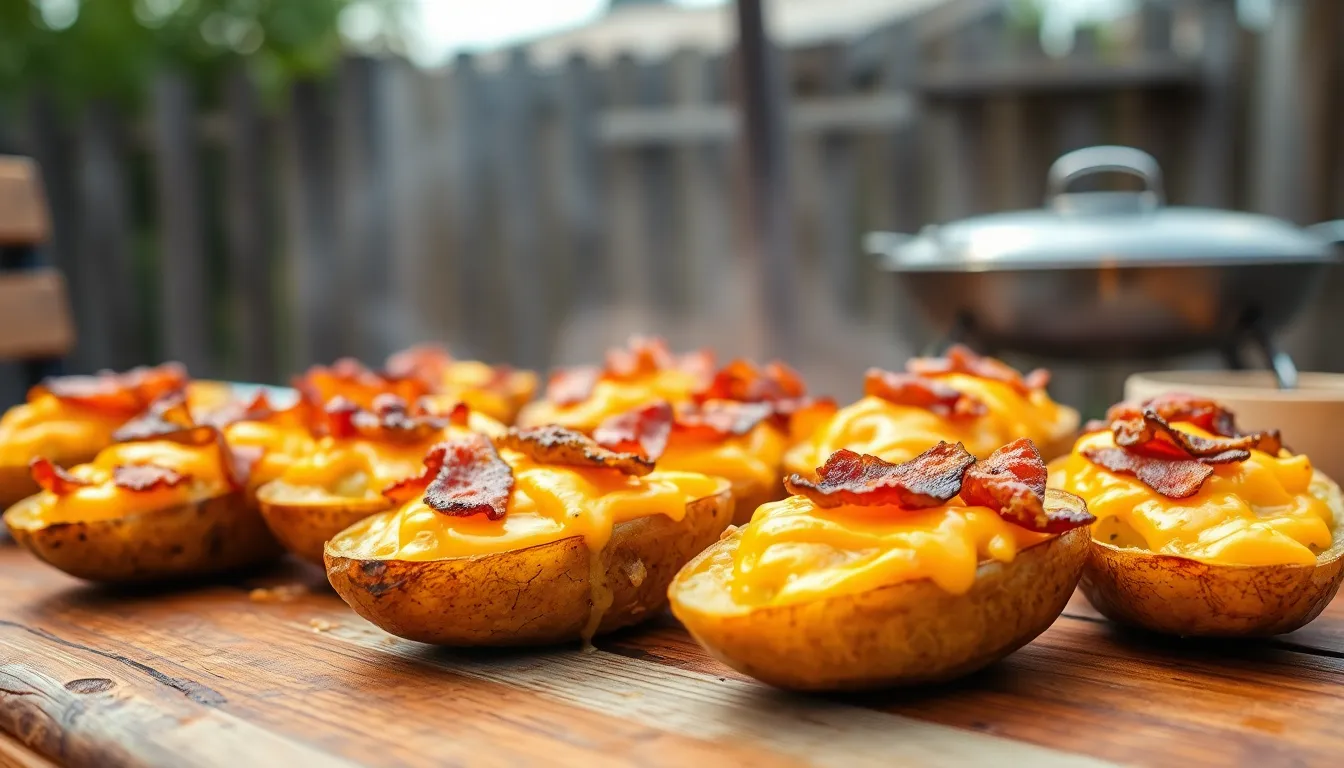
Loaded potato skins bring the ultimate comfort food experience to your BBQ spread with their perfect combination of crispy textures and melted toppings. We’ll transform these classic appetizers into grill-ready crowd-pleasers that complement your outdoor cooking perfectly.
Potato Pre-Cooking Methods
Boiling your potatoes until just tender creates the ideal foundation for grilled potato skins. Fill a large pot with water and cook medium russet potatoes for 15-20 minutes until they yield slightly to pressure but remain firm. Baking them wrapped in foil offers another excellent pre-cooking option that takes about 45 minutes at 425°F.
Microwaving provides the quickest pre-cooking method when you’re short on time. Pierce each potato several times with a fork and microwave on high for 5-7 minutes per potato. This technique ensures soft flesh while maintaining structural integrity for grilling.
Pre-cooking prevents the common problem of burnt skins with raw interiors during grilling. We recommend cooling the potatoes completely after pre-cooking, then halving them lengthwise and scooping out most of the flesh. Save that potato flesh for loaded mashed potatoes as a side dish later.
Cheese and Bacon Combinations
Sharp cheddar cheese delivers the classic loaded potato skin flavor that guests expect. Sprinkle 2-3 tablespoons of freshly grated sharp cheddar into each potato skin cavity for optimal melting and taste. Mozzarella adds excellent stretch and mild flavor when combined with cheddar in equal parts.
Monterey Jack cheese provides creamy richness that pairs beautifully with bacon’s smoky saltiness. Mix different cheese varieties to create depth of flavor, using about 1/4 cup total cheese per potato skin. Freshly grated cheese melts more evenly than pre-shredded varieties.
Crispy bacon bits transform these appetizers into indulgent treats that disappear quickly. Cook 6-8 strips of bacon until extra crispy, then crumble into small pieces for easy distribution. We prefer thick-cut bacon for better texture contrast against the creamy cheese and tender potato.
Crispy Skin Techniques
Olive oil coating creates the foundation for perfectly crispy potato skins on the grill. Brush each potato skin inside and out with olive oil or melted butter, then season generously with salt and pepper. This oil layer promotes browning and prevents sticking to the grill grates.
Direct grilling over medium heat crisps the bottom while keeping the flesh tender. Place potato skins cut-side up directly on clean grill grates over medium heat (350-400°F). Cook for 8-10 minutes until the bottoms develop golden brown crispy edges.
Indirect heat finishing ensures even cooking without burning the delicate cheese toppings. Move the potato skins to indirect heat after initial crisping, then add cheese and bacon. Close the grill lid and cook for 3-5 minutes until cheese melts completely.
Strategic timing prevents burnt toppings while achieving perfect texture throughout. Add cheese and bacon during the final few minutes of cooking to prevent burning while allowing proper melting. Serve immediately while the skins remain crispy and the cheese stays gooey.
Shrimp and Pineapple Kabobs
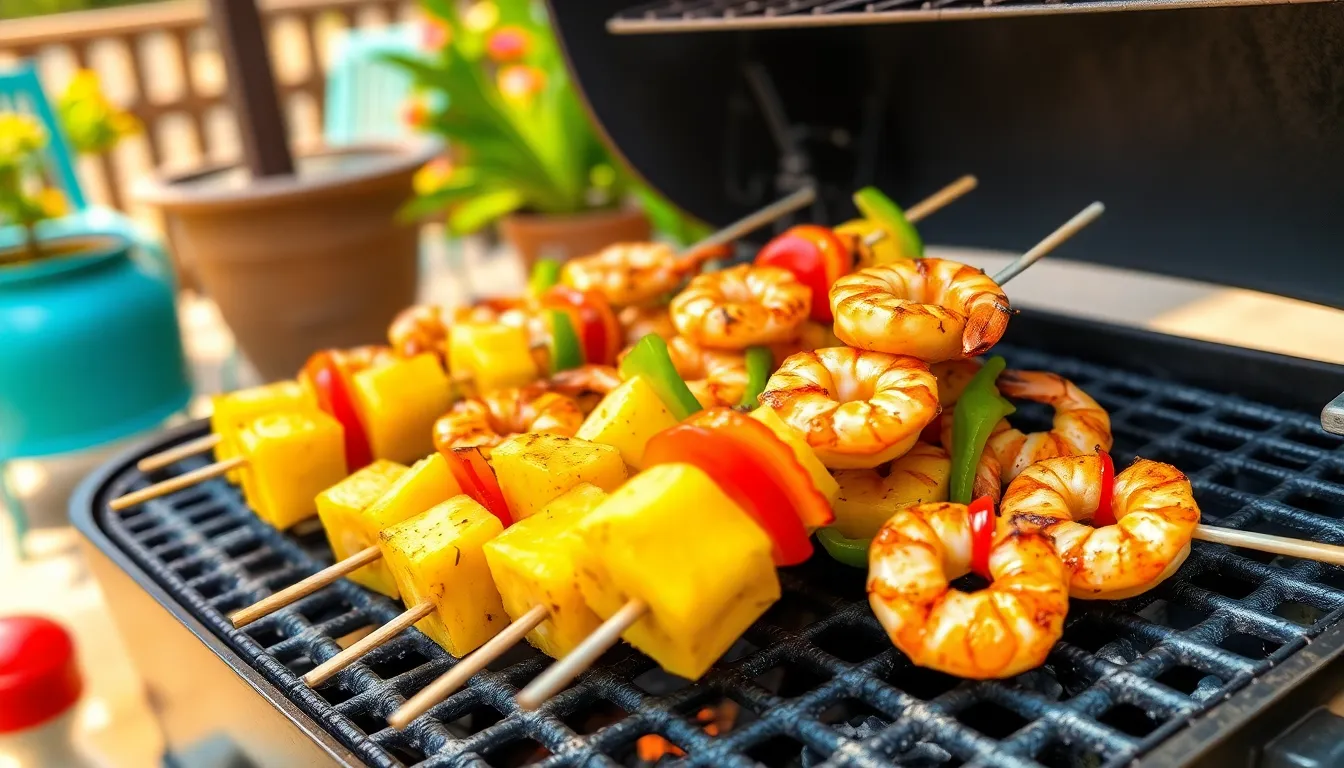
Fresh shrimp and sweet pineapple create the perfect balance of flavors for your BBQ spread. These tropical kabobs offer a refreshing contrast to heavier appetizers while cooking quickly on the grill.
Marination Time Guidelines
Shrimp requires only 15 to 30 minutes of marination time to achieve maximum flavor and tenderness. Longer marination periods can actually make the shrimp tough and rubbery, so we recommend keeping it brief. Your marinade should include olive oil, garlic, lemon juice, salt, pepper, and any herbs or spices that match your BBQ theme.
Pineapple chunks don’t need any marination since they provide natural sweetness and acidity that complements the shrimp perfectly. Adding the pineapple fresh ensures it maintains its firm texture and bright flavor during grilling.
Skewer Assembly Order
Alternating shrimp and pineapple chunks on each skewer creates the best flavor balance and cooking results. This pattern prevents the shrimp from overcooking while keeping the pineapple juicy and caramelized.
Bell peppers or red onions can be added between the shrimp and pineapple for extra color and flavor depth. Make sure to peel and devein the shrimp before skewering to ensure easier eating for your guests.
Grilling Duration for Perfect Texture
Preheat your grill to medium-high heat before placing the kabobs on the grates. Cook each side for 2-3 minutes, watching carefully as shrimp turns opaque and pink.
Total grilling time shouldn’t exceed 6 minutes to maintain the shrimp’s tender texture. The pineapple will caramelize slightly during this time, improving its natural sweetness and creating beautiful grill marks that add visual appeal to your BBQ appetizer spread.
Stuffed Mushroom Caps With Sausage
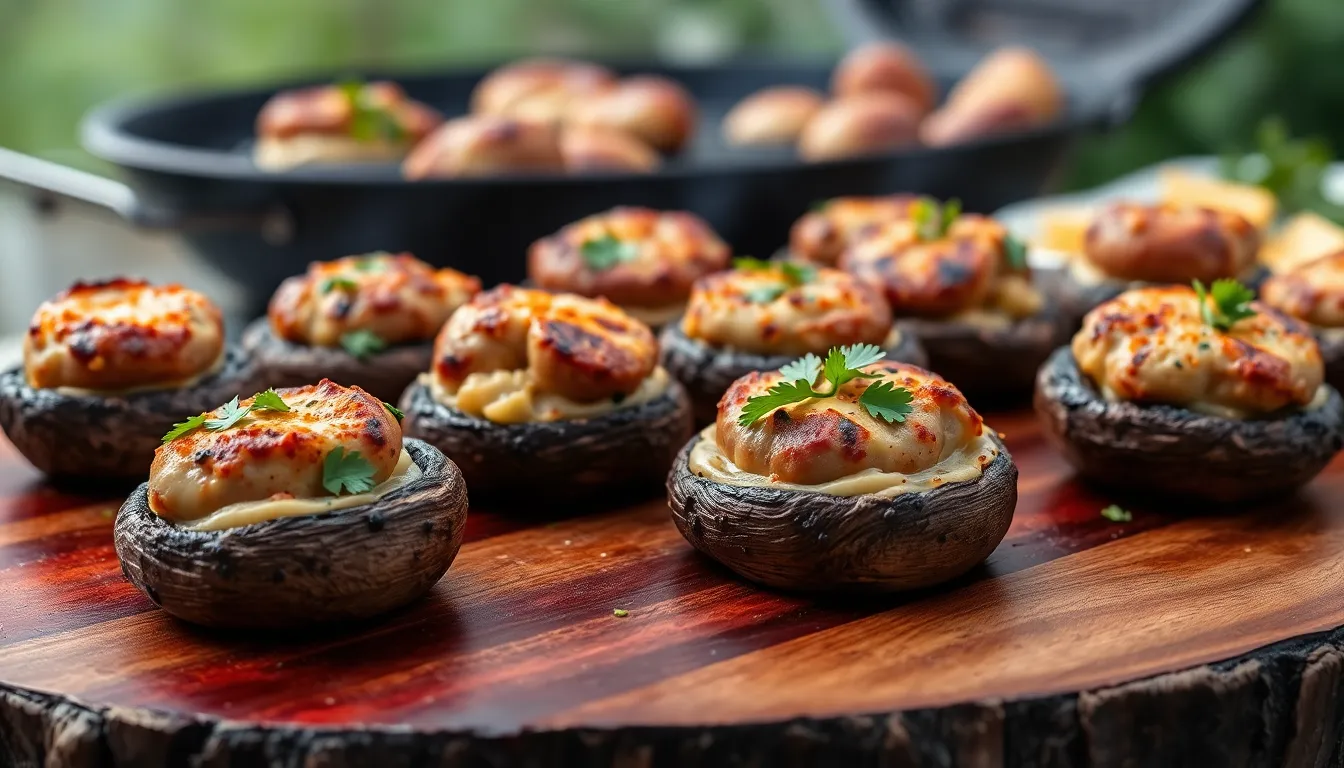
These savory bites combine tender mushrooms with a rich sausage filling, creating an irresistible appetizer that’s perfect for grilling alongside your main BBQ dishes.
Mushroom Size Selection
Large white mushrooms work best for stuffed caps, with 2 lbs yielding approximately 20 perfect appetizer portions. We recommend selecting mushrooms that measure around 2 to 3 inches across to provide enough space for generous filling without structural integrity issues. Clean each mushroom gently using a damp paper towel rather than running water to prevent absorption that could make them soggy.
Remove the stems completely and scrape out the dark gills using a spoon to create a deep cavity for stuffing. This preparation step ensures the mushroom caps can hold maximum filling while maintaining their shape during cooking. Store prepared caps in the refrigerator until you’re ready to stuff and cook them.
Sausage and Cheese Filling Options
Ground mild Italian sausage forms the protein base of our filling, with 16 oz providing enough mixture for 20 large mushroom caps. Brown the sausage in a skillet without adding oil, breaking it into small crumbles as it cooks. Add minced garlic and chopped green onions during the last minute of cooking to build flavor depth.
Cream cheese creates the creamy binding that holds everything together, stirring it into the warm sausage until it melts slightly. Mix in grated parmesan cheese and panko bread crumbs to add texture and create a golden topping when cooked. Fresh parsley provides a bright garnish that balances the rich flavors.
Consider these delicious variations to customize your filling:
- Add shredded mozzarella for extra cheese pull
- Substitute gluten free breadcrumbs for dietary restrictions
- Include diced bell peppers for additional crunch
- Mix in fresh herbs like thyme or oregano for aromatic complexity
Indirect Heat Cooking Methods
Position your stuffed mushrooms on the cooler side of your grill away from direct flames to ensure even cooking without burning. Oil the grill grates lightly before placing the mushroom caps to prevent sticking during the cooking process. Cover the grill with a lid to create an oven effect that gently softens the mushrooms while melting the cheese.
Temperature control becomes crucial for perfect results, maintaining your grill between 350°F to 400°F throughout the cooking process. This indirect method works excellently on charcoal grills, gas grills, and specialized smokers like the Pit Barrel Cooker. Cook for approximately 15 minutes or until the mushrooms are tender and the cheese topping turns golden brown.
Watch for the mushrooms to release their natural juices as an indicator they’re properly cooked through. The indirect heat allows the mushrooms to absorb subtle smoky flavors while retaining their moisture, creating the perfect texture contrast with the crispy, melted cheese topping.
Watermelon Feta Bites With Mint
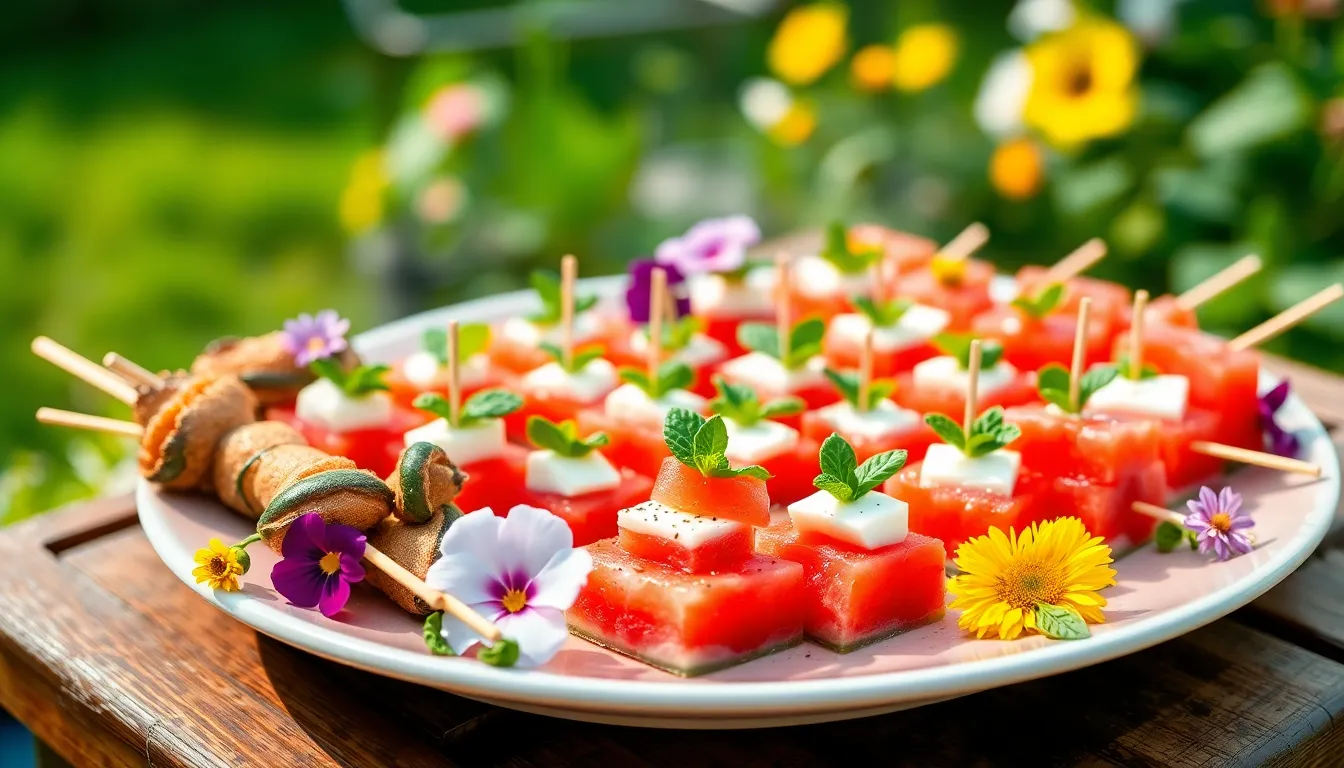
Fresh watermelon paired with creamy feta cheese creates one of our favorite summer BBQ appetizers that requires minimal preparation while delivering maximum flavor impact. These colorful bites combine sweet, salty, and herbaceous elements that refresh guests’ palates between heavier grilled dishes.
Fruit Ripeness Indicators
Selecting the perfect watermelon ensures our bites deliver optimal sweetness and texture. Look for a uniform shape without flat sides or irregular bumps that indicate uneven growth. The ground spot where the watermelon rested on the earth should display a creamy yellow color rather than white or green, confirming the fruit ripened fully on the vine.
Tapping the watermelon produces a deep hollow sound when ripe, while underripe melons create a higher pitched thud. Fresh cherry or grape tomatoes should yield slightly to gentle pressure while maintaining firmness, accompanied by their characteristic fragrant aroma. Bright green mint leaves with strong aromatic oils provide the freshest herb component for our skewers.
Cheese Crumbling Techniques
Working with feta at the right temperature creates clean cuts and perfect portions for our appetizer skewers. Remove the cheese from refrigeration 10 to 15 minutes before preparation, allowing it to soften slightly while remaining firm enough to handle. Sharp knife cuts produce neat cubes or slivers that maintain their shape on toothpicks.
Cold feta crumbles naturally when broken with clean fingers or a fork, creating rustic pieces that add textural interest. Avoid overhandling the cheese to preserve its creamy interior and prevent it from becoming mushy or losing its distinctive tangy flavor.
Refreshing Presentation Ideas
Colorful skewers or decorative toothpicks add visual appeal while making our watermelon feta bites easy for guests to grab and enjoy. Arrange the assembled skewers on platters lined with fresh herbs or edible flowers that complement the mint garnish. Balsamic glaze drizzled artistically across the platter creates glossy accents that enhance the appetizer’s sophisticated appearance.
Small bowls filled with extra lime wedges, flaky sea salt, or premium olive oil allow guests to customize their bites according to personal taste preferences. Chilled presentation maintains the watermelon’s refreshing qualities while preventing the feta from becoming too soft in warm outdoor temperatures.
Conclusion
These easy BBQ appetizers prove that delicious doesn’t have to mean complicated. We’ve shared options that’ll satisfy every palate while keeping your prep time minimal and your guests happy.
The beauty of these recipes lies in their flexibility. Whether you’re feeding a crowd of twenty or hosting an intimate gathering we’ve got you covered with make-ahead options and customizable ingredients.
Remember that great BBQ appetizers should complement your main dishes without stealing the spotlight. These recipes strike that perfect balance while ensuring you spend more time enjoying your guests and less time stressed in the kitchen.
Fire up that grill and let these crowd-pleasing appetizers set the stage for an unforgettable outdoor feast!
Frequently Asked Questions
What are the best make-ahead BBQ appetizers for large gatherings?
Grilled vegetable skewers with herb marinade, deviled eggs with BBQ twist, and grilled corn and black bean salsa are excellent make-ahead options. These appetizers can be prepared hours in advance, allowing you to focus on grilling main dishes. The vegetable skewers benefit from longer marination, while the salsa develops better flavors over time.
How long should I marinate shrimp for kabobs?
Marinate shrimp for only 15 to 30 minutes. Over-marinating can make the shrimp tough and rubbery due to the acid in marinades breaking down the proteins. This short marination time is sufficient to infuse flavor while maintaining the shrimp’s tender texture when grilled.
What’s the best way to prevent bacon-wrapped jalapeño poppers from falling apart on the grill?
Use toothpicks to secure the bacon around each popper and cook over medium heat using indirect grilling. This prevents the bacon from cooking too quickly and allows the cheese to melt evenly. Remove toothpicks before serving and warn guests about any remaining picks.
How do I keep deviled eggs stable during outdoor BBQ events?
Use specialized deviled egg trays or place eggs in miniature cupcake liners to prevent sliding. Keep them chilled in a cooler until serving time, and consider using a ice-filled serving tray underneath to maintain temperature. Avoid leaving them in direct sunlight for extended periods.
What temperature should I maintain when grilling Buffalo chicken dip in foil packets?
Maintain a grill temperature between 350°F to 400°F when cooking Buffalo chicken dip in foil packets. This ensures even heating without burning the bottom. Cook for 15-20 minutes, stirring occasionally, and wrap the foil securely to prevent leaks and maintain moisture.
How do I prevent watermelon feta bites from becoming soggy?
Pat watermelon cubes dry with paper towels before assembling and serve immediately after preparation. Use firm, ripe watermelon and well-drained feta cheese. Assemble these bites just before serving to maintain the best texture and prevent the feta from making the watermelon watery.
What’s the secret to perfectly crispy loaded potato skins on the grill?
Pre-cook potatoes until tender but firm, then brush with olive oil before grilling. Start with direct heat to crisp the skins, then move to indirect heat to melt cheese toppings. The key is ensuring potatoes are properly pre-cooked to avoid burnt exteriors with raw interiors.
How far in advance can I prepare Caprese skewers?
Assemble Caprese skewers up to 4 hours before serving and store them covered in the refrigerator. Add the balsamic glaze just before serving to prevent the ingredients from becoming soggy. This timing ensures optimal freshness while allowing for convenient preparation.
What vegetables work best for grilled vegetable skewers?
Bell peppers and zucchini are ideal because they have similar cooking times and complementary textures. Add mushrooms for umami flavor and cherry tomatoes for acidity. Cut vegetables into uniform sizes to ensure even cooking, and choose firm vegetables that won’t fall apart on the grill.
How do I adjust the spice level in jalapeño poppers for different guests?
Remove seeds and membranes from jalapeños to reduce heat, or substitute with milder peppers like mini bell peppers. You can also mix mild and spicy poppers on the same platter. For extra heat, add cayenne pepper or hot sauce to the cream cheese filling.


