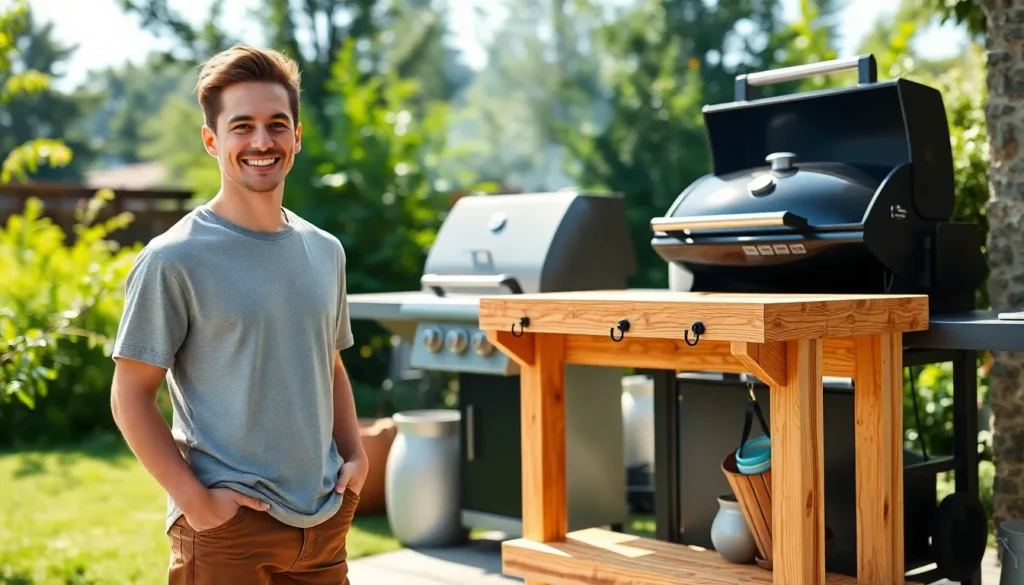
Nothing beats the satisfaction of firing up the grill on a perfect weekend, but we’ve all been there – juggling plates, utensils, and condiments while trying to flip burgers with nowhere to set anything down. That’s where a DIY BBQ side table becomes your grilling game-changer.
We’re about to show you how to build the perfect outdoor companion that’ll transform your backyard cooking experience. Whether you’re hosting weekend cookouts or just enjoying a quiet dinner on the patio, having dedicated prep space right next to your grill makes everything smoother and more enjoyable.
The best part? You don’t need advanced woodworking skills or expensive tools to create a functional and attractive BBQ side table. With some basic materials and our step-by-step guidance, you’ll have a custom solution that fits your space perfectly and costs a fraction of store-bought alternatives.
Choose the Right Materials for Your BBQ Side Table DIY Project
Selecting the right materials forms the foundation of a successful bbq side table diy project that’ll withstand outdoor elements for years.
Select Weather-Resistant Wood Options
Cedar emerges as our top choice for outdoor bbq side table construction due to its natural oils that repel insects and resist moisture damage. This aromatic wood requires minimal maintenance while developing an attractive silver-gray patina over time.
Teak offers premium durability with exceptional weather resistance that makes it ideal for high-end bbq side table diy projects. We recommend teak for builders who prioritize longevity over initial cost savings.
Pressure-treated pine provides budget-friendly protection against rot and insects through chemical treatment processes. This affordable option works well for first-time builders who want reliable performance without premium pricing.
Redwood delivers natural weather resistance with beautiful grain patterns that enhance any outdoor cooking space. We find redwood particularly suitable for bbq side table projects in coastal areas where salt air poses additional challenges.
Consider Metal Framework for Durability
Powder-coated aluminum frameworks resist rust while providing lightweight strength that’s perfect for portable bbq side table designs. This material choice eliminates concerns about corrosion in humid climates.
Stainless steel components offer maximum durability against grease splatter and cleaning chemicals commonly used around grilling areas. We recommend stainless steel hardware for all connection points regardless of your primary material choice.
Galvanized steel provides excellent structural support at lower costs than stainless options while maintaining rust resistance through protective zinc coating. This material works exceptionally well for bbq side table frames that require heavy-duty load bearing.
Black iron creates rustic appeal with industrial strength that complements outdoor cooking aesthetics. We suggest sealing black iron components with heat-resistant paint to prevent oxidation.
Evaluate Composite Materials for Low Maintenance
Composite decking boards eliminate seasonal maintenance while providing consistent performance through temperature fluctuations and moisture exposure. These engineered materials resist staining from barbecue sauce spills and grease splatter.
HDPE plastic lumber offers complete moisture immunity with durability that surpasses traditional wood options in harsh weather conditions. We find this material particularly valuable for bbq side table projects in regions with extreme seasonal variations.
Fiber cement panels provide fire resistance that adds safety benefits near high-heat grilling environments. This composite option accepts paint and stain applications for customized appearance matching your outdoor décor.
Recycled plastic composites combine environmental benefits with practical performance that requires only occasional cleaning with soap and water. We recommend these materials for eco-conscious builders who want sustainable bbq side table answers.
Plan Your BBQ Side Table Design and Dimensions
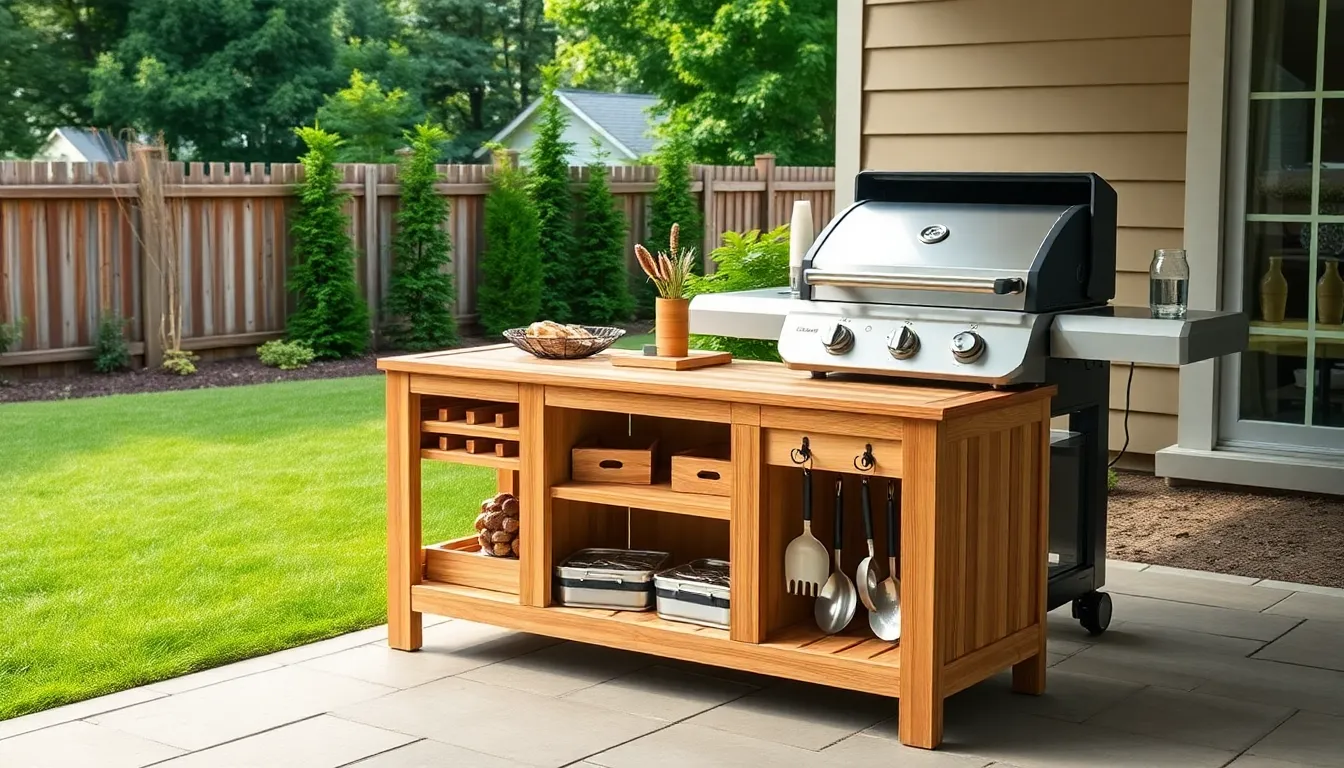
Proper planning ensures your DIY BBQ side table perfectly complements your grilling setup and maximizes functionality. Let’s walk through the essential steps to create a design that meets your exact needs.
Measure Your Grill and Available Space
Measuring your grill’s dimensions is the foundation of successful side table planning. We need to record the width, depth, and height of your grill to ensure the table fits seamlessly beside it without creating a crowded workspace. Most standard grills range from 48 to 60 inches in width, so your measurements will determine the optimal table placement.
Space assessment comes next in our planning process. We should measure the available area where you’ll position the side table, accounting for walkways and access points around your grilling station. Consider leaving at least 36 inches of clearance behind the table for comfortable movement while cooking.
Traffic flow around your outdoor kitchen affects table positioning significantly. We recommend measuring pathways to ensure guests and family members can move freely without bumping into your new side table during gatherings.
Sketch Your Design Layout and Features
Sketching your design helps visualize the final product before cutting any materials. We suggest drawing a rough layout that includes length, depth, and height measurements based on your space requirements. Your sketch doesn’t need artistic perfection but should capture the essential proportions and features.
Functional features deserve careful consideration during the design phase. We can incorporate several practical elements into our side table:
- Preparation surface area for chopping and seasoning
- Storage shelves for plates and serving dishes
- Drawers for utensils and grilling accessories
- Wheels or casters for easy repositioning
- Hooks or racks for hanging tools
- Built in cutting board slides
Material selection influences both appearance and durability of your finished table. We might choose from wood surfaces for warmth, metal frameworks for strength, or stone tops for heat resistance, depending on our design goals and budget constraints.
Determine Height and Surface Area Requirements
Standard height measurements ensure comfortable use during food preparation. We recommend building our BBQ side table at approximately 36 inches tall, which aligns perfectly with most grill heights and provides ergonomic working conditions for average height users.
Surface dimensions vary based on available space and intended use. We typically see depths ranging from 27 to 30 inches, providing ample workspace without extending too far from the grill area. Length options span from compact 27 inch models to spacious 63 inch versions depending on your space and needs.
| Dimension | Standard Size | Customizable Range |
|---|---|---|
| Height | 36 inches | 34-38 inches |
| Depth | 27-30 inches | 24-36 inches |
| Length | 27-63 inches | Based on space |
Workspace calculations help determine adequate surface area for your cooking style. We need enough space for cutting boards, spice containers, serving platters, and temporary storage of cooked items. A minimum surface area of 6 square feet works for basic prep, while 12 square feet accommodates larger gatherings and complex meal preparations.
Gather Essential Tools for Your DIY BBQ Side Table Build
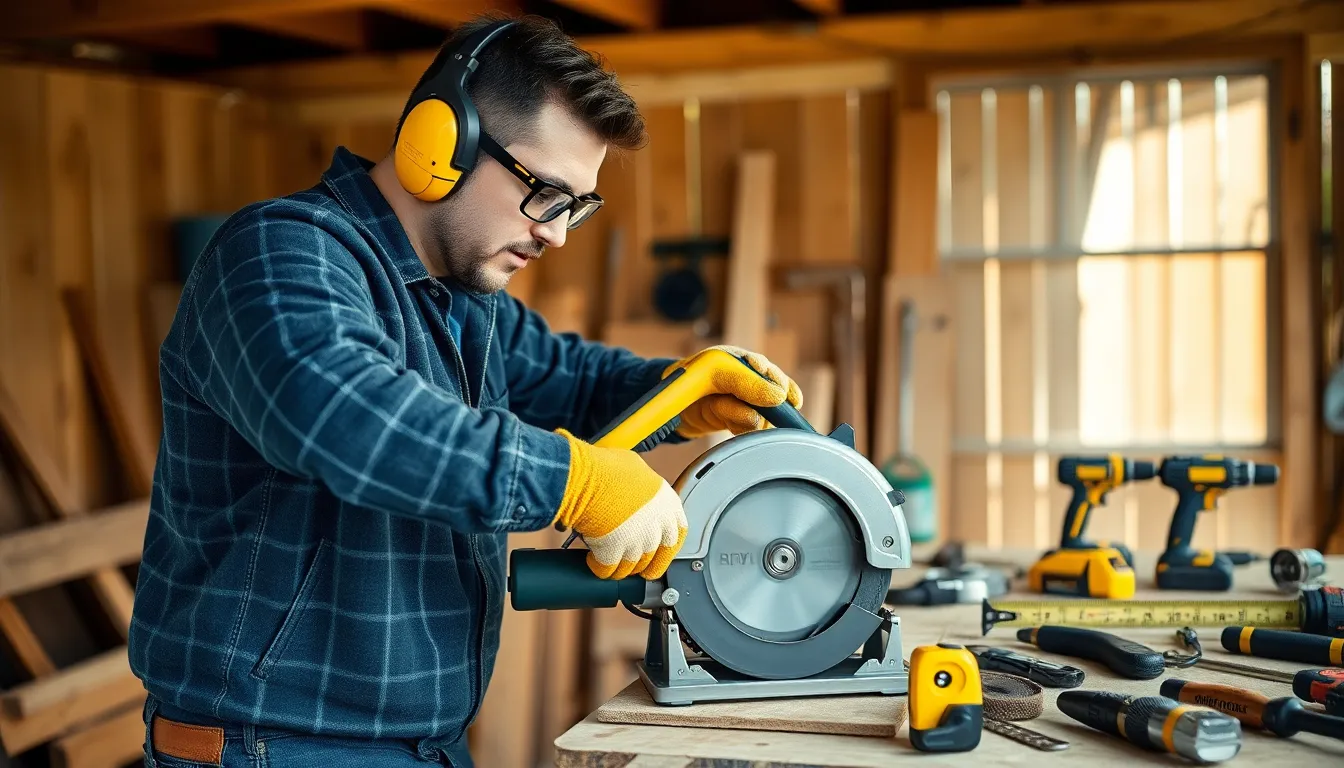
Now that we’ve planned our design and selected materials, it’s time to assemble the right tools for a successful build.
Basic Hand Tools You’ll Need
Screwdrivers form the foundation of our hand tool collection, allowing us to assemble frame parts and secure screws throughout the construction process. We’ll need both flathead and Phillips head varieties to handle different fastener types.
Measuring tape or ruler ensures accurate dimensions when cutting materials and positioning components. Precise measurements prevent costly mistakes and guarantee our table fits perfectly in the designated space.
Hammer or rubber mallet becomes essential when fitting tight pieces together, particularly when installing bottom trays or adjusting frame connections. The rubber mallet protects wood surfaces from damage during assembly.
Square tool helps us maintain proper alignment between legs and frames, ensuring our finished table stands level and stable. This tool eliminates wobbling issues that could affect functionality.
Pencil or marker allows us to mark cut lines and drill points clearly on our materials. Clear markings improve accuracy and reduce measurement errors during construction.
Power Tools to Speed Up Construction
Circular saw or miter saw delivers precise wood cutting capabilities that hand saws simply can’t match. These tools create clean, straight cuts that improve the professional appearance of our finished table.
Drill (cordless preferred) serves dual purposes by creating pilot holes and driving screws efficiently. Cordless models provide mobility around our workspace without dealing with extension cords.
Jigsaw handles curved cuts and openings when our design requires non-straight lines. This versatility proves valuable for creating custom features or accommodating exact grill configurations.
Sander or sanding block smooths wood surfaces to a professional finish while removing rough edges and splinters. Smooth surfaces accept stain and paint more evenly for better final results.
Safety Equipment and Protective Gear
Safety glasses protect our eyes from wood chips and dust particles that fly during cutting and drilling operations. Eye protection remains non-negotiable throughout the entire build process.
Ear protection becomes necessary when operating loud power tools like circular saws and sanders. Prolonged exposure to tool noise can cause permanent hearing damage.
Work gloves shield our hands from splinters and sharp edges while handling lumber and metal components. Quality gloves maintain dexterity while providing essential protection.
Dust mask filters harmful particles, especially when sanding or cutting treated wood materials. Respiratory protection prevents inhaling fine dust that could affect our health.
Create a Detailed Cut List and Material Shopping Guide
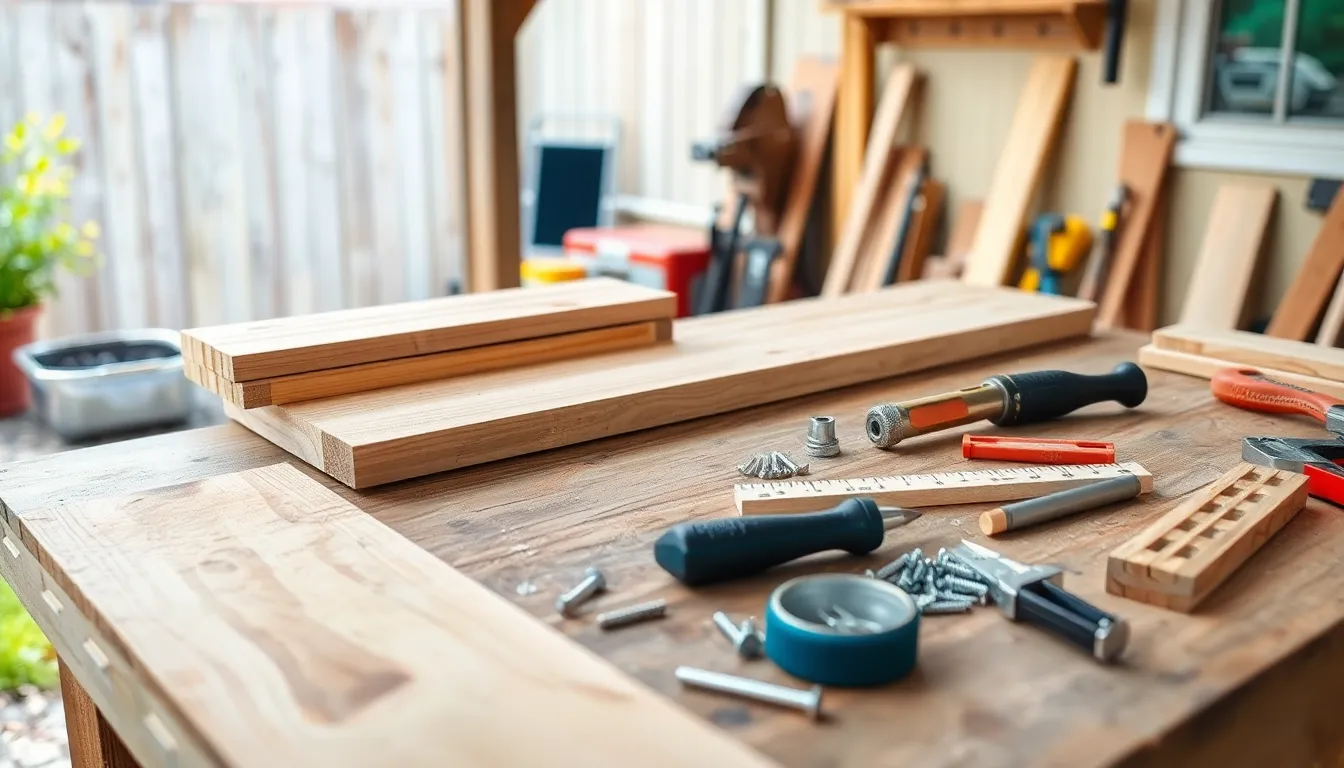
Building a successful BBQ side table starts with precise material planning. We’ll break down everything you need to purchase and prepare before starting construction.
Calculate Lumber Requirements
Determine your frame lumber needs by measuring twice and cutting once. For a standard BBQ side table, we’ll need 2×4 pine boards for the base structure and legs. Most designs require four 2x4x8 boards to create legs cut to 30-36 inches and cross supports.
Plan your surface and shelf materials using 1×6 boards for optimal coverage. We recommend purchasing five 1x6x8 cedar boards for the tabletop, shelving, and any drawer components. Cedar provides natural weather resistance that’s worth the extra cost compared to pine.
Calculate total linear footage by adding all cut piece lengths together. If our design calls for eight 36-inch legs, we need 24 linear feet of 2×4 lumber (8 × 3 feet = 24 feet). Always add 10% extra material to account for mistakes and waste.
| Board Type | Quantity Needed | Typical Use |
|---|---|---|
| 2x4x8 | 4 boards | Legs and frame structure |
| 1x6x8 cedar | 5 boards | Top surface and shelves |
| 2x6x8 | 2 boards | Additional support beams |
| 1x2x8 | 2 strips | Trim and door frames |
Hardware and Fastener Specifications
Choose exterior-rated screws in multiple sizes for different connection points. We’ll need #8 wood screws in 1-inch, 1.5-inch, and 2-inch lengths to secure various components. Stainless steel or coated screws prevent rust and corrosion.
Select cabinet hardware that withstands outdoor conditions and frequent use. Purchase 3.5-inch square corner exterior door hinges for any cabinet doors, plus 18-inch full-extension drawer slides if including drawers. Magnetic catches and pulls complete the hardware package.
Include specialty fasteners for enhanced durability and professional appearance. Kreg HD screws work excellently for pocket hole joints, while stainless steel washers distribute load and prevent wood crushing. Don’t forget Titebond III exterior wood glue for weatherproof joints.
Add functional accessories that improve your grilling workflow. Tool hooks, magnetic catches, and drawer pulls transform basic storage into organized convenience. We suggest purchasing 4-6 hooks for utensils and 2-3 magnetic catches for secure door closure.
Additional Supplies for Finishing
Protect your investment with high-quality exterior wood finish designed for outdoor furniture. General Finishes Exterior 450 Satin provides excellent protection against moisture and UV damage. This finish works particularly well on cedar and maintains the wood’s natural appearance.
Prepare surfaces properly using progressive sandpaper grits for smooth results. Start with 120-grit sandpaper for initial smoothing, then progress to 220-grit for final preparation. Wood filler helps eliminate any gaps or imperfections before finishing.
Apply finish using appropriate tools for even coverage and professional appearance. Quality brushes or foam applicators ensure smooth finish application without streaks or bubbles. Consider using a sprayer for larger surfaces if you have access to one.
Include maintenance supplies for long-term table care and appearance. Purchase extra finish for annual touch-ups, plus cleaning supplies specifically designed for outdoor wood furniture. Proper maintenance extends your table’s life significantly and keeps it looking new.
Build the Base Frame Structure
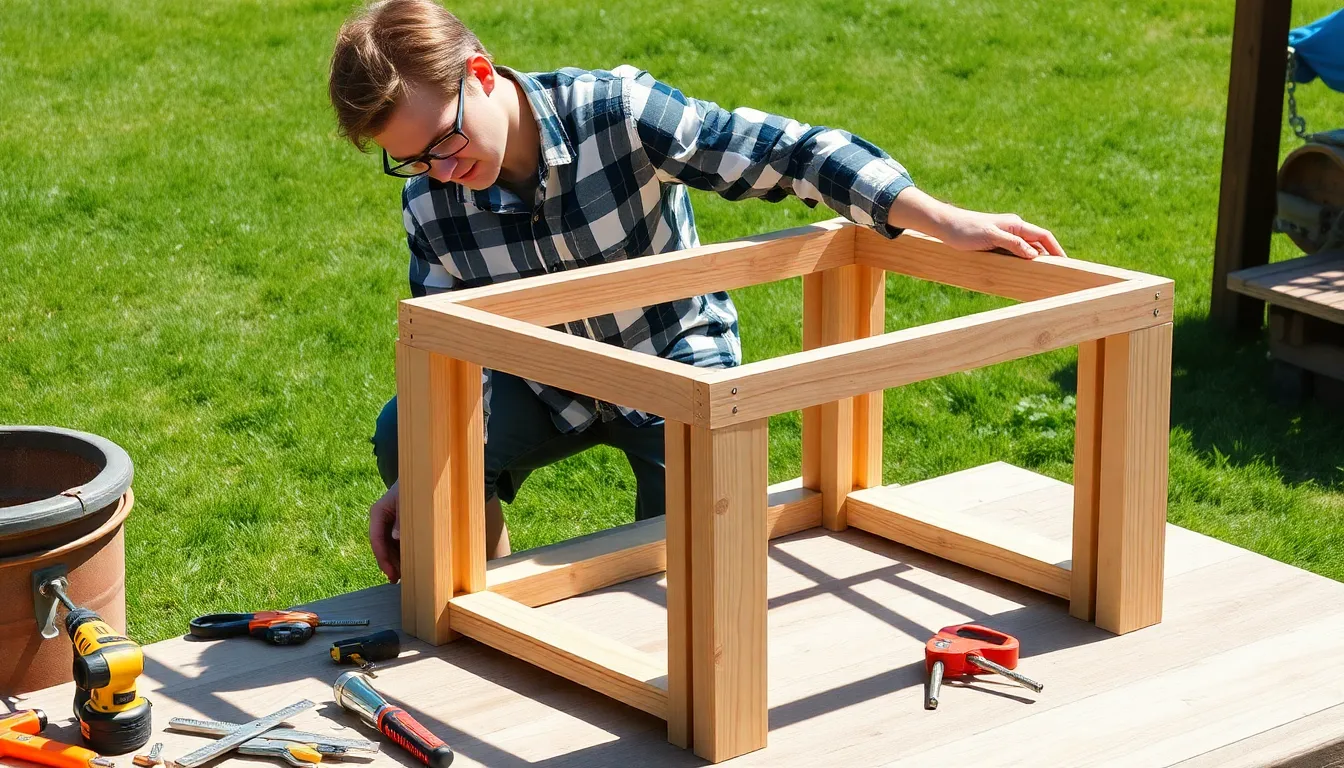
Now we’ll construct the foundation that supports your entire BBQ side table. Creating a sturdy base frame requires precision and the right approach to ensure long-lasting stability.
Construct the Table Legs
Cut four table legs from sturdy 2×2 or thicker lumber to your desired height. Standard countertop height measures approximately 90 cm (35 inches), which provides comfortable working conditions for most grillers. Position each leg vertically at the inside corners of your base frame, setting them slightly inset about ¾ inch down from the frame’s top edge.
Drill pilot holes before screwing to prevent wood splitting. This technique becomes especially important when working with hardwoods or near board ends. Attach legs securely using exterior wood screws, ensuring each connection remains tight and stable.
Measure each leg precisely to maintain even table height. Uneven legs create wobbling issues that compromise both functionality and safety during grilling preparation. Double-check measurements before cutting to avoid costly mistakes.
Assemble the Support Framework
Add reinforcement pieces between legs and frame sections to maximize rigidity. Support braces prevent sagging and extend your table’s lifespan under heavy use. Create a bottom tray frame using 2x4s or 1x4s, fitting it tightly between the legs for additional storage space.
Secure sub-assemblies with appropriate screws, tapping pieces into place with a rubber mallet. Gentle tapping ensures tight joints without damaging the wood surface. Connect all framework components using 2 ½ inch exterior screws for optimal strength.
Ensure all connections remain tight throughout the assembly process. Loose joints compromise structural integrity and create potential safety hazards. Test each connection by applying gentle pressure before moving to the next assembly step.
Ensure Proper Stability and Levelness
Check leg squareness using a carpenter’s square before final fastening. Square corners prevent wobbling and ensure your table sits properly on various surfaces. Place the partially assembled structure on a flat surface to verify even positioning.
Adjust components as necessary to maintain perfect levelness. An unlevel table creates cooking challenges and potential spills during food preparation. Make small adjustments before securing all joints permanently.
Consider installing adjustable feet or levelers on leg bottoms. These accessories accommodate uneven outdoor surfaces commonly found on patios and decks. Firmly screw all joints once you’ve achieved proper stability and even positioning across the entire structure.
Install the Tabletop Surface
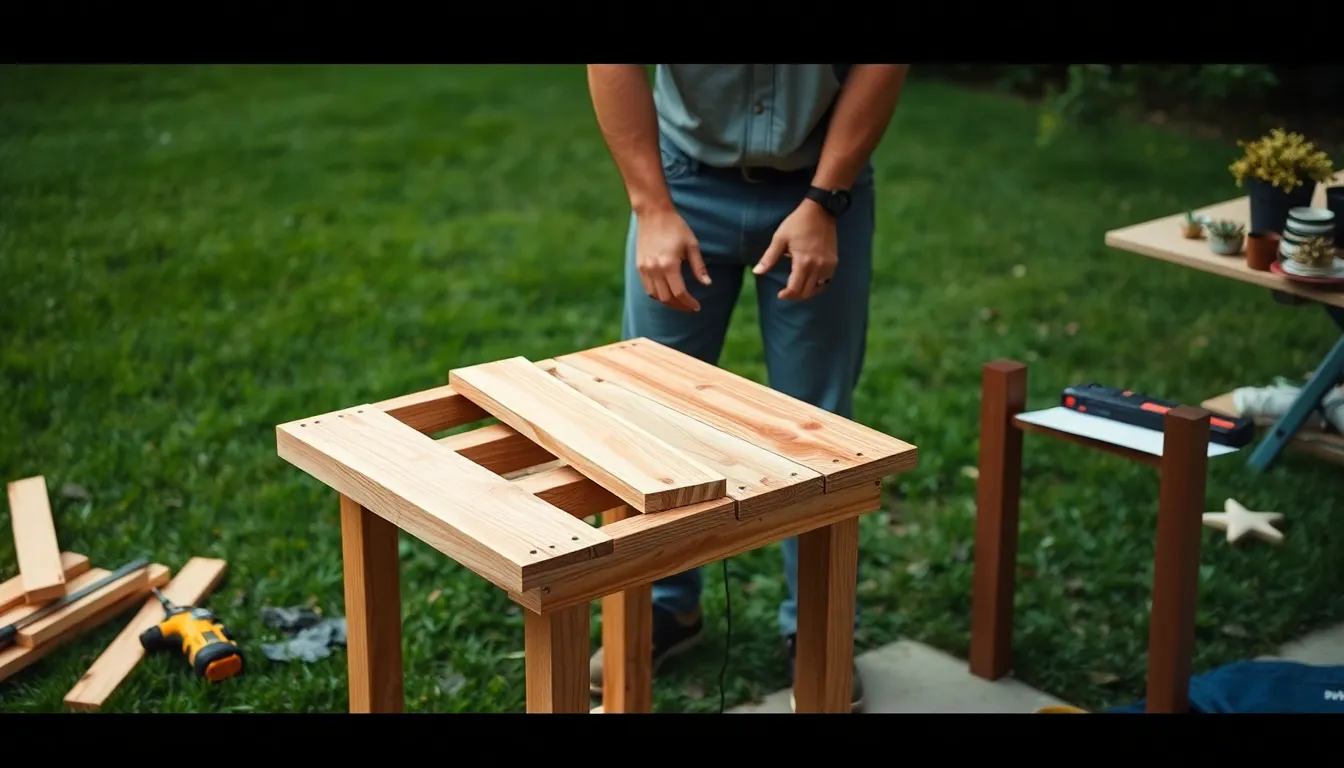
Now that we’ve built our sturdy base frame, it’s time to create the functional work surface that’ll make our BBQ side table complete.
Cut and Fit the Top Boards
We’ll start by measuring and cutting our boards to the exact dimensions we planned during the design phase. A typical BBQ side table surface measures about 1 meter wide by 40 cm deep, but we can customize these measurements to fit our exact grilling setup.
Arrange the cut boards on our assembled frame to check the fit before making any permanent attachments. This test fitting allows us to identify any spacing issues or adjustments needed for proper alignment. We should ensure each board sits flush against the frame edges and check that there’s no overhang that could create an unstable surface.
Pre-drill pilot holes where we’ll be driving screws to prevent the wood from splitting during assembly. This step is particularly important when working with harder woods like cedar or teak, which can crack under the pressure of screws without proper preparation.
Create Smooth Joints and Edges
Sand all visible edges and joint areas where boards meet to create a professional looking finish. We’ll use progressively finer grits, starting with 120-grit sandpaper and finishing with 220-grit for a smooth surface that’s safe to touch and easy to clean.
Focus special attention on the joints between boards to eliminate any height differences that could create an uneven work surface. A belt sander or orbital sander makes this process faster and more consistent than hand sanding alone. We want to create slight rounded edges on all exposed corners to prevent splinters and improve the overall safety of our BBQ prep area.
Test the surface with our hand to ensure there are no rough spots or protruding splinters that could snag clothing or cause injury during food preparation.
Secure the Surface to the Frame
Attach the prepared boards to our frame using exterior grade timber screws measuring 2½” to 2⅞” in length. These longer screws provide the holding power needed for outdoor conditions and frequent use. We’ll drive screws through the boards into the frame at regular intervals, typically every 8 to 10 inches along each support beam.
Countersink each screw head slightly below the wood surface to create a smooth tabletop without protruding hardware. This technique also allows us to fill the screw holes with wood filler later if we want a completely seamless appearance.
Double check that our legs remain square and our surface stays level as we tighten the final screws. Use a speed square to verify corner angles and a level to confirm the tabletop doesn’t rock or tilt under pressure. Any adjustments to leg positioning should be made now before the surface is fully secured.
Add Functional Storage Features
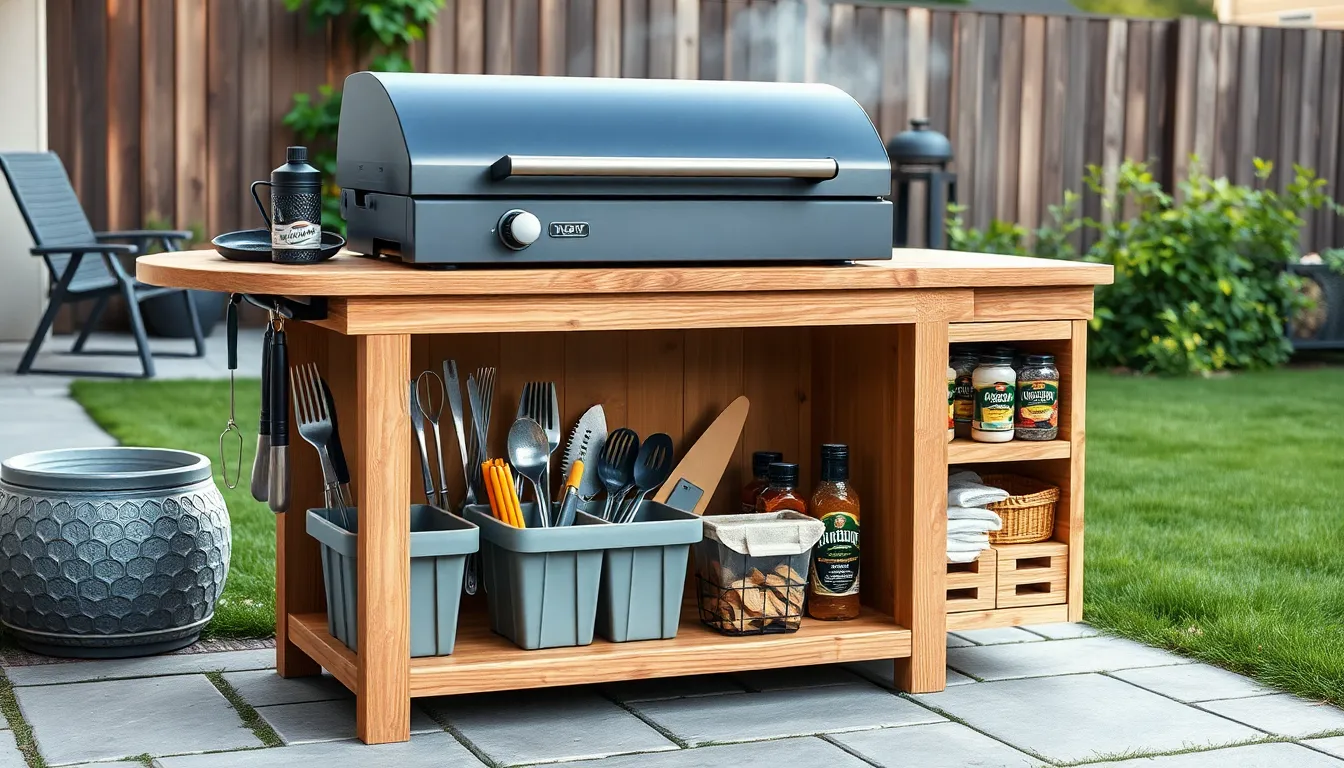
Now that we’ve got our tabletop secured, we’ll transform our basic side table into a storage powerhouse for all our grilling essentials. These functional additions will keep our tools organized and easily accessible during cookouts.
Build Lower Shelf Space
Maximizing vertical space starts with adding a lower shelf beneath our main table surface. We’ll position this shelf about 8-12 inches from the ground to accommodate storage bins and heavier items like charcoal bags or extra grill tools.
Cut shelf boards to fit between the leg supports, leaving small gaps for drainage and air circulation. Attach support cleats to the inner faces of the table legs using 2.5-inch exterior screws. Rest the shelf boards on these cleats and secure them with 1.5-inch screws from underneath.
This lower storage area works perfectly for bulkier items that we don’t need constant access to. Storage bins containing wood chunks, drip trays, or seasonal grilling accessories fit comfortably on this shelf while keeping our main work surface clutter free.
Install Side Hooks for Utensils
Side mounted hooks provide instant access to our most frequently used grilling tools. We’ll install heavy duty hooks along the table’s sides to hang tongs, spatulas, brushes, and other essential utensils.
Position hooks at comfortable reaching height, typically 6-8 inches below the tabletop edge. Pre drill pilot holes to prevent wood splitting, then screw in the hooks using the provided hardware. Space them 4-6 inches apart to prevent tools from knocking into each other.
Choose rust resistant hooks made from stainless steel or powder coated metal to withstand outdoor conditions. These hooks keep our tools within arm’s reach while freeing up valuable drawer and shelf space for other supplies.
Create Compartments for Supplies
Organized compartments separate different types of grilling supplies and keep smaller items from getting lost. We’ll partition areas within our table’s storage space to accommodate spices, condiments, cleaning supplies, and specialized equipment.
Build narrow vertical compartments for grill grates and ceramic stones using thin plywood dividers. These vertical slots allow us to store flat items efficiently while keeping them easily accessible. Install adjustable shelving brackets to customize compartment heights as needed.
Dedicated spaces for “filthy” items like ash pans and drip catchers should be separated from cleaner supplies using removable partitions. Small bins or containers work well for organizing spice bottles, condiment packets, and cleaning brushes within larger compartments.
Consider adding a small door or drawer front to conceal stored items and protect them from weather exposure. This compartmentalized approach creates a versatile outdoor cooking station that efficiently holds all our grilling tools and supplies in one convenient location.
Apply Weather Protection and Finishing Touches
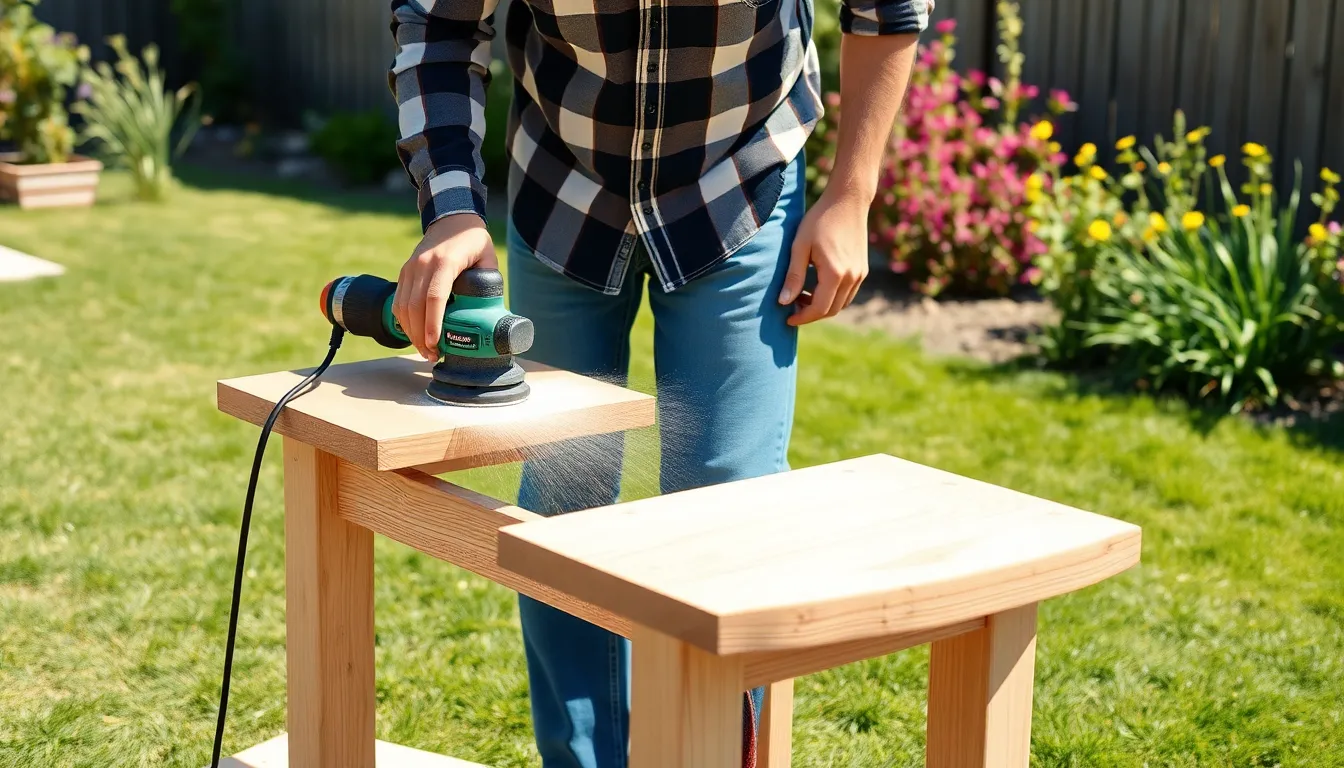
Now that we’ve built our BBQ side table with all its functional features, we need to protect it from the elements to ensure years of reliable outdoor use.
Sand All Surfaces Smooth
Sanding creates the foundation for a professional finish by removing splinters and preparing the wood for protective coatings. We’ll start with coarse grit sandpaper around 120 grit to even out any rough spots from assembly, then progress to 150 and finally 220 grit for a smooth surface. Thorough sanding ensures better adhesion of stains and paints, which means our protective finish will last longer and look more professional.
Every edge and corner requires attention during the sanding process, especially around joints where different pieces meet. We should sand with the grain direction to avoid scratches that show through the final finish. Clean surfaces between grit changes using a tack cloth or compressed air to remove all dust particles that could create an uneven finish.
Choose Appropriate Stain or Paint
Exterior wood stains penetrate deep into the wood fibers while preserving the natural grain pattern that makes our BBQ table attractive. We can choose from transparent, semi-transparent, or solid color stains depending on how much of the wood’s natural beauty we want to showcase. Outdoor paints provide maximum protection with a colorful, sealed surface that completely covers the wood grain.
Clear varnish or outdoor spray varnish offers another excellent option for those who want to maintain the wood’s natural appearance while providing weather protection. We should always select products specifically labeled for outdoor use, as indoor finishes won’t withstand UV rays and moisture exposure. Marine grade finishes deliver superior protection since they’re designed to handle constant moisture exposure similar to what our BBQ table will face.
Seal for Outdoor Durability
High quality sealers create the final barrier against moisture, UV damage, and temperature fluctuations that can destroy unprotected wood. We’ll apply marine varnish, polyurethane, or spar urethane over our stain or paint for enhanced weather resistance. Multiple coats improve protection significantly compared to single coat applications, with most products requiring 2-3 coats for optimal durability.
Proper drying time between coats is crucial for achieving maximum protection, so we’ll follow manufacturer instructions carefully rather than rushing the process. We should apply thin, even coats using a high quality brush or foam applicator to avoid drips and ensure uniform coverage. Installation of hooks or handles should happen before final sealing to ensure all hardware attachment points receive proper protection from moisture infiltration.
Test and Adjust Your Completed BBQ Side Table
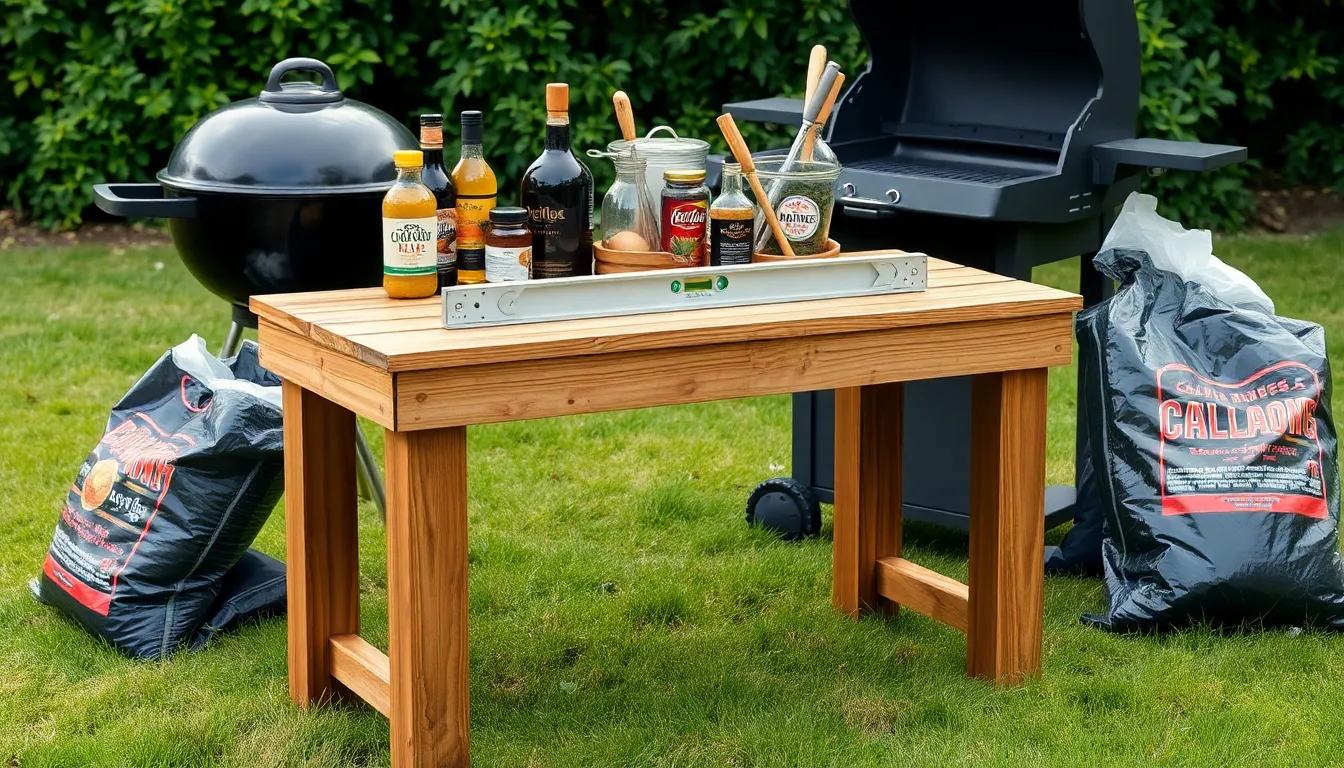
Once we’ve finished building our BBQ side table, it’s crucial to test its stability and make necessary adjustments before putting it to use. This final step ensures our outdoor cooking companion will serve us well for years to come.
Check Stability and Function
Examine all legs for squareness by placing a carpenter’s square at each corner where the legs meet the frame. If any legs appear out of alignment, we’ll need to loosen the screws slightly and readjust the position until all corners form perfect 90-degree angles.
Test the table’s stability by gently applying pressure to different areas of the surface and checking for any wobbling or movement. A stable table shouldn’t rock when we place items on it or lean against it during food preparation.
Verify all screws are properly tightened throughout the frame structure, particularly where the legs attach to the main frame and where the tabletop connects to the support system. Loose connections will compromise the table’s overall integrity and safety.
Check the levelness of our tabletop surface using a spirit level in multiple directions across the surface. Uneven surfaces can cause items to roll off and make food preparation more challenging than necessary.
Load test the shelving by placing typical BBQ supplies like charcoal bags, condiment bottles, and grilling tools on the lower shelf to ensure it can handle the weight without sagging or stress.
Make Final Detail Adjustments
Tighten any loose hardware we discovered during our stability check, using the appropriate screwdriver or drill bit to ensure all connections are secure without overtightening and potentially splitting the wood.
Add furniture pads or adjustable feet if we notice the table rocks slightly on uneven surfaces, which is common in outdoor settings where ground isn’t perfectly level.
Sand any rough edges we might have missed during construction, particularly around corners and joints where splinters could pose a safety hazard during regular use.
Apply touch up finish to any areas where the wood surface might have been damaged during assembly, ensuring consistent protection and appearance across the entire table.
Install additional support brackets if we notice any flex in the frame during our load testing, particularly at connection points that bear the most weight.
Position Near Your Grill Setup
Place the table within easy reach of our grill’s cooking surface, typically 2 to 3 feet away, allowing comfortable movement between the table and grill without creating a cramped workspace.
Consider the workflow direction by positioning the table on the side where we naturally move when transferring food from prep to grill, usually to the right for right handed users and left for left handed cooks.
Ensure adequate clearance around all sides of the table so we can access stored items and work comfortably without bumping into other outdoor furniture or structures.
Test the height compatibility with our grill by standing in our normal cooking position and checking that the table surface aligns well with our natural reach and the grill’s cooking height.
Account for wind patterns in our outdoor space when positioning the table, avoiding areas where strong breezes might blow lightweight items off the surface or interfere with our cooking process.
Maintain Your DIY BBQ Side Table for Longevity
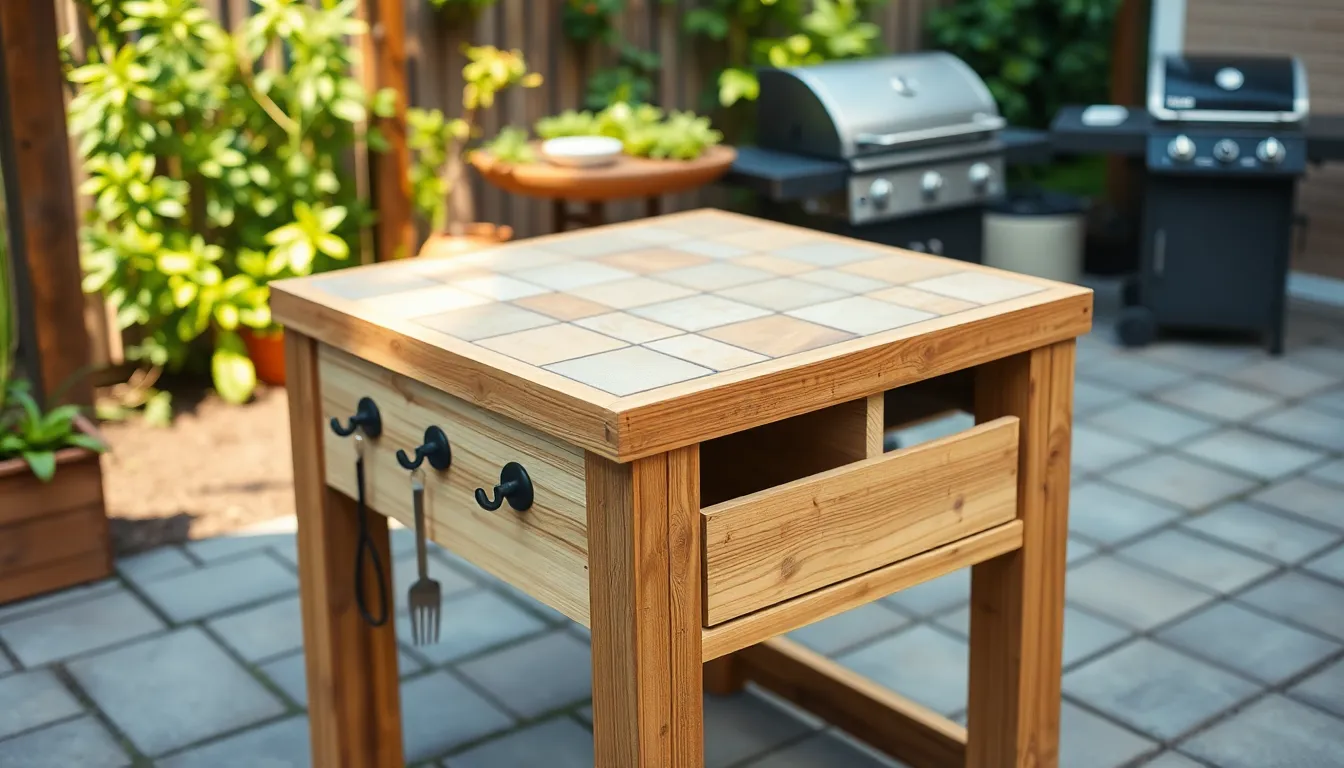
Proper maintenance transforms your newly built BBQ side table into a long-lasting outdoor cooking companion. We’ll ensure your investment withstands countless grilling seasons with these essential care practices.
Regular Cleaning and Care Tips
Clean your table surfaces after each grilling session to prevent grease and food particle buildup. We recommend using mild soap and water for routine cleaning while avoiding harsh chemicals that could damage finishes or compromise wood integrity.
Wipe down all surfaces thoroughly including the storage compartments and hooks you’ve installed. Grease accumulation can attract pests and create unpleasant odors if left untreated.
Focus on grout lines carefully if your table features tiled surfaces from your DIY project. We suggest using appropriate tile cement and grout cleaning methods to prevent mildew buildup while keeping edges neat and durable.
Sand any rough spots lightly before applying finishing products to maintain smoothness and prevent splinters. This simple step protects both your table and anyone using it during outdoor cooking sessions.
Seasonal Maintenance Requirements
Inspect your table every six to twelve months for optimal performance and longevity. We recommend timing these checkups with seasonal changes to stay ahead of weather-related damage.
Reapply wood sealer or outdoor oil finish to protect against moisture and UV damage. Multiple coats provide better protection, especially for tables exposed to direct sunlight and rain.
Check the wood for cracks, warping, or wear signs that could compromise structural integrity. Early detection prevents minor issues from becoming major repairs.
Tighten screws and bolts to maintain the stability you built into your original frame structure. Outdoor temperature changes can cause hardware to loosen over time.
Examine metal components for rust and treat or replace as necessary to prevent deterioration. We suggest using rust-resistant materials during repairs to match your original hardware choices.
Use waterproof grill covers or store the table indoors during harsh weather conditions to extend its lifespan significantly.
When to Refinish or Repair
Begin refinishing when the finish starts peeling or fading from exposure to outdoor elements. This visual cue indicates your protective coating no longer provides adequate defense.
Address wood that feels rough or shows water damage signs immediately. We recommend stripping old finishes completely before applying new protective coatings.
Repair structural components like legs or stretchers when they become loose or wobbly. Safety depends on maintaining the solid foundation you originally constructed.
Replace cracked tiles or damaged grout if your design incorporates these elements. Moisture can penetrate through cracks and cause underlying wood damage.
Strip off old finishes completely and sand surfaces smoothly before reapplying outdoor appropriate sealants. This process ensures proper adhesion and maximum protection for continued safe and effective use.
Conclusion
Building your own DIY BBQ side table transforms your outdoor cooking experience while saving money compared to store-bought alternatives. We’ve covered everything from material selection and proper planning to construction techniques and long-term maintenance strategies.
Your new side table will provide the organized workspace you need for seamless grilling sessions. With proper weather protection and regular care your handcrafted table will serve you for years to come.
Now it’s time to fire up your grill and enjoy the convenience of having all your tools and supplies within arm’s reach. Your outdoor cooking setup is finally complete with this functional addition that matches your exact needs and space requirements.
Frequently Asked Questions
What materials are best for building a DIY BBQ side table?
The best materials for a DIY BBQ side table are weather-resistant woods like cedar, teak, pressure-treated pine, and redwood. Metal frameworks provide added strength and rust resistance, while composite materials offer low maintenance and excellent durability. Choose materials that can withstand outdoor elements including moisture, UV rays, and temperature changes for long-lasting performance.
What tools do I need to build a BBQ side table?
Essential tools include basic hand tools (hammer, drill, screwdrivers, measuring tape, level) and power tools (circular saw, drill/driver, orbital sander). Safety equipment like goggles and work gloves are crucial. You’ll also need exterior-grade screws, sandpaper, and finishing supplies like stain or paint for weather protection.
How do I determine the right dimensions for my BBQ side table?
Start by measuring your grill and available space to ensure proper fit. Standard BBQ side tables are typically 32-36 inches high to match grill height, with surface area depending on your needs. Sketch a design layout considering your grilling workflow, storage requirements, and the space available in your outdoor cooking area.
How do I protect my DIY BBQ side table from weather damage?
Apply weather protection through proper sanding, then use exterior-grade stains or paints for aesthetic appeal and element protection. Seal the wood with high-quality products to guard against moisture and UV damage. Apply multiple coats for optimal durability and reapply wood sealer or outdoor oil finishes every 6-12 months.
What storage features can I add to my BBQ side table?
Popular storage features include a lower shelf beneath the main surface for bulky items like charcoal bags, side-mounted hooks for frequently used utensils, and organized compartments for different supplies. Consider adding removable partitions to separate clean and dirty items, or install a small door/drawer front to conceal stored items.
How often should I maintain my BBQ side table?
Clean your BBQ side table regularly after grilling sessions using mild soap and water. Inspect the table every 6-12 months for wear signs, tighten screws, and check stability. Reapply protective finishes annually or when you notice peeling, rough wood surfaces, or diminished weather protection to maintain optimal performance.
Can I build a BBQ side table without advanced woodworking skills?
Yes, building a DIY BBQ side table doesn’t require advanced woodworking skills or expensive tools. The project involves basic cuts, drilling, and assembly techniques that beginners can master. Following step-by-step guidance, measuring carefully, and taking your time will result in a functional and attractive side table at a fraction of store-bought costs.
How do I ensure my BBQ side table is stable and level?
During construction, check leg squareness and ensure even height across all legs. Use a level to verify the tabletop is perfectly horizontal. Consider installing adjustable feet for uneven surfaces. After completion, test stability by applying gentle pressure, tighten all screws, and make final adjustments by sanding rough edges and positioning appropriately near your grill.
